Week 5 Social Media

Week 5 Social Media
We were the first to present our seminar and in such, had to very vigilant in organising out guests as well as advertise the seminar.
I missed the first two Lecture group meetings as I had a clash with another class which affected my ability to attend the lecture, but had the problem resolved quickly and was then able to catch up on assisting the team get the seminar organised.

I contributed by assisting setting up the equipment on the day, as well as speaking with the three guest speakers, ensuring that they were comfortable and aware of what the day entailed.

Whilst speaking with the three hosts, I took photos of the guest hosts and made sure to post these photos on the @rmitadventure Instagram page. I made sure to live post on the Instagram page as the seminar took place, ensuring that the Instagram posts were also being transferred to the twitter page which live tweeted to the big screen behind the hosts speaking.

Screen Shot 2015-09-05 at 23.16.21Screen Shot 2015-09-05 at 23.16.12

As well as this, I filmed on the day, ensuring to catch quality footage of the guests speaking so that when we would edit the collection of footage from the day, we had numerous camera angles to work with.

As well as ensuring that the Instagram and twitter pages were being updated live, I also created a visual poster using photoshop that kept with the design that Tom had firstly made. This poster was handed out to students at RMIT in building 9 and 80.
I also made sure to post the design on the RMIT adventure Instagram account to keep reminding people of the seminar.


Screen Shot 2015-09-05 at 23.16.00

I was constantly on the Social Media private Facebook page with the rest of my group, asking and answering questions that revolved around the organisation of the seminar. I attended the group meetings and was part of the group decisions in regards when it came to deciding what to do for the seminar.


After the seminar I helped pack up the equipment and thank the guests for dedicating their time to speak at RMIT.

11905383_10153246175571715_7388926741649503446_n

Projec Brief 4.2- Substantial Post

For my substantial post, I have decided to reflect through my blog posts as I have tended to document most of the work I have done in and outside of class this Semester. I have decided to separate my substantial pot into four sections-
1: weekly epiphanies
2: Found Scenes
3: My Method of Workings
4: Work I’ve made this semester
.
I will reflect on all of these sections, outlining what I have learnt, what interested me and how

1: Weekly Epiphanies
For my weekly epiphanies I developed questions, that I necessarily didn’t answer, but discussed anyhow. I struggled with some epiphanies, however, mainly came up with my epiphanies after readings; even from other courses.

week 2 How long do they debate on how to portray the style of direction they chose to take for a film? The stylistic choices tend to frame the idea behind a film as well as ‘hold’ the genre of the storyline. I would like to know if there is an actual process that a director takes when deciding how to portray the style of a film they are directing.
How does a director come to the decision of what style they choose to direct their film in?
week 3 
I begun to think about the ‘preparation’ that goes behind documentary making.

-Do documentary makers have a specific ‘storyline’ in mind when they begin to make their films, or do they have a subject of interest and by filming such subject with the point and shoot method, then develop a storyline as true events unfold?
-How much of real documentaries are real? Can you manipulate the feelings of the audience in the same way as scripted fictional films?
-Do the documentary makers have to film what they can and they consider the possibilities of assembly after they shoot their footage as what they shoot is to an extent unpredictable?
week 4 Week four’s epiphany wasn’t a series of questions however, rather it was after watching a music video by Jungle titled Julia, that I felt an overwhelming sense of accomplishment that the director achieved with this video. The overall choreography of the dancers movement, the camera moving (on a dolly) and the lighting that changes, which ultimately changes the way we see the dancers.

week 5 In week 5 I discussed my epiphany of the ‘soundtrack’ and the way it gives audio queues to an audience in relation to what is happening and what is about to happen, or what has just happened. For example, in horror films, these movies rely mostly on sound in the sense of the audience feeling suspense, excitement, horror and fear.
week 7 In week seven I had an epiphany about explosions and how much organisation goes into filming an explosion. The hospital scene from the batman movie with Heath ledger was my inspiration. I began to think about how many different cameras you would need to film all the different angles of the explosions so that you don’t have to do that many takes, as well as the crew and equipment maintaining a safe distance and the imp

2: Found Scenes
My first found scene deconstruction in week 2 was from the film Night On Earth. The scene that I analysed was that of Winona Ryder as the taxi cab driver. What interested me about this scene in particular was the fact that the majority of this scene was shot within a confined space. I was interested as to how the film makers went about keeping the audience interested in a scene in which a majority of it was in the same spot. The way they changed things up a bit was by simply just changing camera angles, and the fact that their dialogue was relatively interesting. It made me think about how I could learn of ways to make a small limited location work in my favour and what other elements need to be better to make these issues okay.

In week 3 I analysed the ‘Stuck in the Middle with you’ scene from the movie Reservoir Dogs. Similar to the cab scene in Night On Earth, a lot of the scenes from this film take place in the warehouse. Like Night On Earth this scene made me interested in how to utilise space and a limited location to make a scene and movie as amazing as Reservoir Dogs is.  Another reason why I chose this scene is because this scene, similar to a lot of Quentin Tarantino’s other films consists of lengthy shots. Quentin films a lot of his scenes in lengthy takes and makes the shots interesting by utilising camera movement to keep the scene interesting.
In week 4 I analysed a scene from the movie The Theory Of Everything. This scene interested me because of the amazing lighting and use of Bokeh. The lighting in this scene makes the characters look like they are in a magic-like fairy land and it controls the way we feel about the two characters within the scene. The lighting in the background is out of focus but makes the characters look good (not evil) and happy.

In week 5 I analysed The end scene from Thelma & Louise just before they drive off the cliff. In this scene I analyse the camera shots and how many there are, how many different camera angles they used, as well as the fact that the director and editor decided to use mainly close ups for this scene. This being to make the scene feel more intimate, and bring the audience in with the action.
In week 6 I analysed the “I’m very, very dirty” scene from American Beauty, in which Lester dreams about walking in to the bathroom to find his daughters friend bathing in rose petals. I analysed the soundtrack in this scene and how well the sound and music changes as this scene plays through. The music shifts as the scene plays out and I think the editors did an amazing job with the music in this scene as it is pivotal to the audience’s perception of the scene as it unfolds.
In week 7 I analysed the music video by Tyler The Creator titled Yonkers. This scene analyses the rappers music video in which it consists mostly of one take, until the end where the edits begin to come in. The director and editors have made this scene interesting firstly by the minimalist effect of the rapper as he sits on a stool rapping, eating a cockroach, vomitting and eventually hanging himself. Despite this sounding rather dark, the music video doesn’t necessarily give off a ‘dark’ vibe. The camera pulls in and out of focus when Tyler does the more gruesome things so that his body becomes a silhouette of black and we just see his outline do the action i.e. eat the cockroach, throw up and then hang himself. This is interesting because a lot of effort would have gone into this so that Tyler could get the take right all at once, and then the camera also be able to move and pull in and out of focus at the right times.

3: My Method of Workings

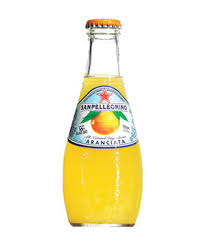
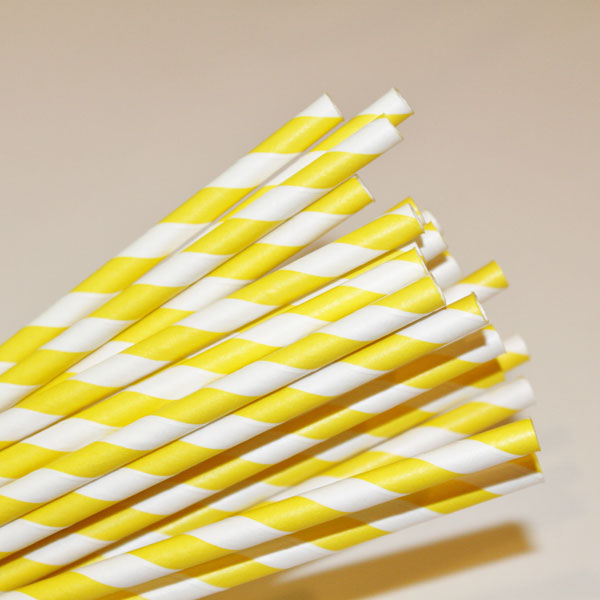
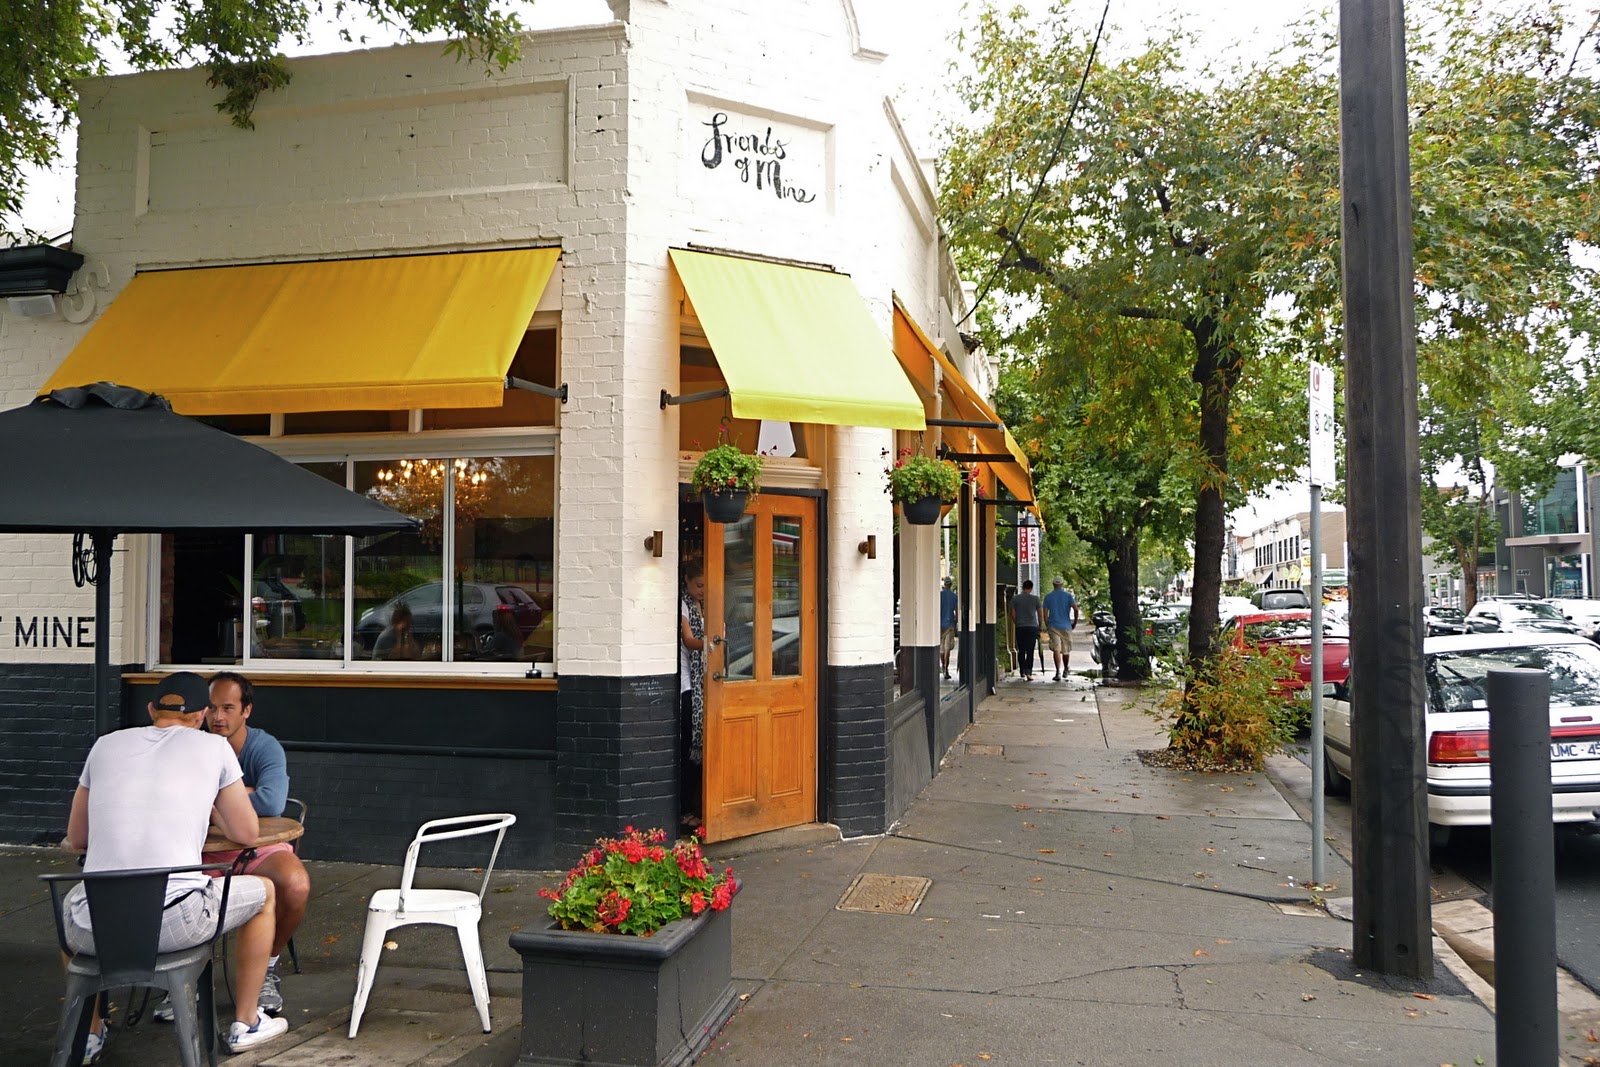
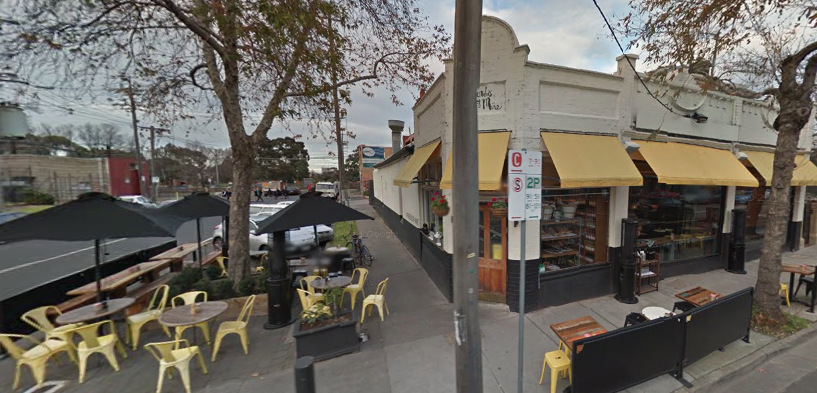
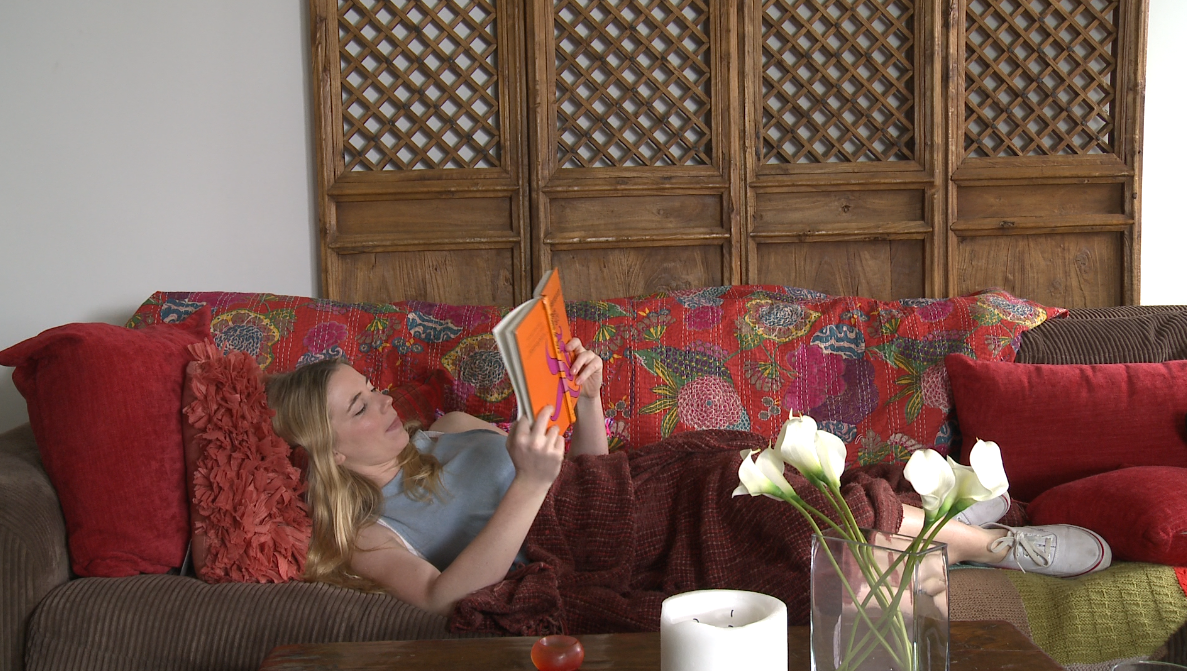
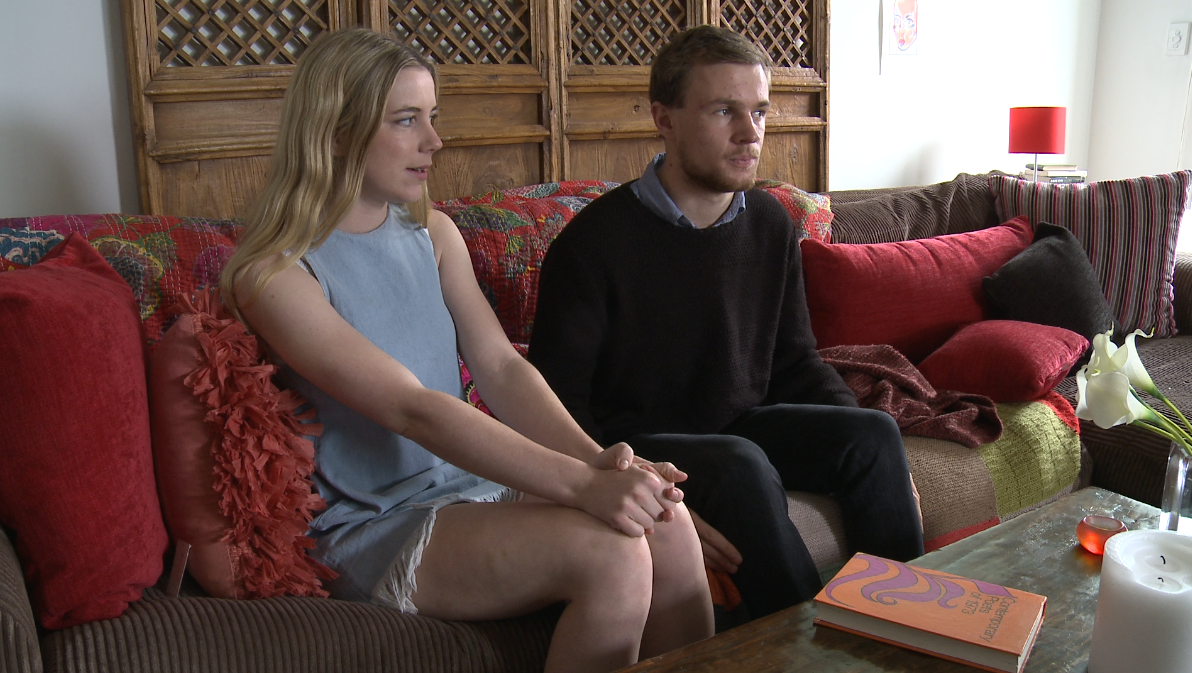
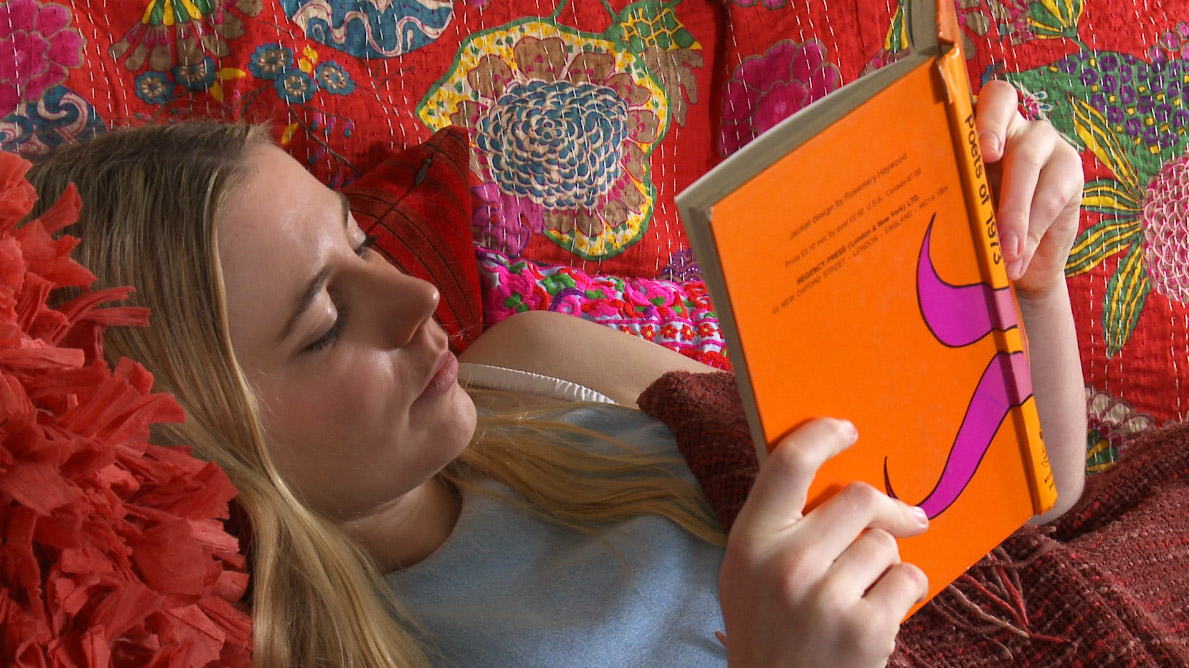
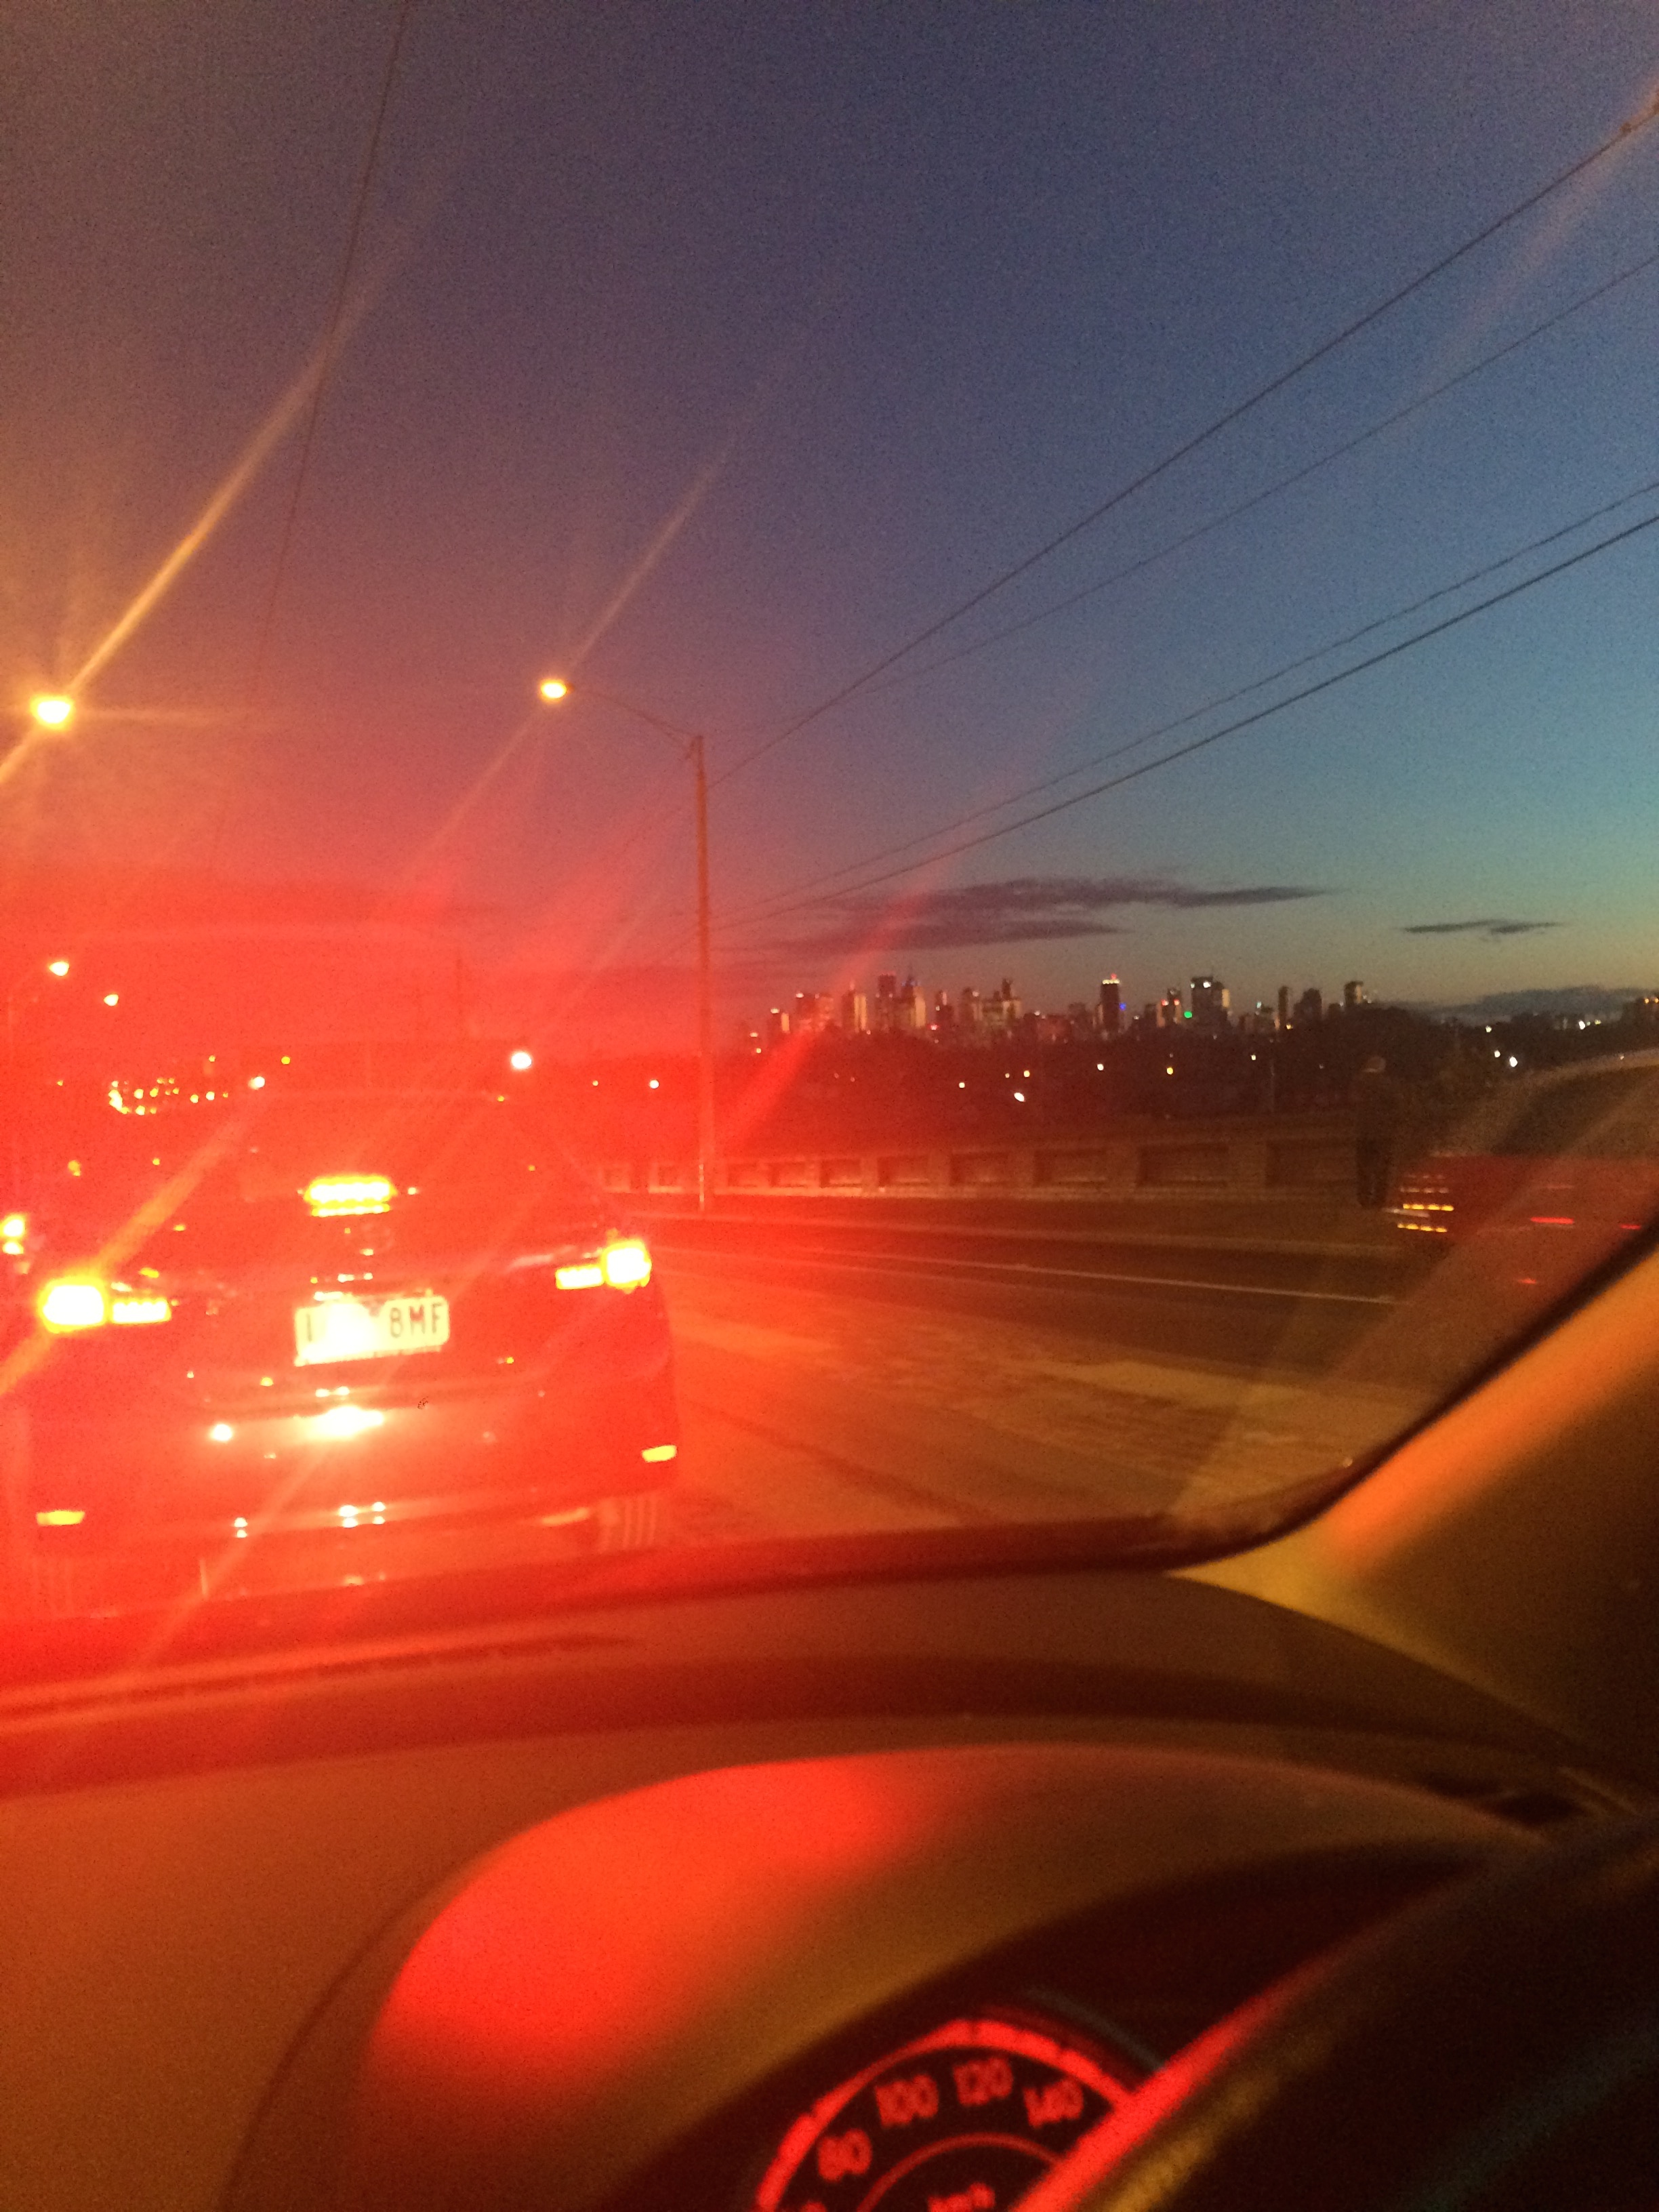
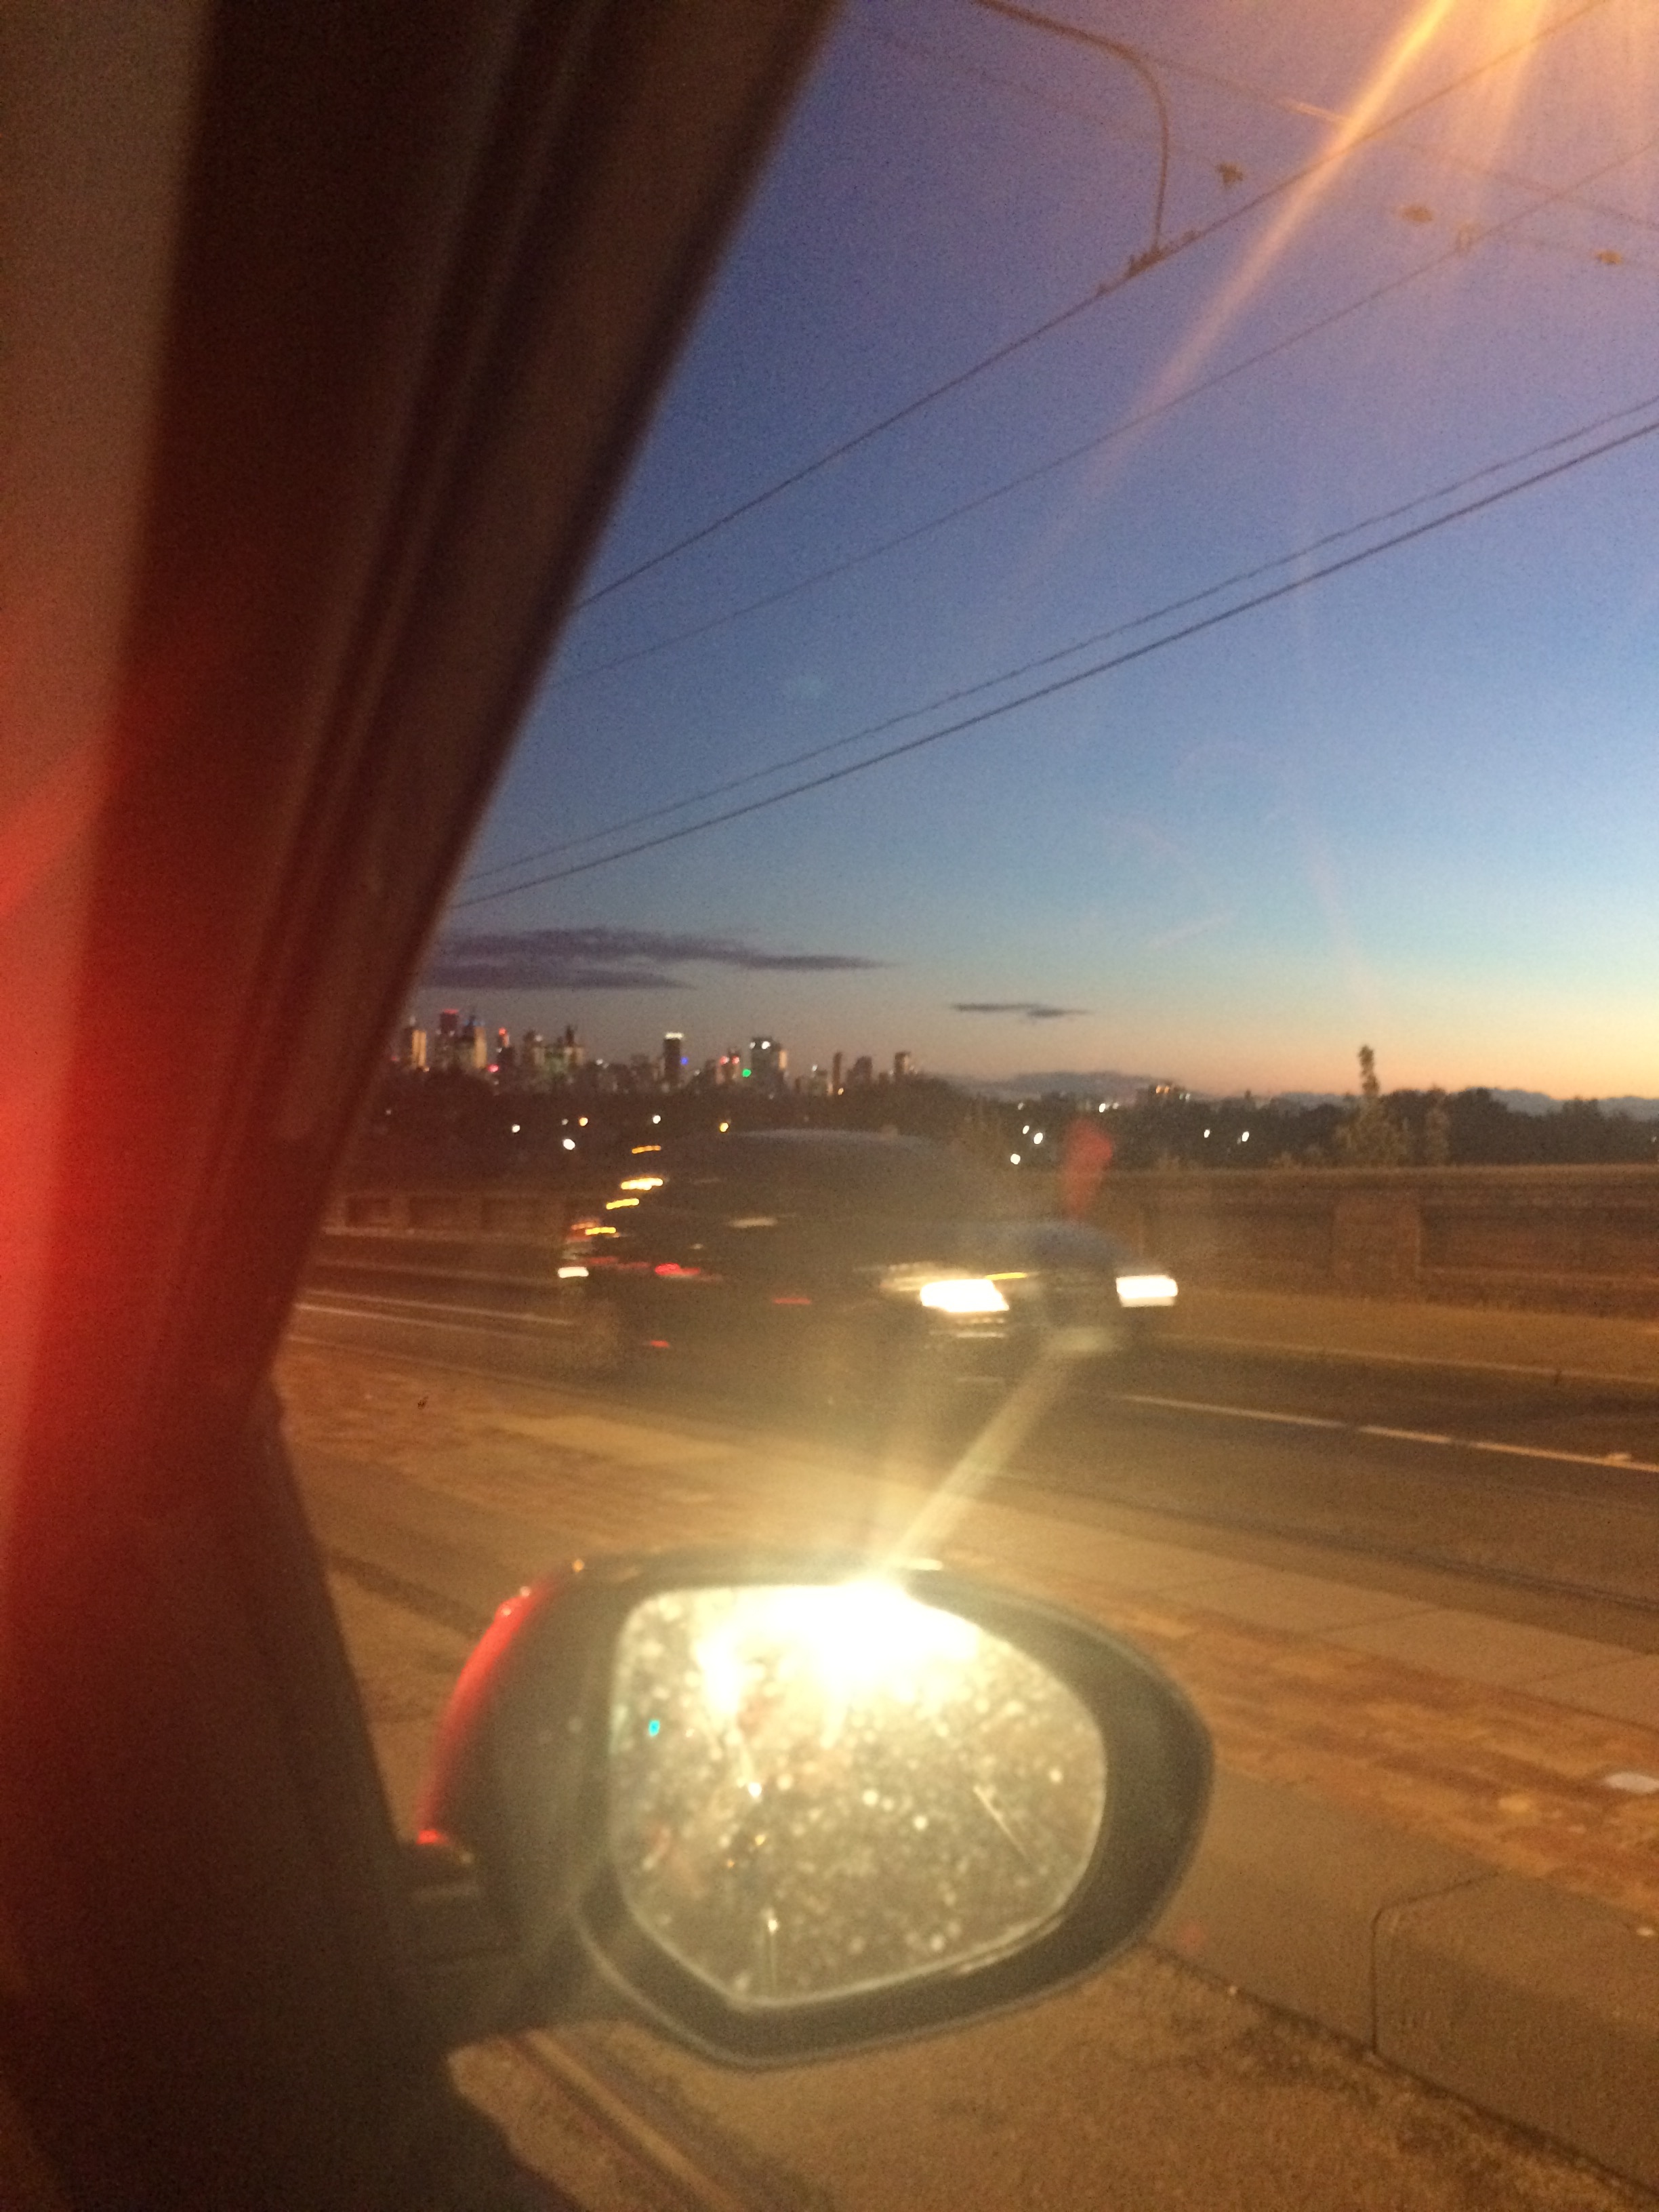
My method of working posts led me to the decision to explore ‘colour’ in film. Before I came to this decision, I started off with watching films as research, searching for elements that interested me. I began with what I am interested in personally in film and what I want to achieve from this course. I know that I am interested in directing and thus I began to think about creative choices of filmmaking. I discussed how my ideas tend to come to me when i’m day dreaming whilst driving , on the train, thinking of other things etc. I decided to start writing down my ideas in my notes on my phone as well as in my organisational diary. This enables me to reflect and make sense of my thoughts later. My fourth post in my method working was where I started thinking about the control of scenes, for example the organisation before filming to make a scene the best it can be. My fifth post was where I began to talk about colour and my interest of colour within scenes in films. I began to research directors that have exceptional colour direction in their films, such as Wes Anderson and Jean-Pierre Jeunet. I focused more on Wes Anderson as conscious colour decisions are consistently evident  in his films. Wes tends to work with colour palettes for his films, even though this isn’t the only element that makes his films truly amazing, I decided to focus mainly on this. I began to think of locations and what locations would be best for me to use in my scene. I began to develop my 3 minute proposal and this really helped me hone in on my desires for the scene. I decided to research the effect of designing a set in specific colours to generate a mood for the scene.  I know that colour in the set isn’t the only element that colour covers in films, so I decided to see what colour covers in the other aspects to films. I looked into how colour can be associated to a specific feeling, character, group of people, location, ideology etc. I began to research what colours I wanted to be in my scene. I ended up deciding that I wanted red and yellow as the main colours in my scene as I already had a lot of red objects for one part of the scene in the living room and secondly knew a location where I could have yellow as specific colour.

Work I’ve done this semester
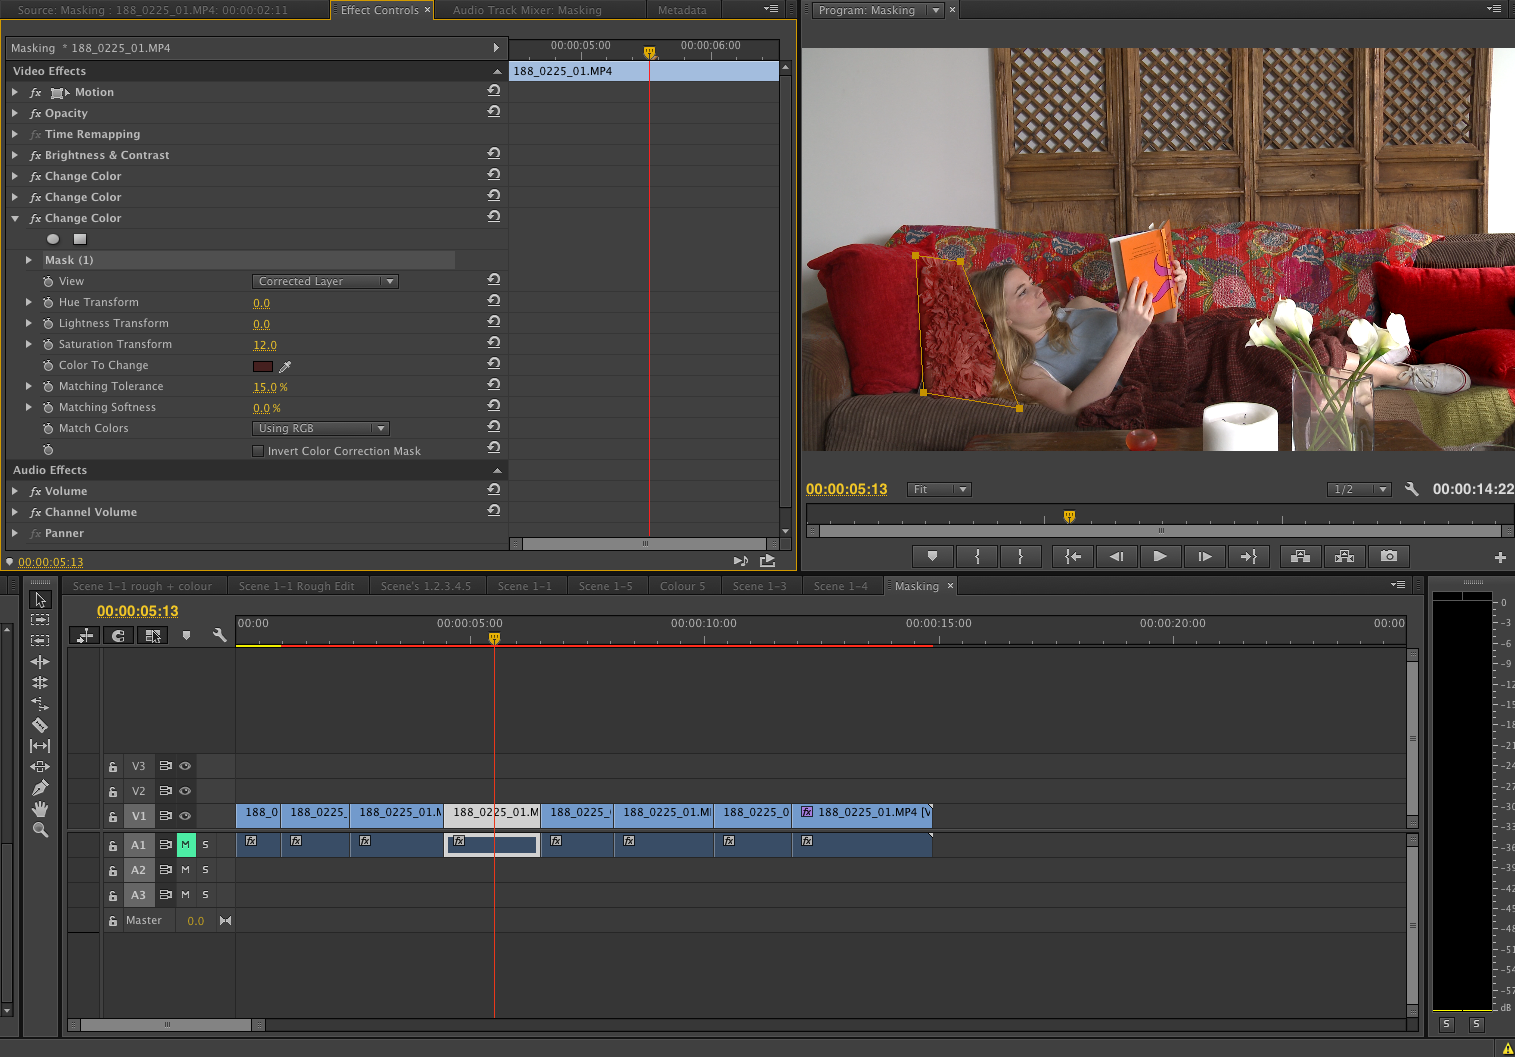
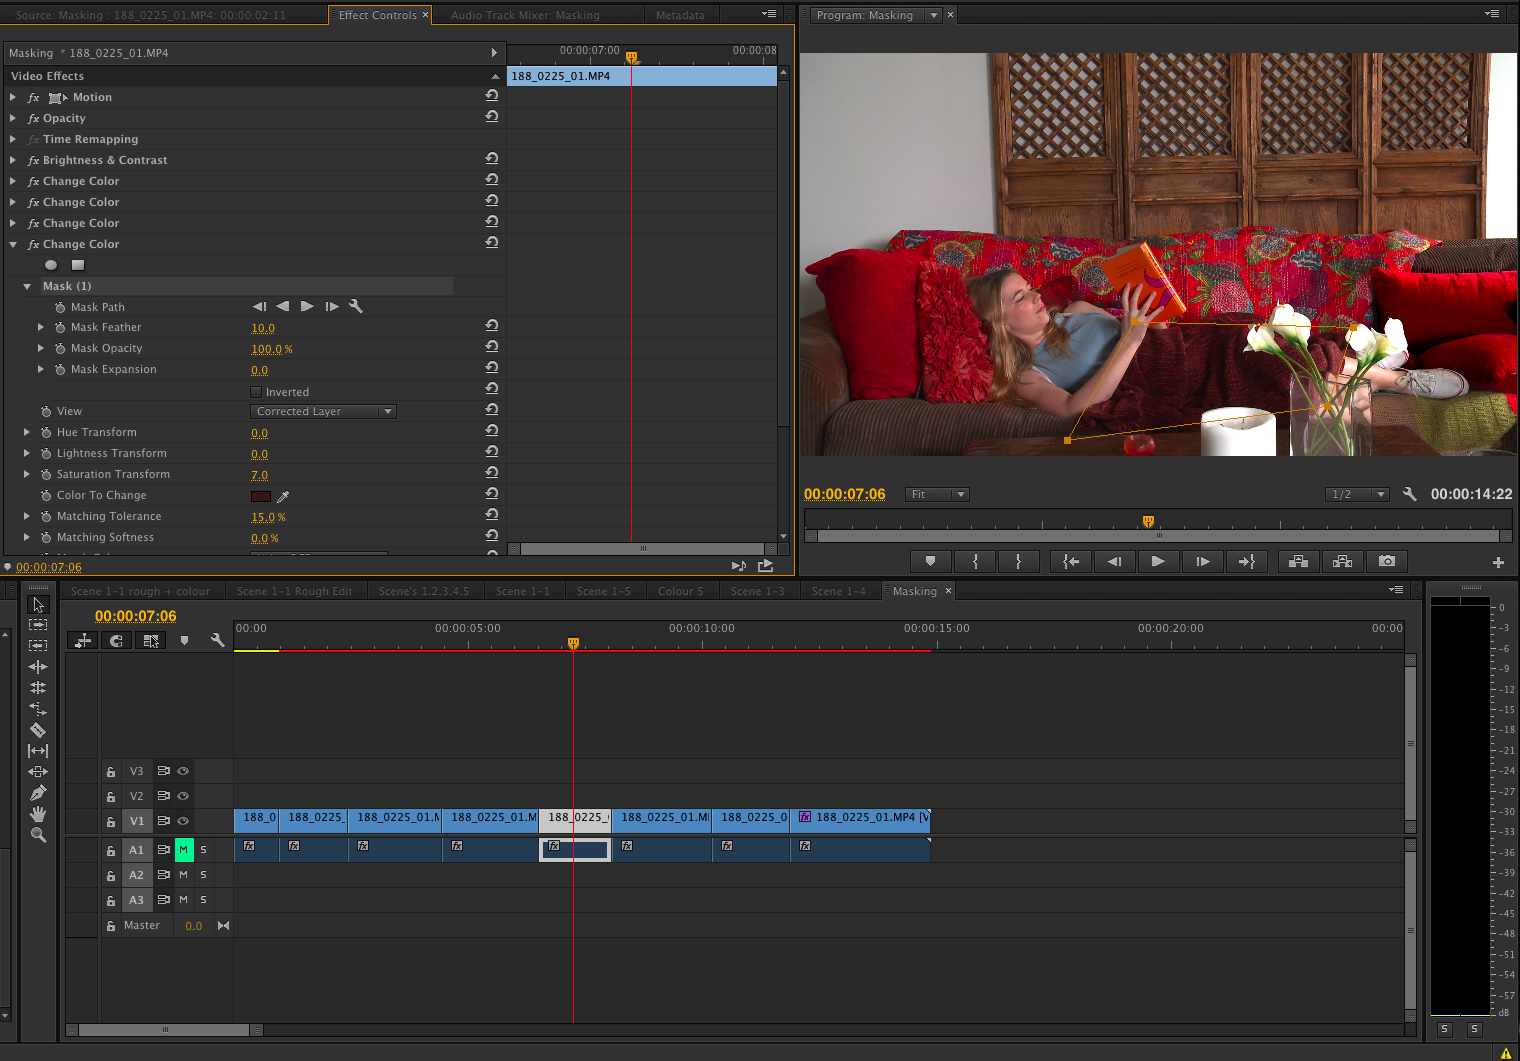
In my research of colour I decided to show the effects of colour masking in Adobe Premiere for my 40 seconds of screening. I made a post on my colour masking experiments using the material I filmed.

http://www.mediafactory.org.au/torika-taylor/2015/06/01/my-process-for-colour-masking/

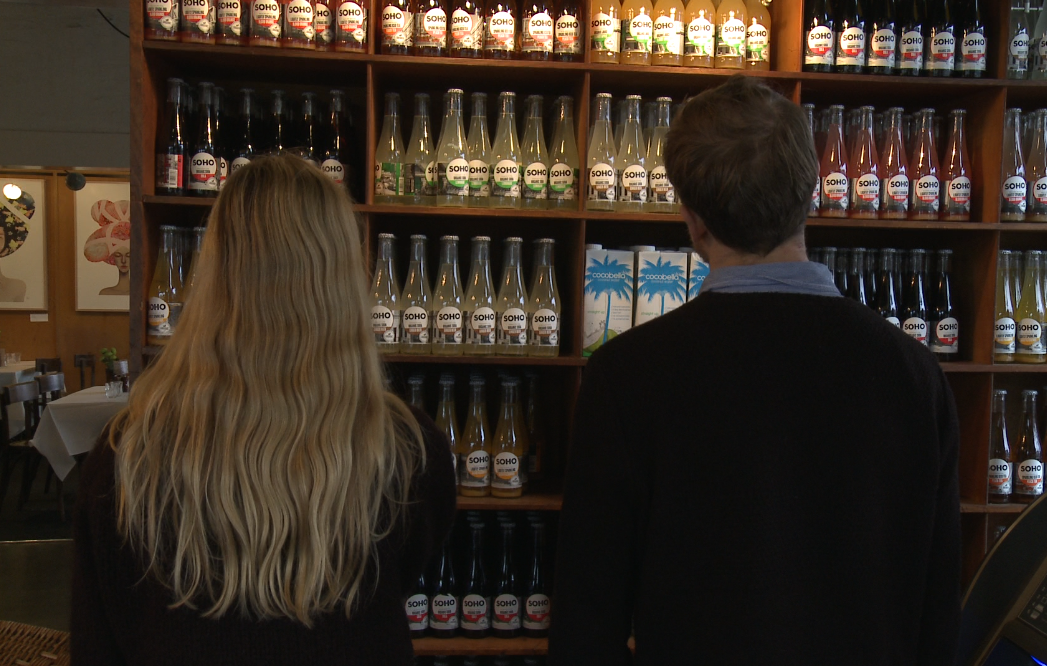
I also have included a rough cut edit of the scene in which shows my experiment with colour

My Process for Colour Masking

Through my exploration of the importance of colour in films, I have decided to focus on the use of ‘masking’ in Adobe Premiere CC. Masking allows you to define a specific area in a clip that you want to blur, cover, highlight, apply effects, or color-correct. I have used Masking for the purpose of colour enhancement as well as adjusting contrast and brightness levels. The process I have used has been documented in this post with a 1,2,3 step photo explanation.

First of all, in order to control sections of colour within the clip I split the clip into 8 sections to show the individual positions of colour alteration. Step 1 shows the raw beginning of the footage and what it looks like before any colour alerations have been made.To start masking:
1. Select the individual clip and go into effect controls. A series of effects will come up i.e. Presets, Audio Effects, Audio Transitions and Video Effects. Go into Video Effects and then into the Colour Correction Section. You will then drag Brightness & Contrast into the Effect Controls Panel as well as the Change Colour section.

Screen Shot 2015-06-01 at 2.48.16 PM

2. From here I then focused on three pillows that are the same colour. Using the eye dropper tool, you then select the colour of the pillow so that when you add your masks that specific colour is the one that changes. You then create individual masks that cover that object within that Change Colour section. All masks under this category will be the same. You can adjust the mask using the tools so they wrap around the specific object, and don’t interrupt the colour of any other object. You create as many masks as you need to appropriately cover that colour

1

Screen Shot 2015-06-01 at 2.36.21 PM2.3. You drag a new Change Colour into the Video Effects control centre and create a new colour adjustment for another object within the frame. Now focusing on the blanket behind thesubject, there will be a lot more masks as there are other objects in the way. You want to cover the blanket as much as possible without overlapping the other objects, i.e. the book in her hands, the pillows and the wood frame.

Screen Shot 2015-06-01 at 3.32.18 PMScreen Shot 2015-06-01 at 3.32.31 PM Screen Shot 2015-06-01 at 3.33.10 PM


When masking you need to take into account character movement and that you need to cut a clip and edit separetely if the subject moves around as you don’t want them walking into a mask that will effect the way they look. For example. with the blanket behind the subject, When she stands up I had to cut the clip so that I made sure her face didn’t turn red when she stood up as she covered the blanket are.


https://helpx.adobe.com/premiere-pro/using/masking-tracking.html


Colour Masking for Screen Presentation

After discussion with Paul, we decided that for my text in the screen presentation, I would talk about colour and the effect of using “masks” in Adobe Premiere.
I will show the effects of at least 5 different colour masks in Adobe Premier and show the effect gradually layer on top of the scene as it plays out. For instance, one pillow will adjust, then another, then the blanket, then the book, then the wooden panel behind the couch. The aim of this is to show how you can do a lot more to a shot by individually altering the objects in the frame, rather than altering a general flat hue over the whole scene.

Ocean’s 11 Soundtrack

I was watching one of my favourite films the other day Ocean’s 11 (I could watch that movie over and over and over again and still not be sick of it) and I started thinking about why I love that film so much. I wanted to talk about the film and I wasn’t too sure what I actually wanted to talk about other than the soundtrack. I haven’t googled who did the soundtrack for the film but I think they did such an amazing job choosing the right sound for the theme of the movie. It matches the light hearted criminal twist that the movie has going. Music needs to suit the overall mood of the film and collect together to complete the movie. For instance Twilight, shit movie, but the music suited the scenes so well that it made it just that little bit better.

My Method Of Working Pt. 15

I managed to fall upon a location whilst driving through Preston the other day and it is the perfect spot for the end part of my scene. It is situated on a bridge and has an amazing full view of the city without any buildings in the way. I tried to take some photos, they are not very good, but it is so I remember where the location is.

IMG_4587 IMG_4586
fa

My Method Of Working Pt. 14

I planned to film a section of my scene on Saturday, however, due to bad weather I couldn’t film. My scene took place predominantly outside so I couldn’t film. Massive bummer for me because I have two other locations so i can’t have the weather change too drastically.

My Method of Workign Pt. 13 First Date Script

1. INT. GRETEL’s BEDROOM. MID AFTERNOON

Mid Afternoon. Gretel (20) lies down sideways on her couch flipping through a magazine.

2. EXT. OUTSIDE GRETEL’s HOUSE. MID AFTERNOON

Mid Afternoon. George walks a few paces having arrived at Gretel’s house. He is nervous and stops shortly to pat his hair down, pours some tic tacos into his palm, swallows them, then clears his throat reaching to knock at the door in front of him. He waits and eventually Gretel opens the door. They both smile at each other awkwardly.

GRETEL
(quietly but excited)
Hello

GEORGE
(anxious, quiet and also excited)
Hello

3. EXT. ROAD. MID AFTERNOON

Gretel and George are riding their bikes side by side on the middle of the road. They don’t speak but they are happy.

4. INT. CAFE. MID AFTERNOON

The two sit facing each other, both drinking a soft drink out of a glass bottle with a straw. George reaches out and places his hand on top of hers and smiles. She smiles back.

5. EXT. ROAD. MID AFTERNOON

The two are once again riding their bikes, swerving in and out of each other. They eventuate at a random location in the out skirts of the city. They get of their bikes and lean them against a pole.

6. EXT. PARK BENCH. DUSK/SUNSET

The two sit facing towards the view of the city.

My method of working Pt. 12

For the cafe scene, I was thinking of using this cafe called ‘Friends of Mine’ Cafe in Richmond. The colour in this scene would consist of yellows, oranges etc. The actress’ hair is blonde as well, so ilbrea-l-610x610-dress-dolce+gabbana-almond+blossom+print+sun+dress-floral-yellow
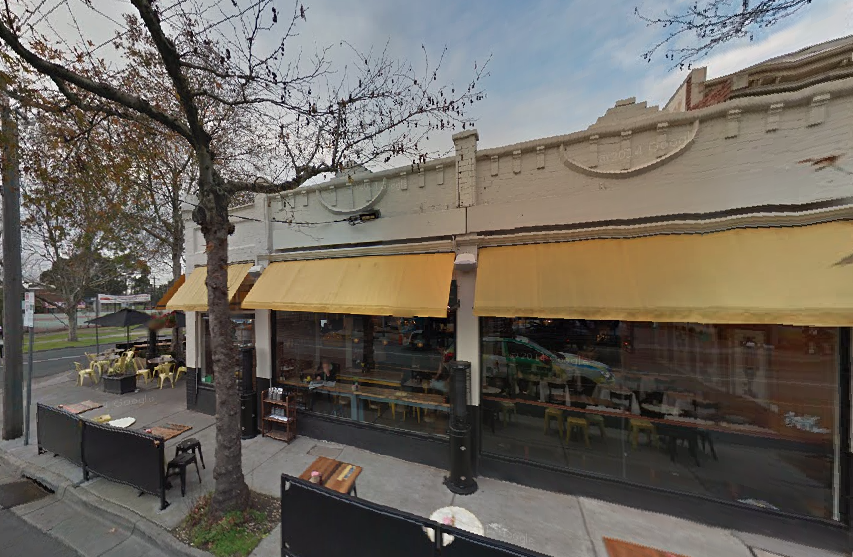
I will utilise that someway as well when I colour correct later. I would have her in a yellow sundress. I will most likely need to go to an opp shop to find something that is a proper yellow that I am looking for. I will also look polo-ralph-lauren-red-plaid-shirt-product-1-15741543-497092243_large_flex
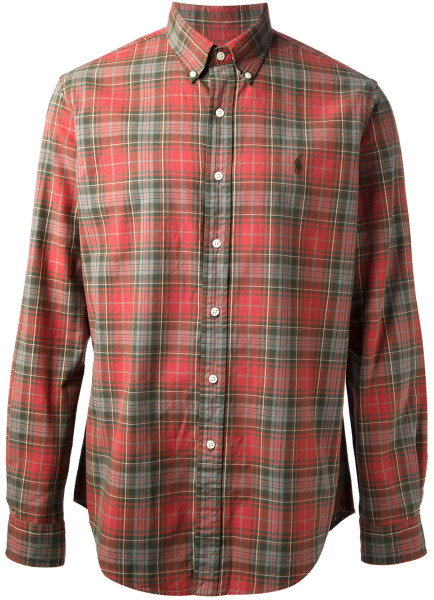
for yellow props that can be incorporated into the scene. I want the boy to wear a plaid type shirt that is a bit worn. They will both have jackets or jumpers that they will take off throughout the scene. But I won’t show them taking them offFriends-of-Mine-
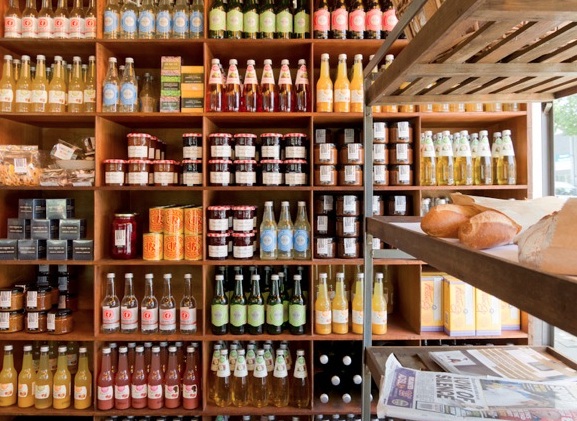
, they will just have it tied around their waist in the next scene. I need to go into the actual store and request permission for filming in this location. If they agree, I will need to take a lot of photos of where the couple will sit, where they will walk, etc. I don’t want to include the waiters or waitresses conversing with the two. If I did include interaction with the workers, I would have only them pouring water into their glasses.
I like the idea of little things around them being yellow as well. I would have yellow drinks on their table, or something like fresh lemonade with yellow straws as the cafe exterior and furniture is all yellow.

San_Pellegrino_S_537642f10afee imagesE-Straw-Yellow-Sunshine-3-MED


f4-2Screen Shot 2015-05-15 at 10.31.08

Screen Shot 2015-05-15 at 10.13.58

My Method of Working Pt. 11

IMG_0004I thought about filming the two actors from front on, on their bikes, but also through the perspective of a tram. It gives the viewers the ‘observative’ perspective that separates us from the intimate closeness of the camera.

I am going to the country this weekend and have decided that I can utilise this time to film the two actors in the second part of the scene (The riding the bikes part).
They will both be there on the weekend so I thought, I might as well try and utilise the amazing country side to film. Screen Shot 2015-05-15 at 10.09.46I may not necessarily use this location in the actual film, but it is rather beautiful and very Australian. Even though I would film in a lot of other locations, the audience doesn’t need to know that they are not the same spot. I’d show the two walking or cycling through this area before they got to the cafe, end location. This could also be where they end up at the end of their date. I feel that I will film as many different possibilities at this location just in case of any instances that may arise.


My Method Of Working Pt. 10

Different aspects of colour and its use within film. 

Another aspect of colour to consider is the effect colour can have on using colours to associate with individual or collective characters. For example, when a scene introduces a collective amount of characters at once, the director needs to establish these characters with what they are wearing, they’re physical appearance but also the colour of their clothes. The easiest way to associate a character is by sight so rather than remembering names or personality traits, we as an audience can quickly associate colours with our characters.

Colour is able to highlight a dramatic development within a film and can control our psychological response to a scene. The use of colour can signal an important change in a character within the film or can symbolise a change of landscape and surroundings. For example, the wizard of oz has black and white at the beginning of the film to represent reality and the change into colour represents Dorothy’s fantasy world of Oz. Another example of Colour coding is that of Pan’s Labyrinth where the director outwardly states that colour was a key design element because it “tells a tale when you code it carefully”. A specific colour palette was chosen for Pan’s Labrynth for the sake of the plot continuum. The two worlds in Pan’s Labrynth sometimes reflect each other in terms of dinner tables etc. their only difference and separation being that of the colour and texture.

Colour can also be used a a symbol or clue in the inner plot of a film. For example films like The Sixth Sense utilise the colour red to symbolise the ‘tainting’ of a physical object in reality. For example the mother of the child wears a red coat throughout the film and roses tend to always be in the background of a scene. Another instance of red being a repetitive symbol is that in the film ‘American Beauty’ where red symbolises the desires of the main protagonist. If he desires something or wants something it will be surrounded by red i.e. red will be in the foreground and the background of a scene.