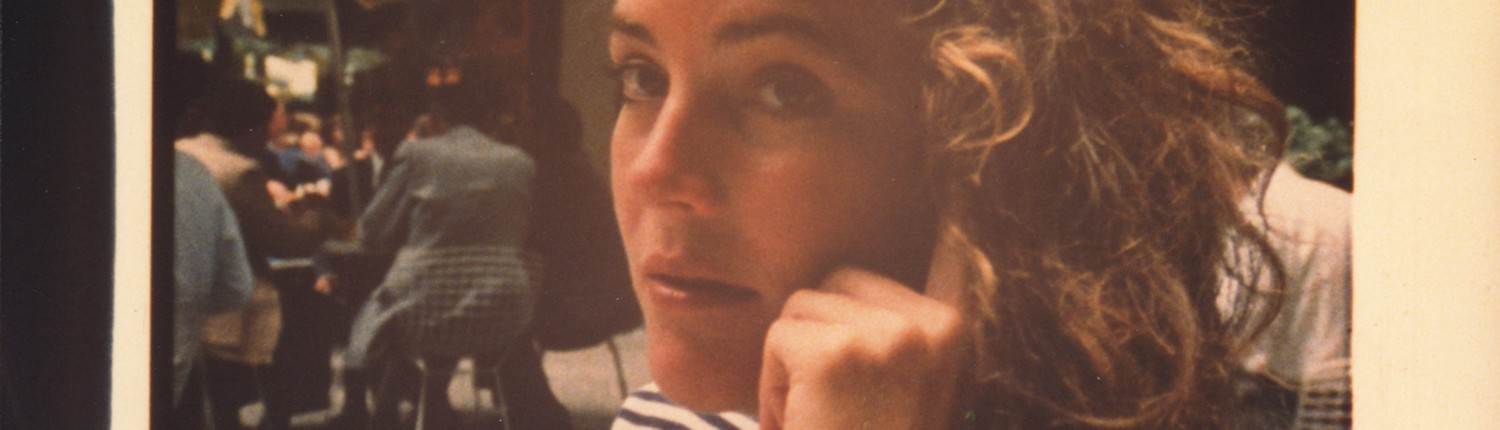
Footage 1 – Building with Clouds
BEFORE – Neat Original
AFTER 1 – Saturation

AFTER 2 – Blue Sky
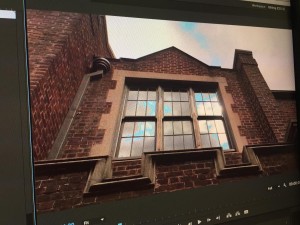
The above frame/footage I adjusted mostly saturation levels and Master Input Gray Levels to produce a darker more gothic feel to the building. I also experimented with Tonal Range definition after adjusting the Midtones to a deep blue and then changing the amount of pixels (using the TRD tool) that would be highlighted. I did this to create a slither of blue in the sky so that we could see some of the clear sky through the stormy clouds. Final adjustment was the Output levels so that definition in the bricks wasn’t lost. I didn’t want the surface of the building too dark or saturated.
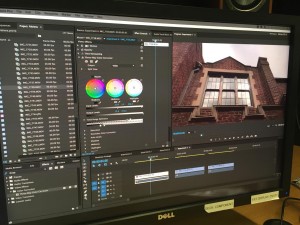
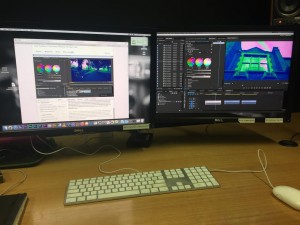
Lynda – Three Way Color Corrector Workshop with Maxim Jago
Footage 2 – Park Trees from Day 2015 to Dusk 1950’s
BEFORE – Neat Original

AFTER – Red Dusk 1950’s
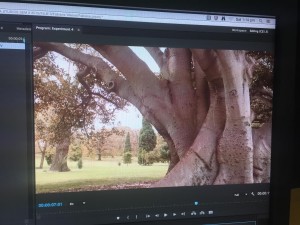
This second image of the tree, I’m aware we were supposed to do three changes of the same image but I’d like to experiment with some of my other footage as well, I adjusted the master color to achieve more red in the image. I increased shadow saturation and the shadow balance controls to achieve the look of a different era or time of day. These color changes give the image a look as though it were shot for a piece set in the 1940’s. It also looks as though the image was captured later in the day than it really was. The saturation and the red color through out gives a dusk like effect that I really like. The tree and leaves also look red brown rather than just brown that I think also adds to this effect.
Footage 3 – Flower Power
BEFORE – Neat Original

AFTER – Purple Flower

For this last image I wanted to change the color of the roses to create a surreal almost animation like effect. Something other-worldly. I played with the input and output levels and then adjusted the master color control as well as the highlight Hue angle control to bring out the darker colors in the flower, the purple in the flower and the brown in the leaves.
A Few Handy Shortcuts
- For my audio I learned (p) short cut that gives me the tool to adjust the volume of each individual clip. A lot of my footage needed individual adjusting as the voices and phrases of the piano weave in and out of each beats. This was a handy tool for me.
- The (z) shortcut allowed me to get a close up quickly when I was getting specific about what moments I wanted to peak.
- Obviously (c) the razor tool is essential to know. I spent the first few sessions in the edit suits cutting up mostly my audio into separate beats.
- (v) the arrow to get you back to the select tool saves a lot of long winds with the mouse back to this default tool.