Written Reflection for Film Project #2

In the second film project, I had the opportunity to work by myself or work with others. However, I thought to myself, why not do both? So after three productions (including myself), I made a lot of memories and gained a lot of experience from all these productions. They were all very different productions with Pavina going for the advertisement route, Ben hosting his own talk show and finally, mine being an interview.

Pavina’s assignment:

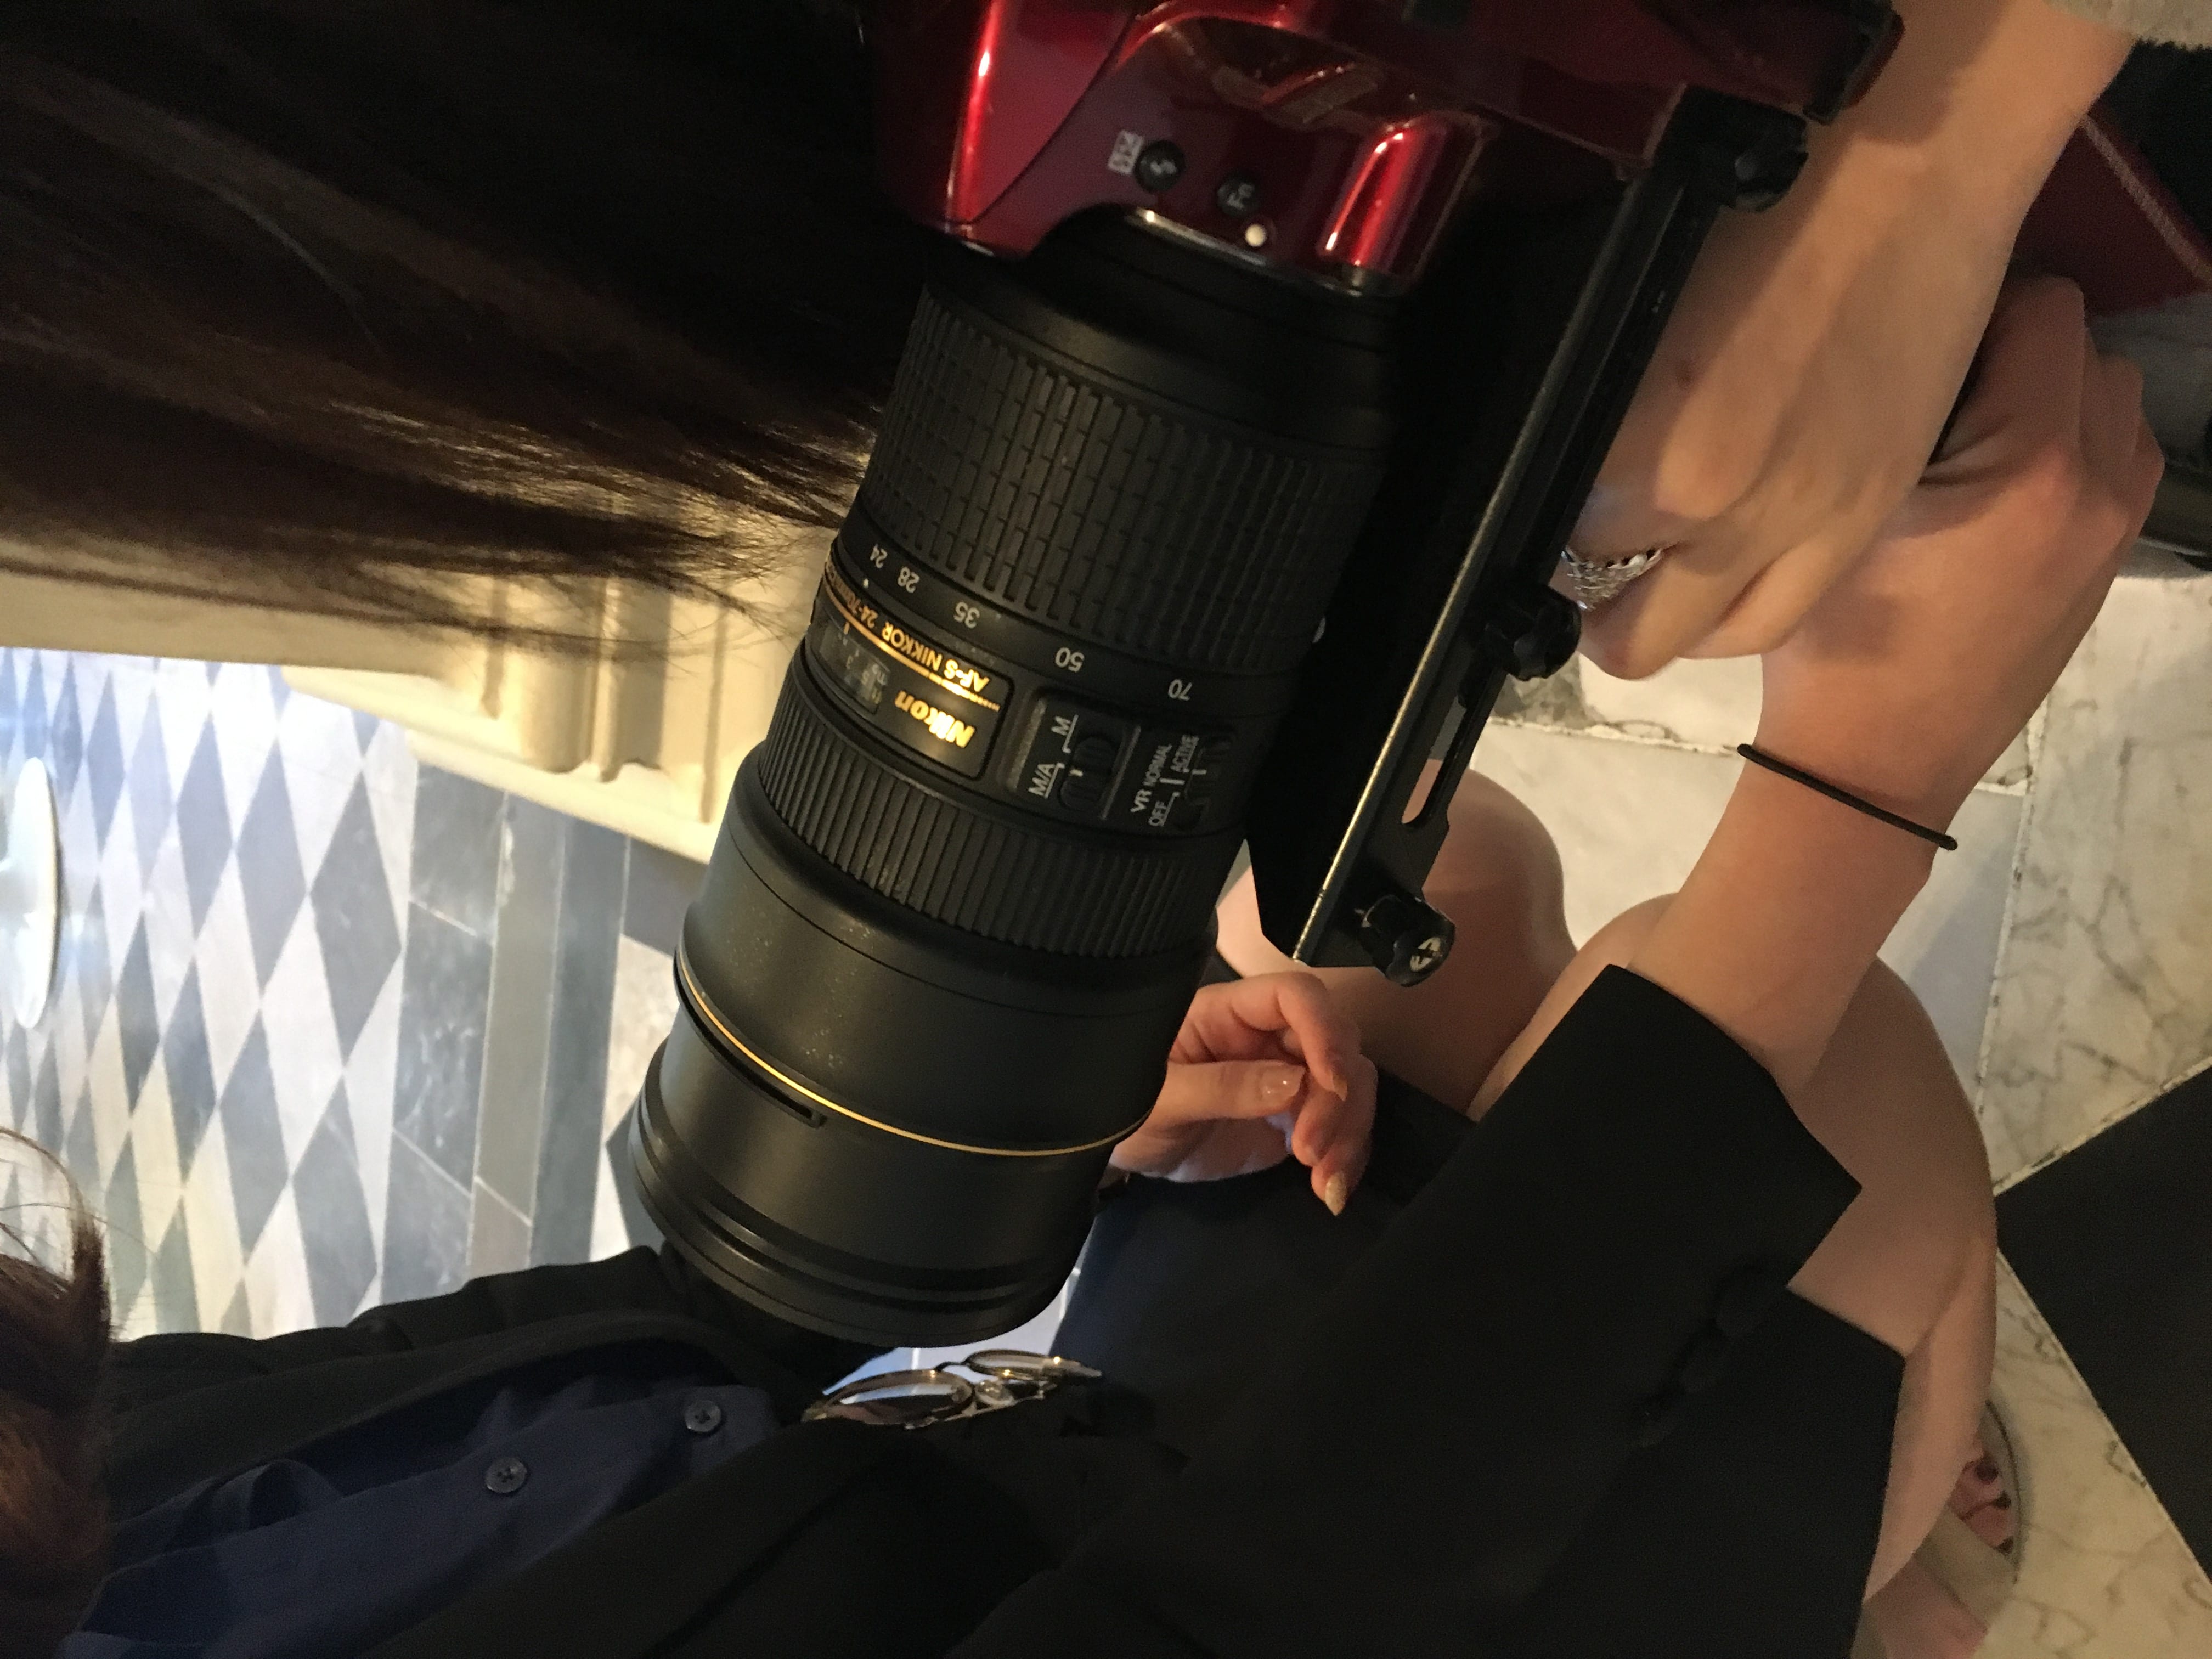
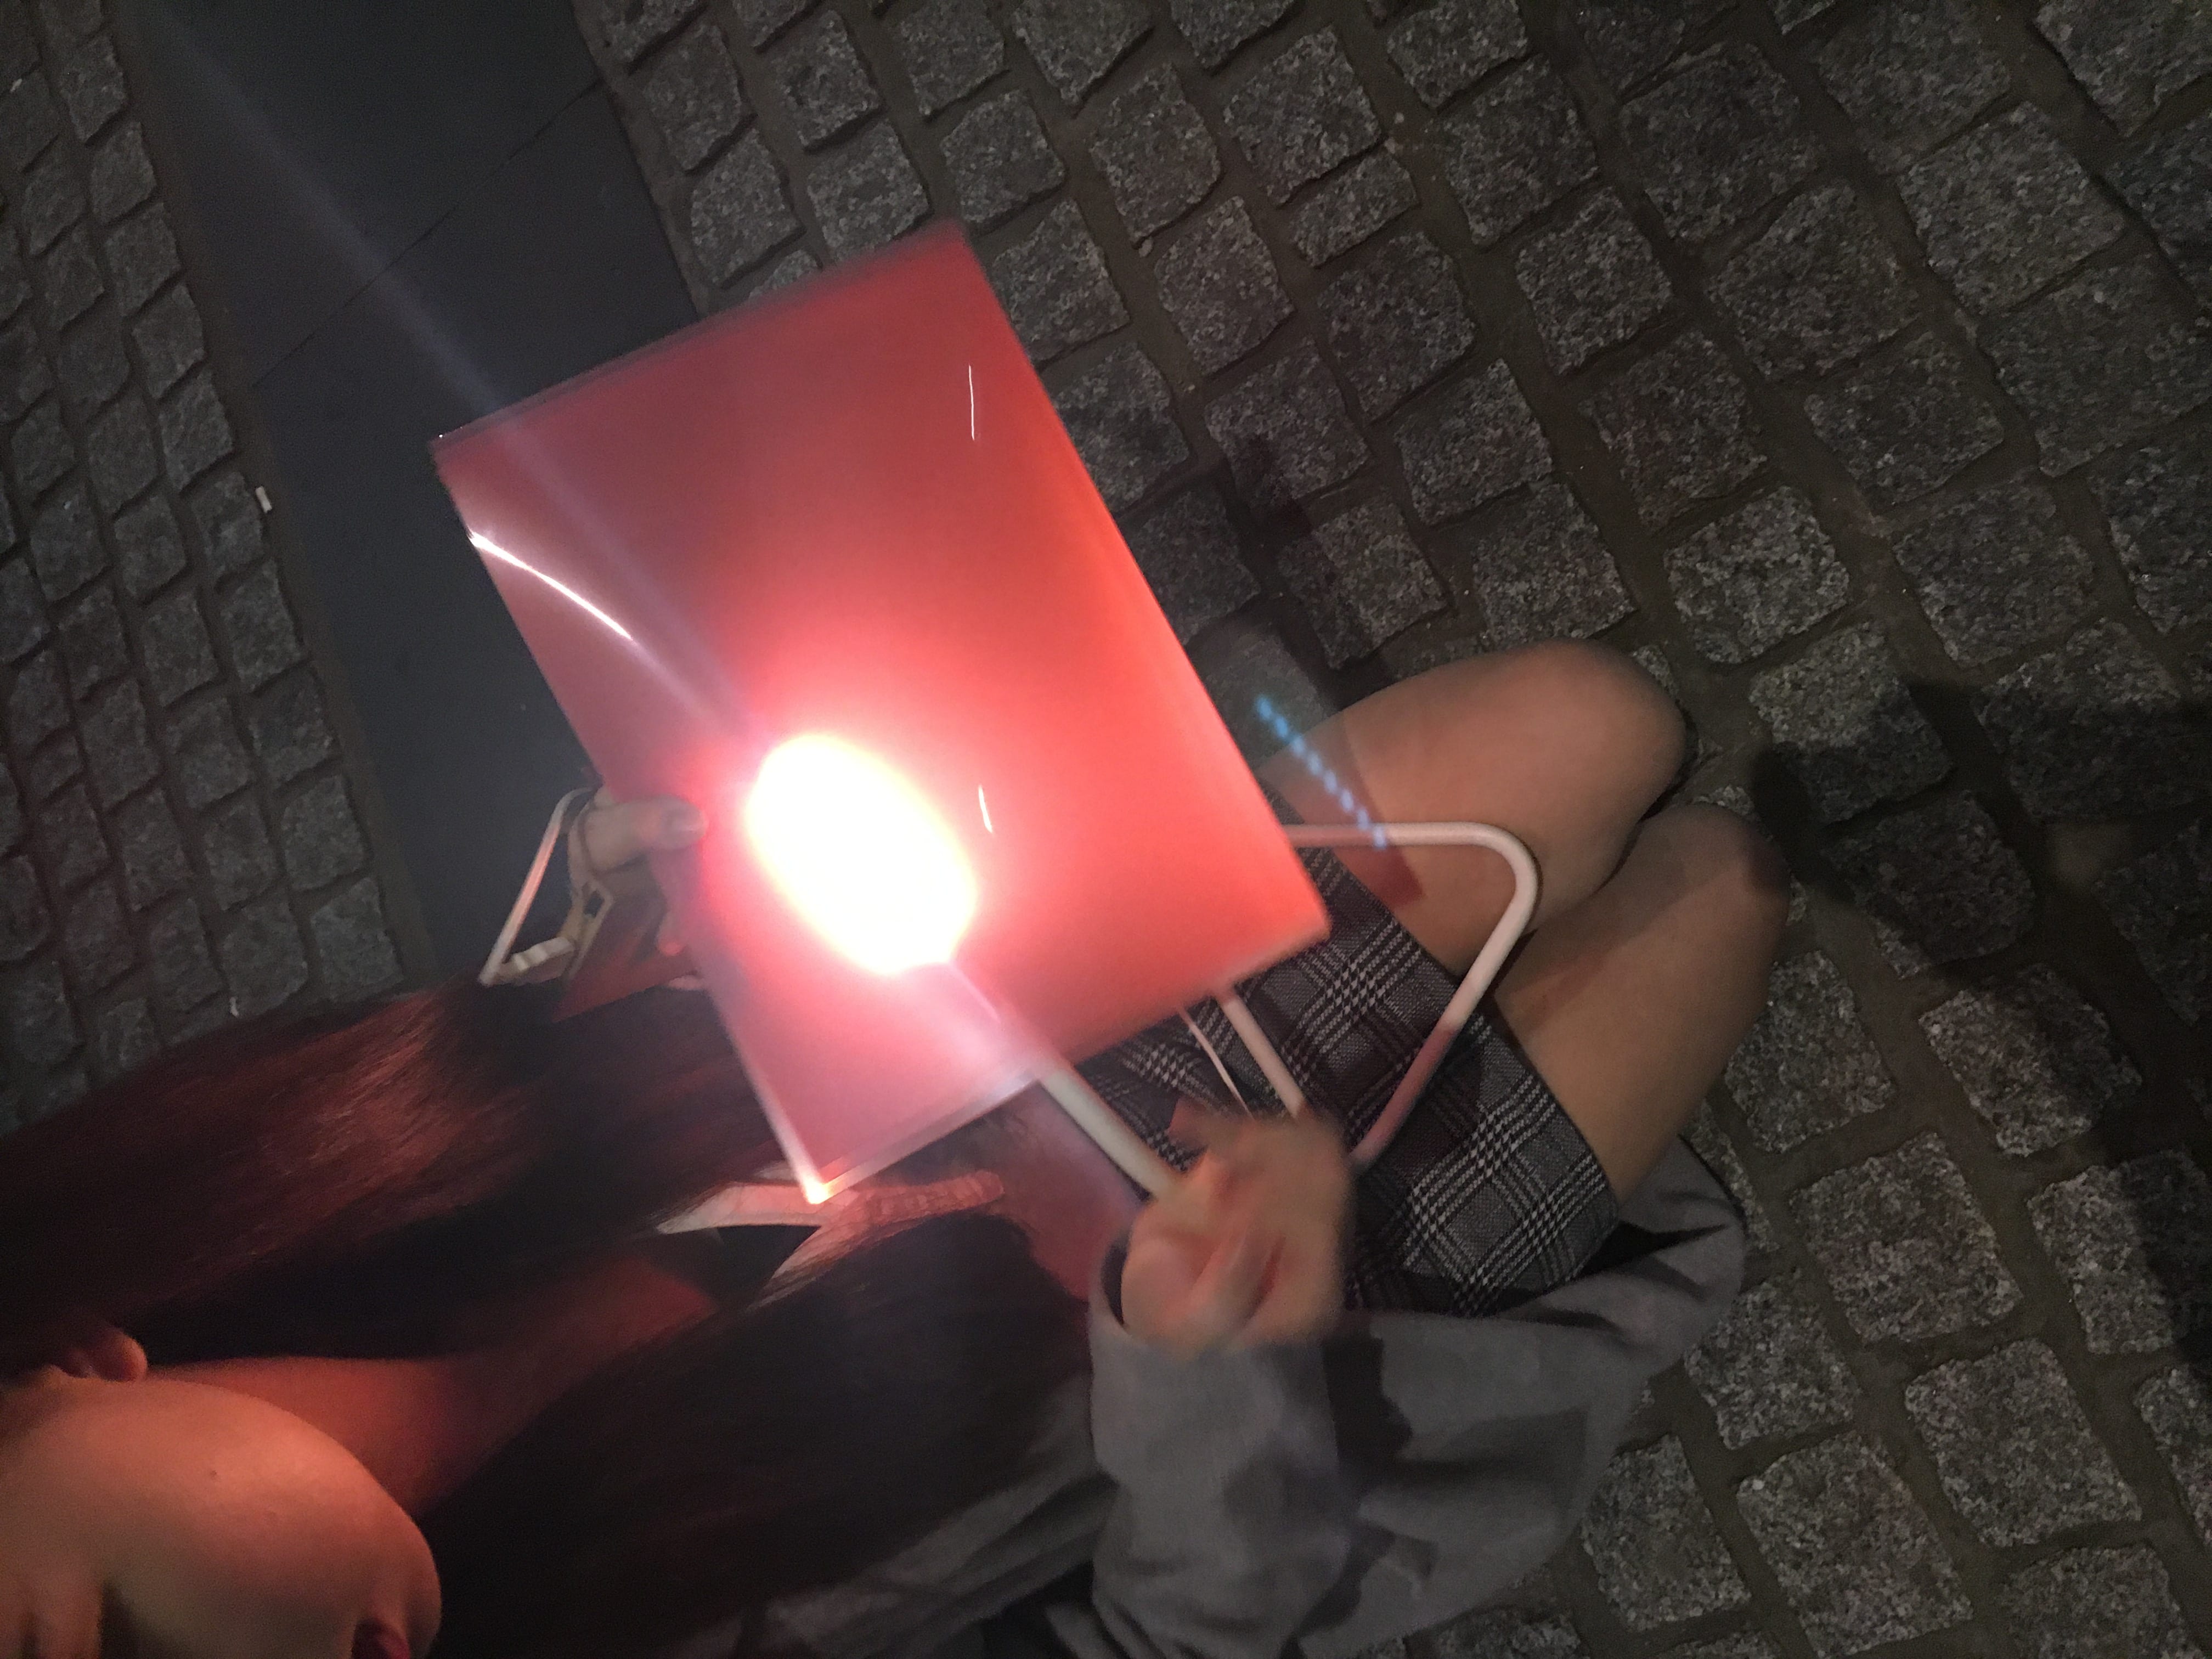
In these productions, I wasn’t deeply involved or invested in it as much as I was for my own, naturally. In Pavina’s project, I decided that I would help her out with cinematography as she expressed that she wanted to learn more about it and improve on it. With that in mind, we tried to make it flashy and “commercial-ly” as much as we could – a lot of advertisements aim to make the product and the model wearing the product stand out. During production, Pavina had also planned locations to showcase and make the shoes stand out even more. Melbourne is known for their structural architecture with the mix of traditional and modern buildings, along with the natural settings such as the gardens and parks.

I also believe there were bits of inspiration from our previous short film, “Missed Moments” – a silent film and a “landscape-y”, architectural type of short film. There were a lot of similarities between Pavina’s first film project and her second one – the music score was important for both films and crucial to setting the whole mood of the film. Her backstory also followed a similar path with Missed Moments, with Chinatown being the ending scene of both short films.

I also took part in the post-production process, only for the colour correcting and the stabilising stage. It was all left for Pavina to sequence the scenes but I had a general idea of how she was going to organise each and every scene. During the production, we made sure to film the transitions from one shoe to another, creating a stylised effect of switching from one scene to another. I believe these types of transitions makes it interesting for the viewers, especially since it is such a simple video with commercial aspects to it. Behind the editing are the emotional aspects that were directed by Pavina and performed by the actress and actor –emotions serve to organise perception and action to attain specific goals (Texeira, 2012) and through this commercial video, that was achieved not only by including what was supposed to be advertised (the shoes) but also the facial expressions of the actress.

Transition at 00:16, 00:46, 1:34 and 2:02 

In this production, I tried to not overstep my boundaries as I was only helping out Pavina with her project – I felt like I took the lead with the previous film project but this time, I let Pavina figure how she wanted to shots to look but of course, I helped her out. All in all, it was all a very collaborative effort and I feel like Pavina and I work quite well together. I’m looking forward for more future projects with her!

Ben’s assignment:

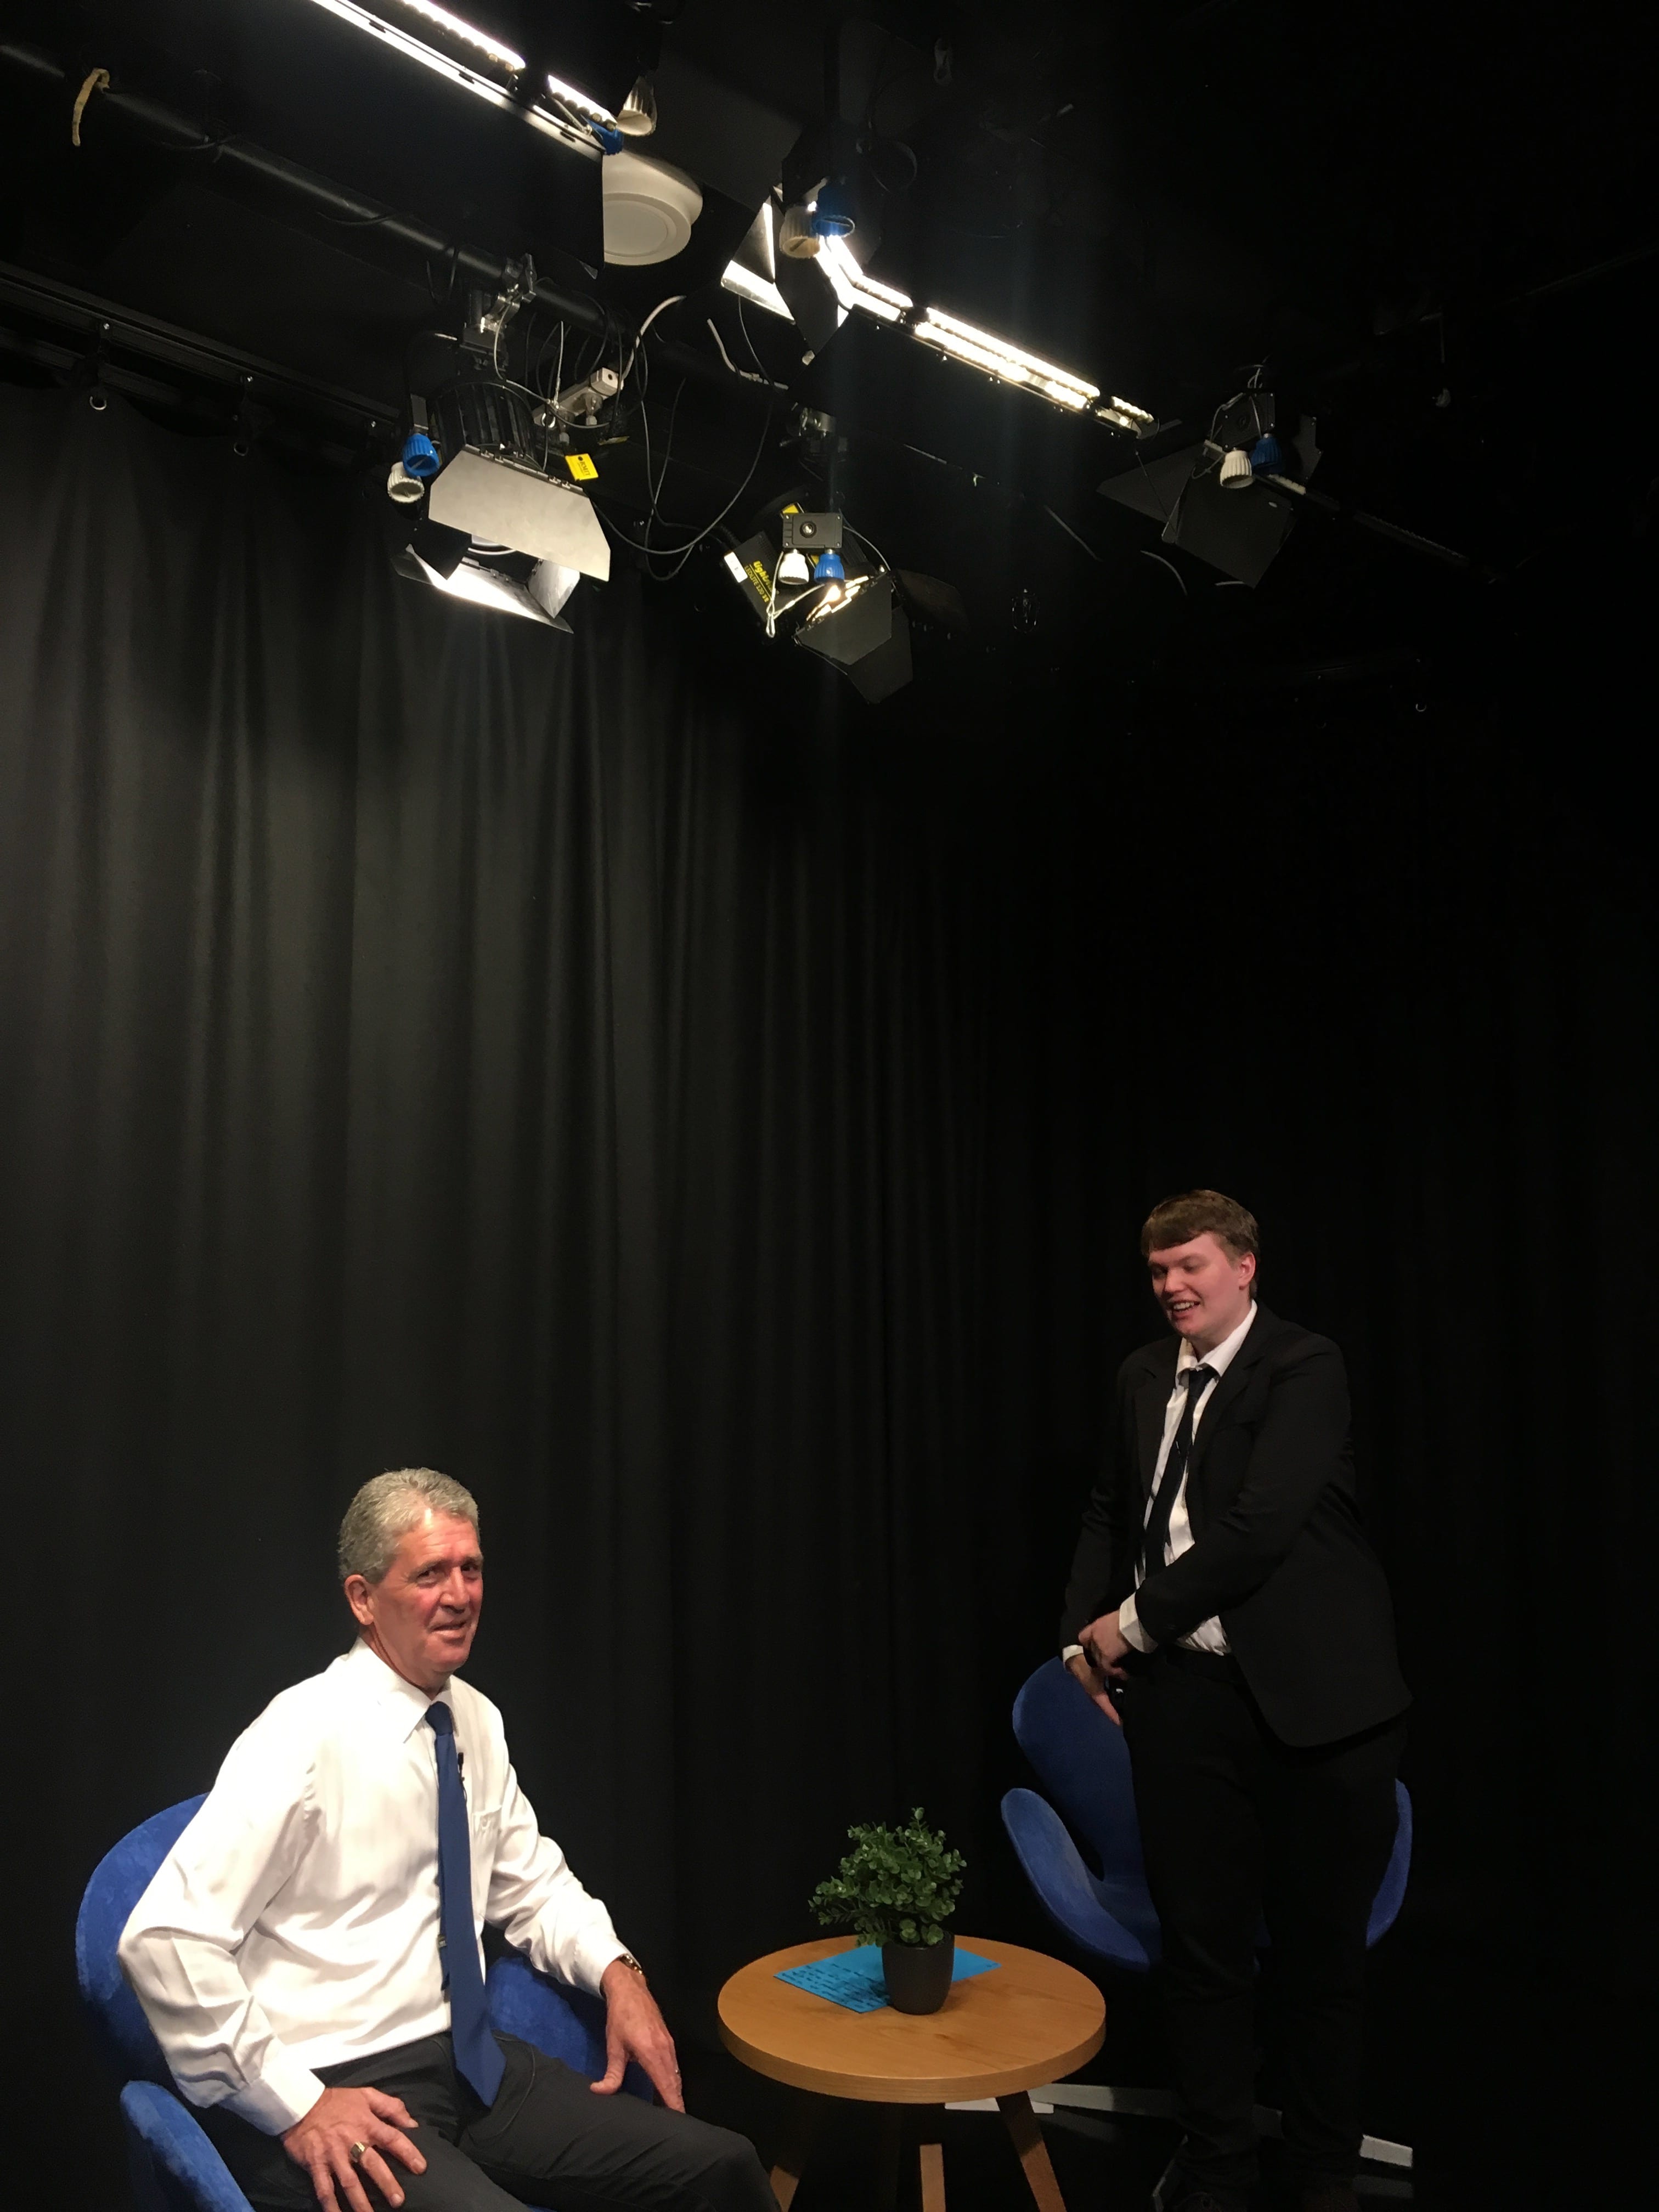
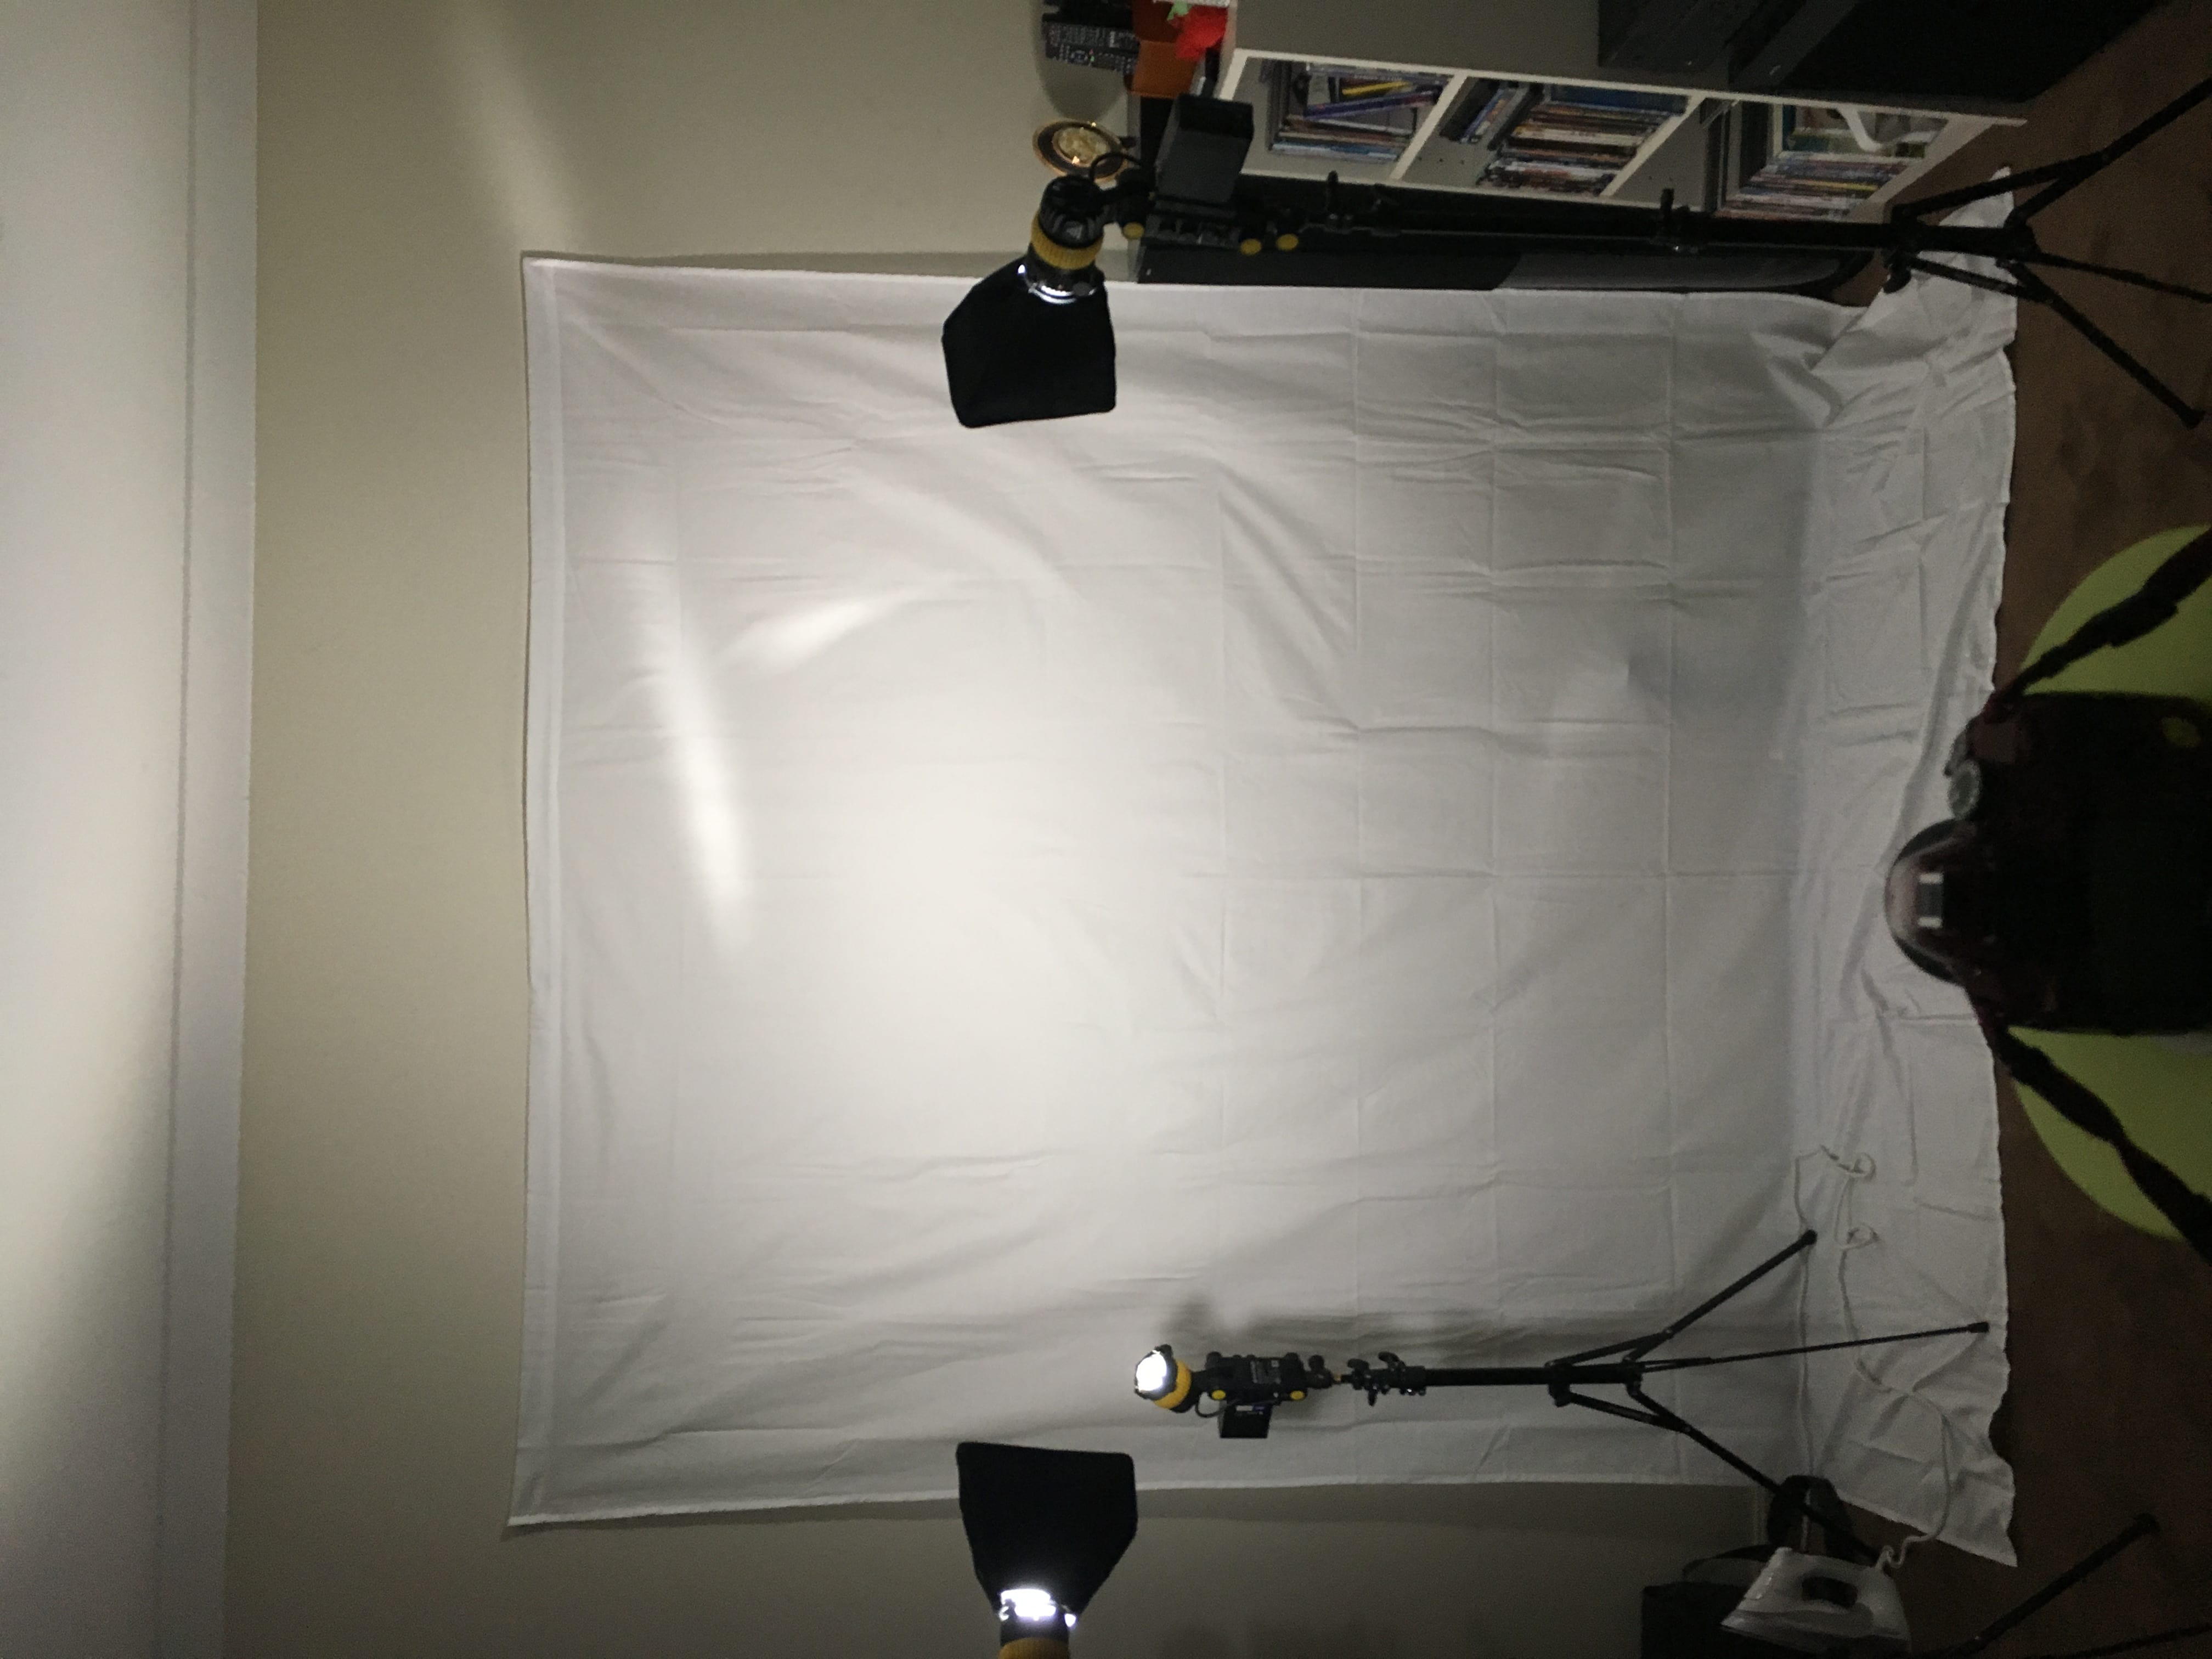
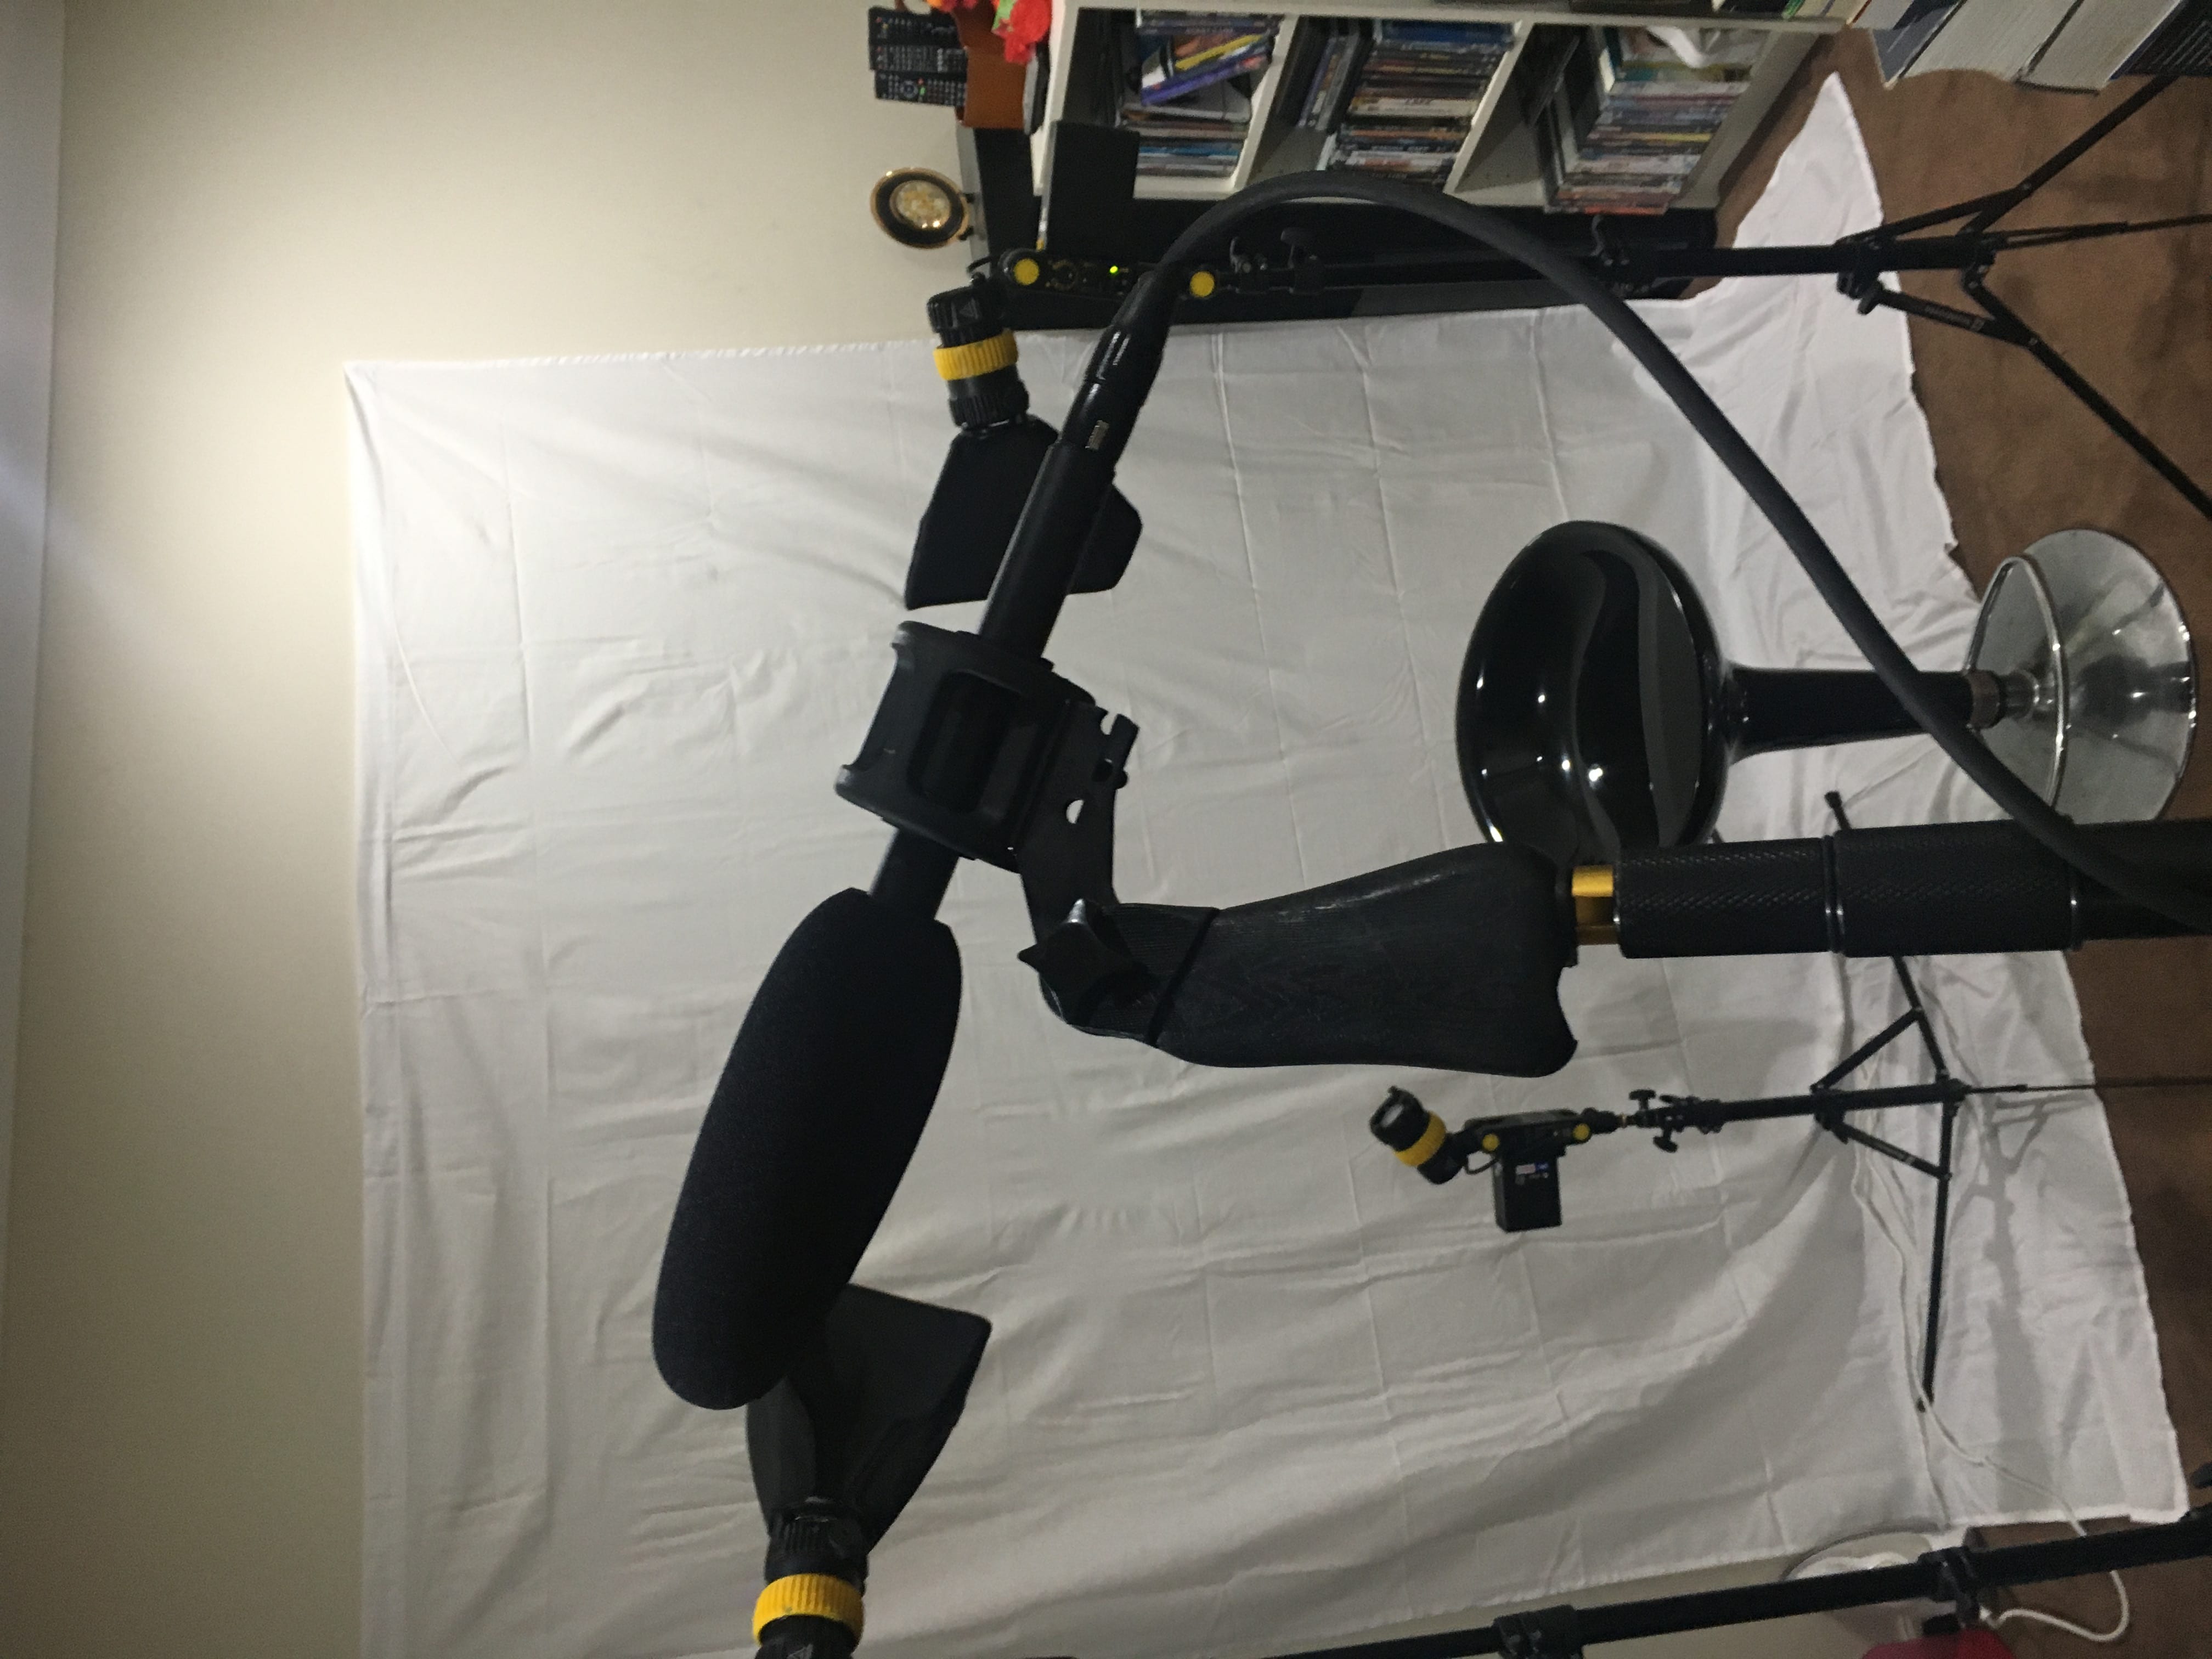
This will fairly be short as I was only involved in the production process. I also had no idea what the content was going to be, except that it was going to be filmed in a studio setting.

Most of the communication was done on Facebook, and I’m proud of Ben for managing to set up a whole crew of talented folks, especially the talent, George Bush’s impersonator. Through all of my previous experiences in a studio, I applied all the knowledge I had to help out Ben with lighting and autocue. Autocue was a breeze but it was lighting that I struggled with for the most part. For the first time, I finally had the opportunity to physically move the lighting and playing around with the settings. Doing it all on my work has made me experience more and go through a learning curve that can only happen through practical work. All in all, I think I got the desired look that Ben was aiming for and I hope he is happy with the final shot:

I am more than happy to help out Ben in the future and also possibly collaborate with him on any future projects. He really takes on this “dark humor” persona really well and is something that should be explored thoroughly.
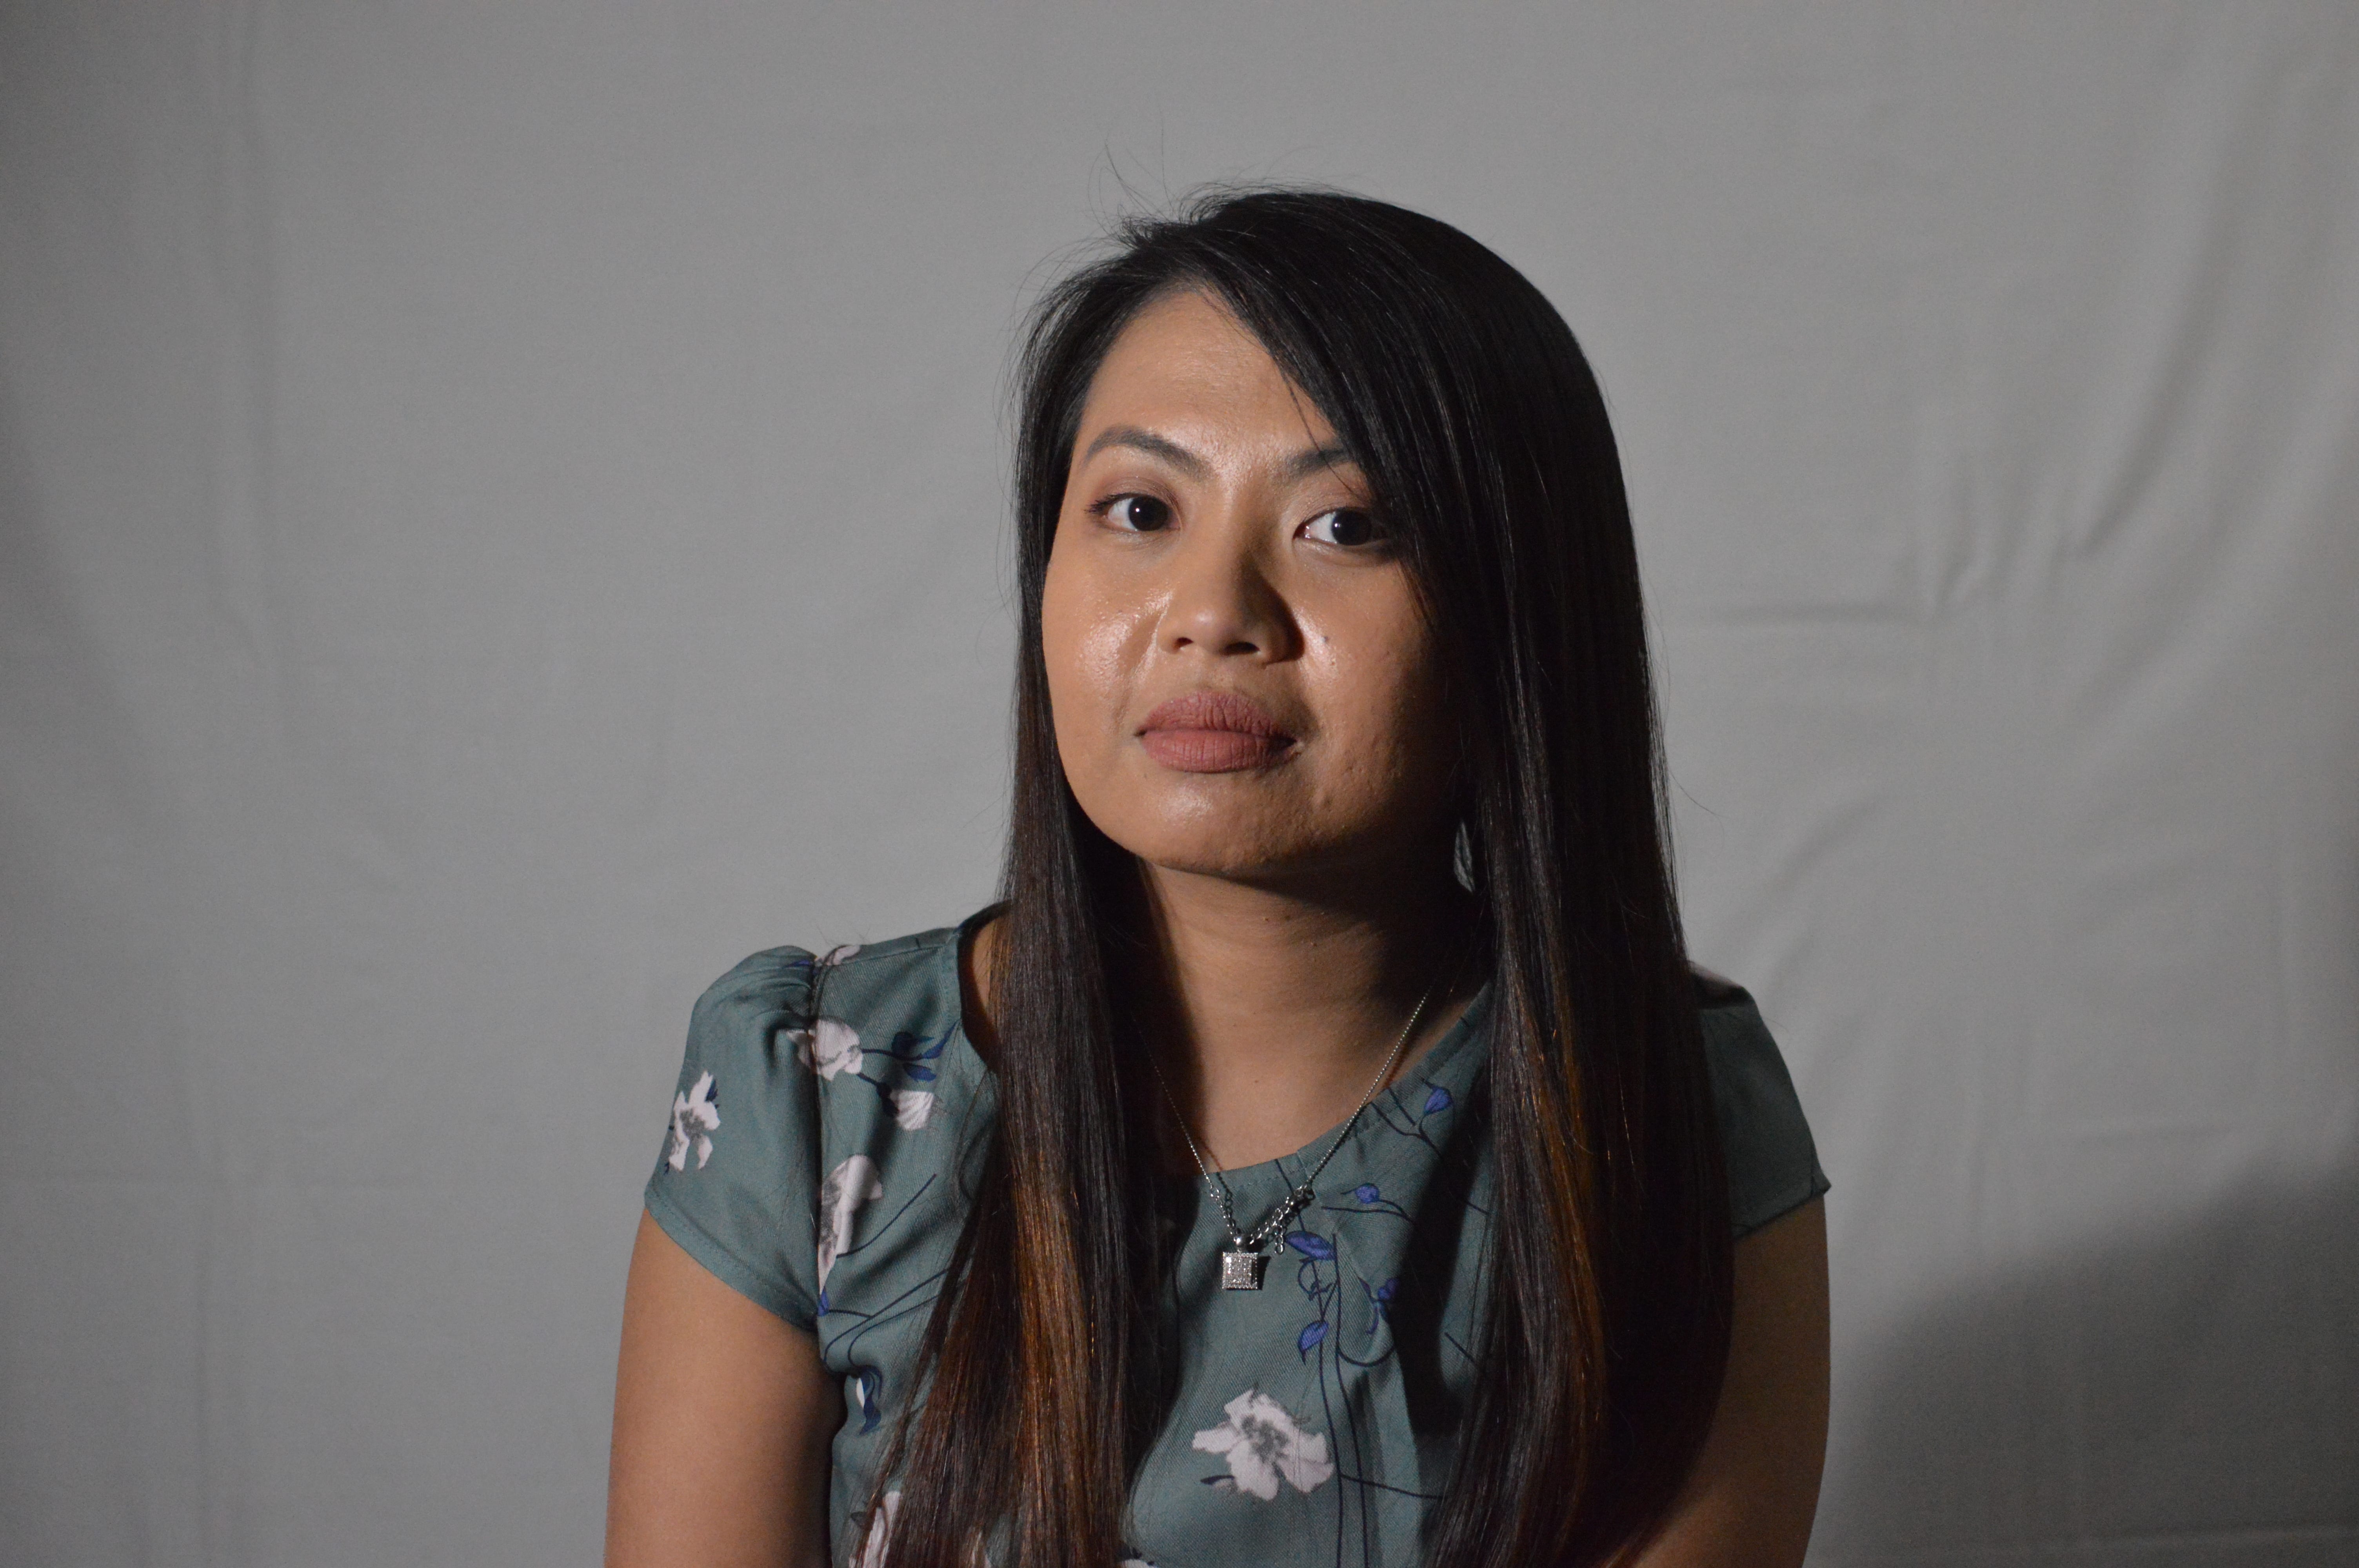
My own production:

RESEARCH FOCUS: Character development, drama and reality 

During my pitch in the earlier weeks of the semester, I had expressed that I wanted to focus on more the dramatic and realistic aspects of life. Initially, I was not planning on having a production for myself and all on my own – I was planning to collaborate with Pavina once again but I thought that truly following my research focus was important to me and my development as an aspiring filmmaker.

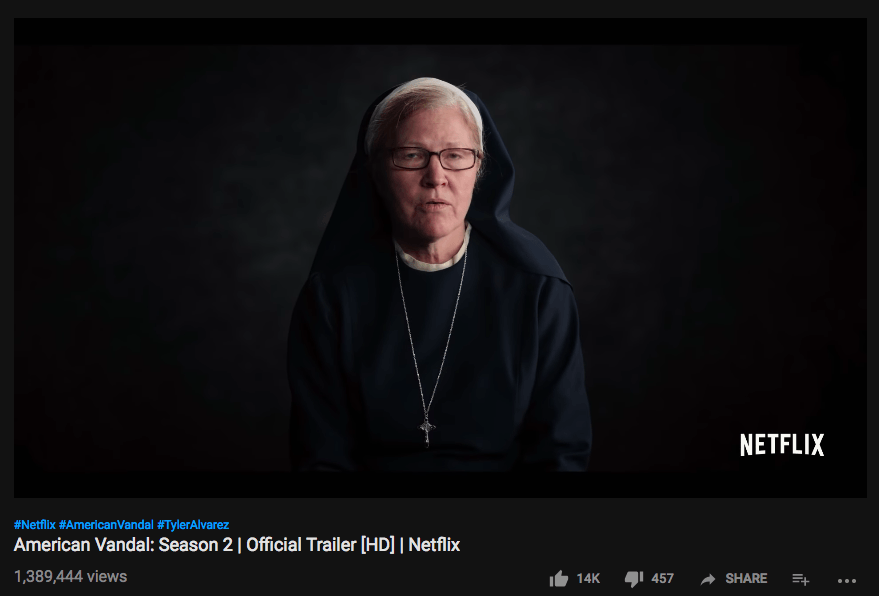
I had expressed that I was interested in family issues from the examples that I showed but James had told me to reconsider whether it was cinematography or the content that I wanted to focus on. Eventually, I came with the conclusion that it was the content (drama, reality) that I was interested in. Having a simple production and shoot would have made it easier for me to truly focus on developing the theme of the whole film. I was inspired by this video to pursue this kind of content, where real-life issues are being discussed with minimal effort for cinematography and all that technical jazz.

You can clearly see the underlying drama that is about to unfold as you watch it throughout the ending of the video and that is exactly what I was aiming for.

As I was developing what the film was going to be about, I actually had a difficult time figuring that part out. With the little time I had, I knew that I could only rely on the resources I had around me and that was my family. I knew for sure that it was going to be an uncomfortable situation, especially with me asking questions that involved their personal lives. It’s not that I had no knowledge of what was happening with them but more so the fact that they were going to speak about it on camera with an audience. Despite all of those worries, I managed to finalise what it was going to be about.

So yes, a lot of personal questions involved with a little backstory of themselves. It is important for the viewers to be engaged with the people on screen so I thought that if they talked about their occupation and the difficulties of it, it would add nice little touch to the overall short film.

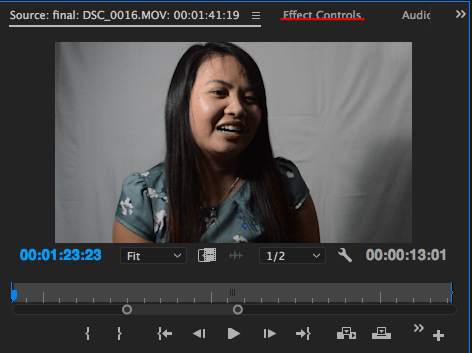
The editing process was one of the most difficult and longest process that I have ever encountered. Storyboarding and editing different stories from the talents was difficult to coordinate but eventually I got there. Initially, I was planning to actually incorporate the questions in the video to guide the viewers. However, when I had my talk with James, he suggested that in order to make the video artistic, “make links and connection between the same topics”. It did make it hard at times to make links between what the talents were talking about. To make my editing job easier, I wrote it down:

I numbered what was the most relevant to each other in order to make the links and also broke it down to three parts as seen in the second photo. In comparison to my initial vision where it was going be organised by each question, I decided to make a whole story about it and turned out better and interesting all thanks to James’ suggestion.

James had also suggested that to get reinspired from the constant editing, colour-correcting it in the earlier stages could potentially help out with that. I had no plans to actual put a LUT on it and was simply just planning to adjust the exposure, contrast, etc. However, the LUT that I used put a much more dramatic effect on the whole video and added the right amount of shadows that I needed to slightly hide their face and highlight the key light (in this case, it would be the left side).

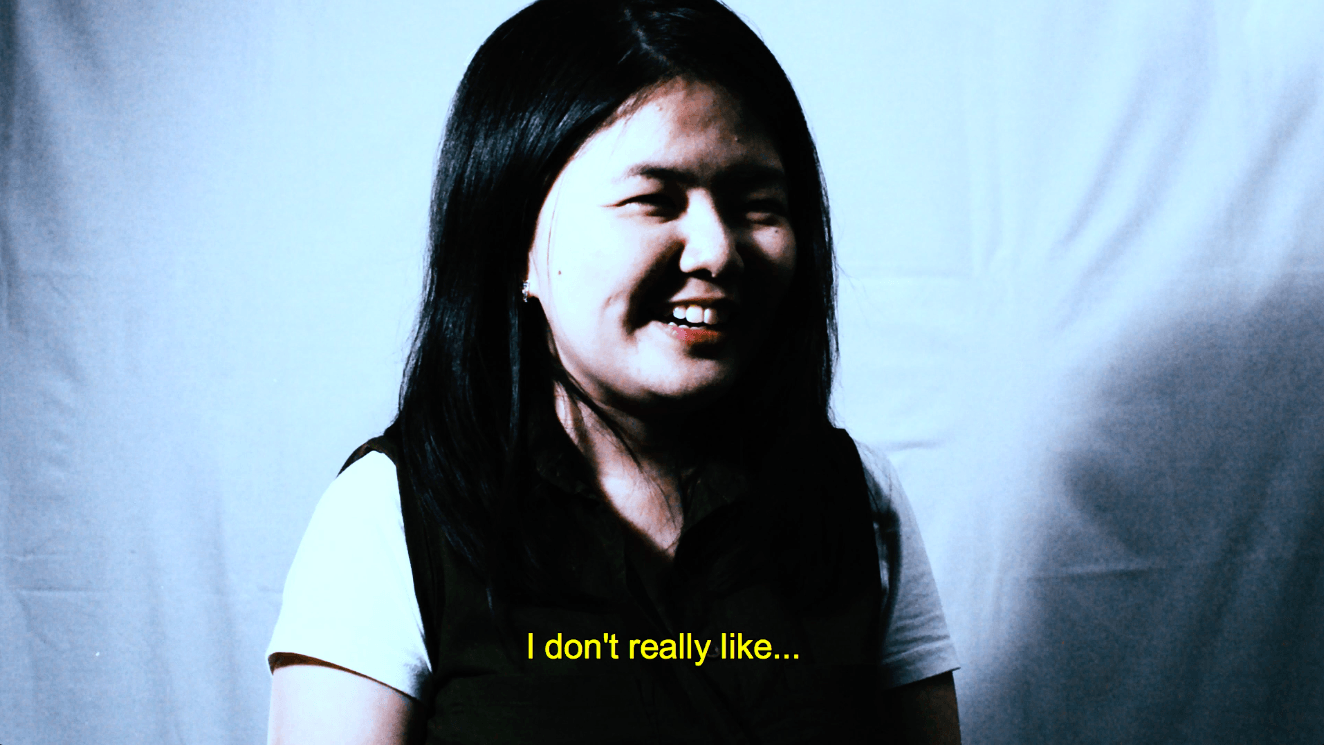
You can see that there is sort of a film effect to it, something I would refer to as an “indie film” look. The LUT and the content did compliment each other and only made the video more interesting to watch (at least I thought it did).

In terms of the music score, that is something that I am extremely proud of but also something that I struggled choosing. I didn’t really know what mood I was going for, other than the fact that it was drama. My most reliable source for music is Youtube’s audio library and naturally, I went through the dramatic, dark and inspirational genres for the music score. After a few tries and few trials and errors, I’m happy with the overall finished product. That is the, the look, the content, the music and basically the whole film itself.

The only negative thing I can say about this short film is that you are able to tell that it is a student film/low budget film. Because I didn’t focus too much on the technicality and the cinematography, it didn’t have the intended look that I wanted, much like in the video example that I provided above. However, I think all the other aspects compensated for the lack of budget I had for this student film.

My whole production has made me realise the artistic, technical and creative capabilities that I can reach and keep continuing to reach. I hope to make even better videos like this with better production value.

Academic Resources:

Texeira, T., Wedel, M., Pieters, R., Research Group: Marketing, & Department of Marketing. (2012). Emotion-induced engagement in internet video ads. Journal of Marketing Research, 49(2), 144-159.


Filming for Ben’s assignment

Ben and I were initially planning to collaborate because I had mentioned that I was interested in wanting to do a studio shoot. However, we both totally had conflicting ideas so we decided to go separate ways. However, I was still planning to help him out as he was still interested in filming in a studio.

I have had quite a few experiences with studio sets so I was more than happy to help Ben out – I’ve mostly worked with autocue, camera operating and a little bit of lighting. In this production, I mostly worked on lighting and autocue.

Ben’s style of production was a late night talk show, so a lot of artificial and studio lighting was required. This was my first time physically moving the lighting in a studio setting with no help – however, I believe it turned out fine and went for the intended look. I also kept the juxtaposition in mind in terms of his script and the “talk show” vibe that he wanted to go for.

It was also interesting to finally put the experience I had to use. These past few months, I have been volunteering for RMITV but I never actually had the chance to apply those new skills on my own.

Lighting and autocue – that was all I could from Ben’s production – I won’t be able to help him out with post-production but I’m glad that I was able to assist him with his late night talk show with George Bush.

The inspiration and process behind my video

Initially, I wasn’t going to make my own video considering I already have a lot on my plate – Pavina and Ben’s assignment to help out with on top of the post-production work and also other assignments for my assessment. Ultimately, I wanted to have my own work to take pride in plus have Pavina and Ben’s project as extra work for extra experience.

Lately, I’ve been into the whole concept of lighting and how it works – I’ve had a fascination around it since the start of the semester. This time, I wanted to actually get a bit more technical and use my own lighting – I rented through RMIT AV Loans alongside a boom pole and microphone.

The inspiration behind this all came from shows that I’ve watched on Netflix, called American Vandal and Youtube that helped me out with knowing how to use lighting:

Soft Boxes 101: A Lighting Lesson 

You can see how well-lit both of these examples are especially around the face and how it creates nice shadows around it as well. The quality of American Vandal is something that I am to go for –

I also studied three-point lighting through Youtube videos and reading websites such as forums and articles that give advice in order to manipulate lighting to how we want it. What I found out through these tips were the three main lighting and that was:

  • Key light – the main point of lighting and should be the brightest out of all the three. It can be placed either on the left or right side on a 45º angle and hits the subject’s face nicely to create dimension on either side of the face.
  • Fill light – if you would rather not have any shadows on the face, you use 50% of the fill light to make up for the shadows. In my project, however, I wanted it to have a more serious and less-gimmicky look so I only used 15-25% of the fill light.
  • Finally, for the backlight – it’s not completely necessary but if you wanted your production to have a more elevated look, you can use it to highlight the hair of your subject and also a little bit of the white backdrop.

I believe that I have achieved it in some ways, but due to the type of equipment that I’ve hired (it isn’t on the high-end level like other productions have used), it didn’t exactly produce the type of results that I wanted, much like in the sample photos above. However, it was still a fair attempt of replicating the standard lighting technique to get the best dimension out of the subject’s face. Here are the results:

These are all the raw images I took before actually shooting the video – they were also my subject for my final video. You can see the shadows on the right side of their face, including the background – it was exactly what I wanted but obviously, it doesn’t have the same quality that was aiming for from the examples that I provided. Despite that, these footages and images are a good starting point for me, especially for my journey and progress to be a capable videographer/cinematographer.

In terms of the content, I will be honest – I was still unsure what my video was supposed to be about, despite setting up and preparing my set. I figured that I would freestyle and talk to the people who were willing to be part of my production. Because I did make the lighting look a bit more serious and dramatic. I definitely knew that I was going to be interviewing people in regards to life matters – it’s just that I didn’t know what exactly the content was going to be about. However, as I got closer to the shooting time with my family, I eventually decided on the topic:

What advice would you give to your past self? 

And basically talks of their life experiences.

I interviewed people in my life to answer the questions from above – it also didn’t have to follow the exact format as I freestyled during the interview, I asked questions that followed their answer to make the interview lengthier. Of course, everything will be edited once it is on Premiere Pro. My plans for it is to segment the same questions together instead of putting it from one interview to another. Once it’s all put together, it’ll have a dramatic and serious tone (I hope).

Post-production for Pavina’s work

Due to Pavina’s video being a commercial shoot, we wanted to go for the highly-stylised aesthetic, mainly for the commercial aspect of the whole video. We were inspired by this video from a Youtuber who does fashion lookbooks, Wendy’s Lookbook:

Due to Pavina’s video being a commercial shoot, we wanted to go for the highly-stylised aesthetic, mainly for the commercial aspect of the whole video. We were inspired by this video, from The aim of the final product is for the video to have a lot of fast-cuts, connecting transitions and is essentially a marketing video. It’s as if we were making an advertisement but of course, we are not affiliated with any brands. It’s more so on the focus of each shoe for each category – work, fashion, sport, streetwear and formal.

The aim of the final product is for the video to have a lot of fast-cuts, connecting transitions and is essentially a marketing video. It’s as if we were making an advertisement but of course, we are not affiliated with any brands. It’s more so on the focus of each shoe for each category – work, fashion, sport, streetwear and formal.

For cinematography, Pavina expressed her interest in wanting to improve in that field so I decided to help her out with it. We both decided on the type of shots we wanted for this shoot so it wasn’t entirely my own idea for the how the scene would look. For post-production, I discussed with Pavina that I would be in charge of colour-correcting, correcting the shots and stabilising any shaky footage. Even as a cinematographer, post-production is still an important aspect for us to focus on.

You can clearly outline the difference between the original footage and the newly-edited one. In this commercial shoot, the aesthetic was for the colours to be more pronounced and well-contrasted against the background. The focal point were the shoes after all and I wanted to make sure they were the main attraction of the video. For commercial videos, it is important for videos to look aesthetically pleasing in order for potential consumers to be interested in the brand. Although this is not a legitimate, paid commercial, I still kept that in mind as if I were editing for a client.

Pavina is in charge of the editing so once she’s happy with her edits, I will fully colour correct the remaining scenes for it to be submitted and be (potentially) ready for the Media Studio presentation night!

Production Progress – Pavina’s Project

As you have seen in the pitch, Pavina was interested in going to the advertising route for her final film project. As we have worked together before, I thought it was a great idea to help her out with her vision and further her experience with cinematography. As for me, I thought it would interesting to dabble with commercial shooting – it was a very easy shoot and was all done in a day. It was also a simple plot with the main focus on the shoes and so, very little acting was required for the actor and actress.

The only real challenge was maintaining our stamina as we had to shoot across different locations. By the third location, we were all starting to get tired – we started filming at one in the afternoon and finished filming by eight in the evening.

In this blog post, I am going to talk about the technicalities of the whole shoot and how we filmed. The camera that we used was the Nikon D3200 and the Canon 80D alongside with a gimbal/stabiliser, the GlideCam 2000. There were a lot of difficulties that came along with using the camera and a stabiliser, mainly because it was my first time using the gimbal, Canon D and the Nikon D3200 with a 24-70mm lens, f2.8 (which mind you, was a massive lens). Whilst filming, it was all a learning process for me and Pavina in terms of how to use these types of equipment. It took us a few tries to get the perfect shot but overall, it was a quick process for us to learn the tricks of the gimbal and the camera.

The gimbal did not produce the smoothest of shots, however, it was less shaky had it been just me operating the camera by itself. The shakiness can easily be fixed in post-production through ‘Warp Stabiliser’. As for the camera and the lens, it wasn’t as beautiful as the Sony a6000 which is why I opted to use a different lens to the kit lens (f.35 vs f2.8). Because it had a lower aperture, it produced a brighter exposure of the shot. However Nikon in general just has a different look from Sony – the colours in the shot are less accurate to real life, whilst Sony amplifies the colour and makes it more beautiful. Nikon makes the shot look quite dull and has a yellow tinge to it. This is not a major problem though, and can easily be fixed in post-production.

For the night time shooting, Pavina utilised external lighting on a low budget and brought her own lamp to the shoot and used a red, see-through film over it to produce a red tinge. It was a practical and effective way to get rid of the shadows but I’m not sure if it actually executed the shot that we wanted. Nonetheless, it was still a great attempt to add in effects and stylise the whole shot.

There are roots of inspiration from our previous short film, Missed Moments, which was originally inspired by In the Mood for Love, an impressionist type of film. Despite being a commercial shoot, Pavina and I aim to have a Hong Kong New Wave style with a commercial twist to it.