Film/TV 2 – A&R5 – Question One.
Q. As per lecture – in a sequence you’ve called ‘colour’ you will have clips that are indicative of a particular colour or lighting state. To the right of that clip you will have that same clip repeated 2 or more times with different colour grades on it.
Take screen grabs of each clip then upload to your blog the series of stills that show us ‘before and afters’ of your colour grading. Provide a few different examples of at least two different clips – each with a description of what you did to the clip and why.
This is a learning exercise, not necessarily a qualitative one, don’t stress – it is the act of doing it and the reflection on that, that is important
A. Colour Grading: “…is the process of altering and enhancing the colour of a motion picture, video image, or still image either electronically, photo-chemically or digitally. The photo-chemical process is also referred to as colour timing and is typically performed at a photographic laboratory.” – Google definitions.
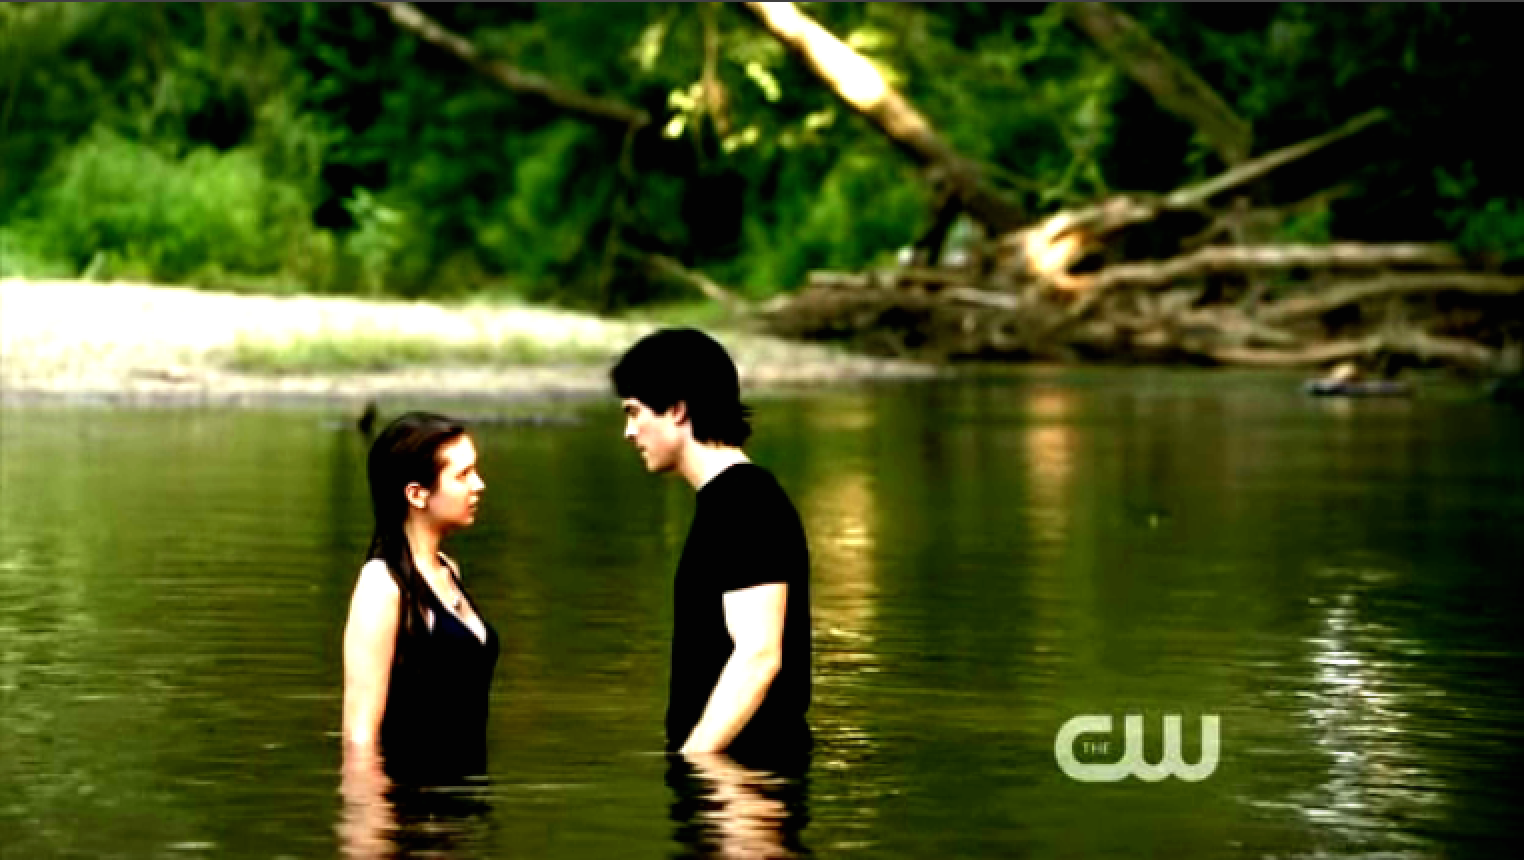
The Original Screenshot:

1ST EDIT:

Adjustment layer > effects > Utility > Cineon Converter. Below is what I did in the effects section…

2ND EDIT:
Using the same effects, here are the points I put everything at…

3RD EDIT:


All next to each other: Below, I have simply played around with the Cineon Converter effect, with no true outcome in mind apart from the wish to have each screen shot obviously different from the one before and after it.

Below, I’ve done one more of the same, but alternatively just altering the contrast/brightness on the adjustment layer, rather than the using the cineon converter.

The top left hand corner is the original screenshot. The top right is with no alteration to the contrast, and a high amount of brightness added. The bottom left hand corner is low brightness (roughly -50.3), and a slightly adjusted contrast (-29). The last picture in the bottom right depicts the outcome when both the contrast and the brightness is adjusted positively (brightness roughly 54, contrast roughly 38).
![]() rebeccaskilton • October 26, 2014
rebeccaskilton • October 26, 2014