After completing each of my shoots I began to post-process my images using Adobe’s Lightroom. Some of the images were edited a lot more than others, some required little editing, but overall I attempted to maintain a sense of consistency throughout the collection. Certain editing manipulations were applied to every single one of my images, rough numerical values of these manipulations are as follows:
- Increasing contrast to +30
- Reducing highlights to -30 to -20
- Increasing clarity to +20
- Increasing vibrance to +30
- Increasing sharpening to 80
- Increasing noise reduction to +30
Increasing contrast, clarity and sharpening all have a similar effect. They essentially make the image appear more defined, crisp and stark. This ends up making the image appear grittier, more textured and more ‘professional. Reducing the highlights helps regain information that is lost through over saturation of light, retaining more detail in the image. It also helps to balance the exposure of the image, so there’s not one area that’s significantly brighter or more saturated with light than the rest. Increasing the vibrance helped to bring out under-represented colours within the image, making the images appear livelier and more dynamic. Increasing noise reduction just stops the images from appearing to grainy, sometimes if you overdo it the image appears super creamy and soft. Because I wanted these images especially gritty I tried to keep noise reduction to a minimum.
Below are some examples of the individual editing manipulations I made and how they impacted each image:
Image 1: Before post-processing
Image 1: After post-processing
Post-processing applied to this image:
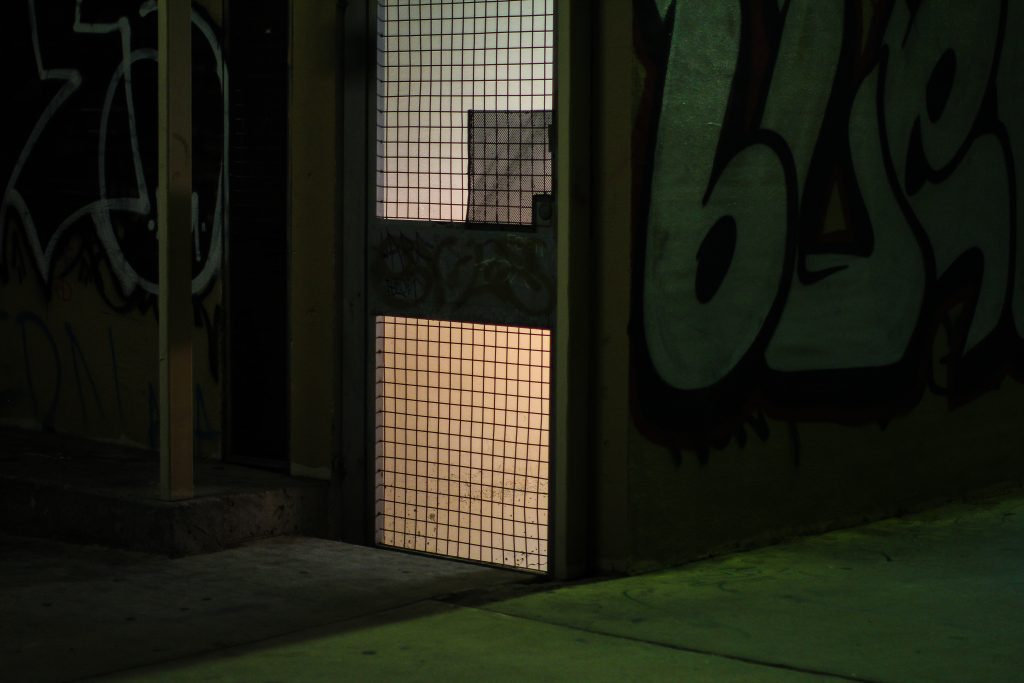
I reduced the shadows to -35 to make the patches of black appear darker, this made the image appear more textured, dynamic and gloomier. I increased the whites to +39 this is confusing, but essentially it helps make the image appear ‘brighter’ and clearer overall without making the image appear less ‘gloomy’ and dark. It also really helped to bring out that brightness of the doorway, and the shafts of light on the ground, without appearing oversaturated, like an increase in highlights might do. I reduced the blacks to -5, this just helped make the blacks appear starker and more opaque adding some more depth and gloominess to the image. I adjust the hue of orange to -50 and the hue of yellow to -50 this made the colour within the doorway appear a more pinkish colour, rather than a coral/orange colour which I didn’t really want. I also adjusted the hue of green to +7 this gave the green a more bluey-green tone rather than a yellowy-green tone which I think works better in this image. I increased the saturation of yellow to +30 this helped bring out the yellow splashed on and around the doorway. I increased the saturation of green to +30, this really brought out the green, especially that on the concrete floor, making the combined colours within this image really clash, and appear super bright and dynamic. I also increased the luminance of yellow to +10 to make that doorway light feel slightly brighter.
Image 2: Before post-processing
Image 2: After post-processing
Post-processing applied to this image:
I reduced the temp of this image to -8 and increased the tint to +5. This was an attempt to compensate for the yellow caste that was present in this image. A lot of the images I shot had similar yellow castes to them (from nearby streetlights), I attempted to reduce these caste’s so that these images would assimilate with the other images I shot that didn’t have these yellow castes. I increased the shadows to +5, so I could regain some detail lost from the darkness of this image. I increased the whites to +40 to make the image appear brighter overall. I reduced the blacks to -26 to make them appear starker and more opaque. I then adjusted the hue of red to -30 to help the bricks retain their red tones, without being too yellowy. I increased the hue of orange to +15 and yellow to +16 to change the orange caste over this image from a red/pink-orange to a more yellow/green-orange. I then increased the saturation of red to +70 to bring out the bricks behind the taxi as well as the graffiti on the bricks. I also increased the saturation of green and yellow to bring out the colour present in the two lights of the apartment in the background of this image. Bringing a higher number of colours out makes the image look fuller, more dynamic and helps to balance the extremeness of certain other colours present such as orange or yellow.
Before beginning this studio I had never used Lightroom before and I had never post-processed any images. I was actually extremely intimidated by the idea of editing images, it seemed like a complicated and overwhelming process that I wasn’t particularly keen to get into. After beginning to use Lightroom within this studio I realised that editing images does not have to be hard and the benefits, when comparing before and after photos, are insane. Editing an image really allows you to maximise the beauty of an image and to ensure that the image on screen appears how you saw it in real life. I’m at the point now, where I’m using Lightroom almost everyday and there’s rarely a time when I post an image online or send it to someone without editing it using Lightroom first.
Until next time,
Louise Alice Wilson












Recent Comments