Premier – Colour Correcting Practice

I haven’t utilized the colour correcting effects in Premier previously so I decided to trial it with videos that contain close ups of people wearing bright colours. My reasoning here was to be able to clearly see the modifications that I was making as well as to visibly see how the effect manipulates bold colours and skin tones.


In transition a) I played around with the brightness to dull down the brightness of the blue clothing. I did simply through the brightness option found within the colour correction effect. I think the final product is a lot softer on the eye than the original and the contrast in colours is less significant, making it a more appealing image.
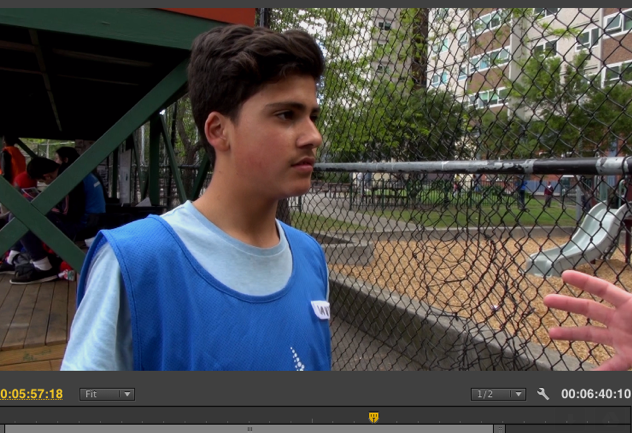
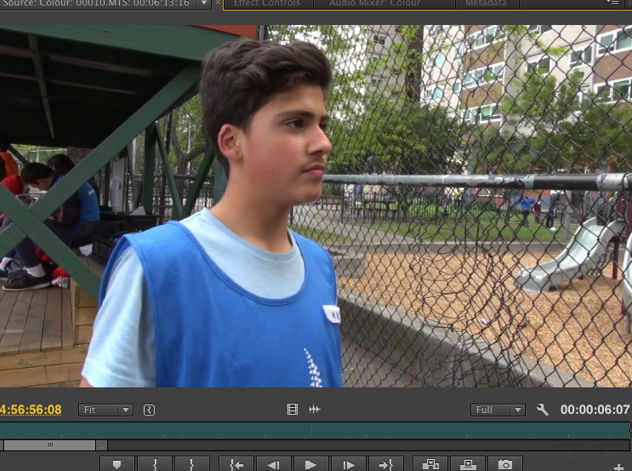
Original video a)

Original video a)


Edited video a

Edited video a

In transition b), I worked with the three-way colour corrector, which I was probably way out of my depths with. I figured that for a viewer the brightness of the red in the original video might take away from the content. The final image isn’t particularly pleasing however I wanted to soften the brightness and contrast again but experimented with different features such as the ‘tonal range’ and ‘definition’ modification options. Notably, I wouldn’t use the changes I made on this video for anything further however it was a good experiment with the editing options.

Original video a

Original video a

Edited video b

Edited video b


Premier Keyboard Shortcuts

There are keyboard shortcuts for Adobe’s Premier for almost every editing function. I am forever learning and reciting them, however here is some useful shortcut commands that I’ll be sure to employ when it comes to editing our documentary.


By linking our audio and video clips, they will become locked together. This may come in handy when editing our documentary to assure the audio remains with its partnered footage on the timeline. This will be suitable when the film’s subjects are being interviewed and the audio is required to stay with the footage. The keyboard command for this is Ctrl+l

Grouping clips assists the editing process when you want to move or delete a whole grouped section. To do this select Ctrl+g

The keyboard commands for zooming in and out will be useful quite often. We will be doing this a fair bit, as sometimes you need to zoom in to view an element on your timeline. Zooming in also helps you edit more precisely and can prevent overlooking items. Additionally, zooming out helps you get a broader perspective of what’s compiled on your timeline. The keyboard shortcut for these are: Zoom In = and Zoom Out –

When exploring a new editing tactic, we may want to disable a clip while investigating a new approach. Disabling a clip means that it will not appear in your film when you export it. Ultimately, we may also want to enable the clip. To do this, select Shift+E on your keyboard.


Abode Premier also has a list of keyboard shortcuts on their website, I will be viewing this quite often over the coming weeks.