MY METHOD OF WORKING Pt 11

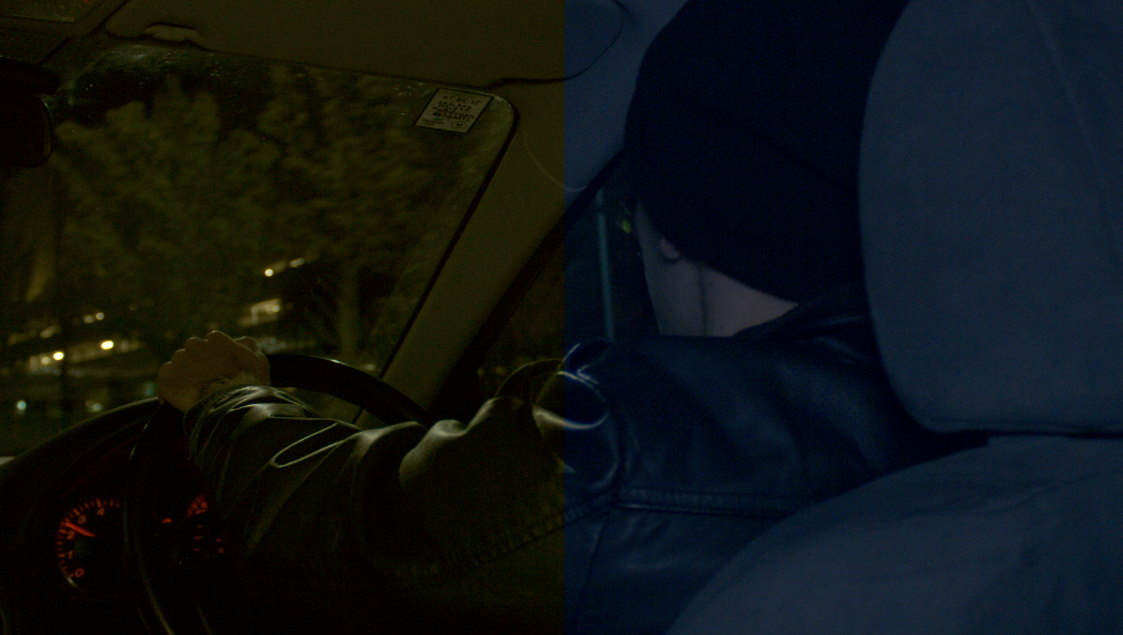
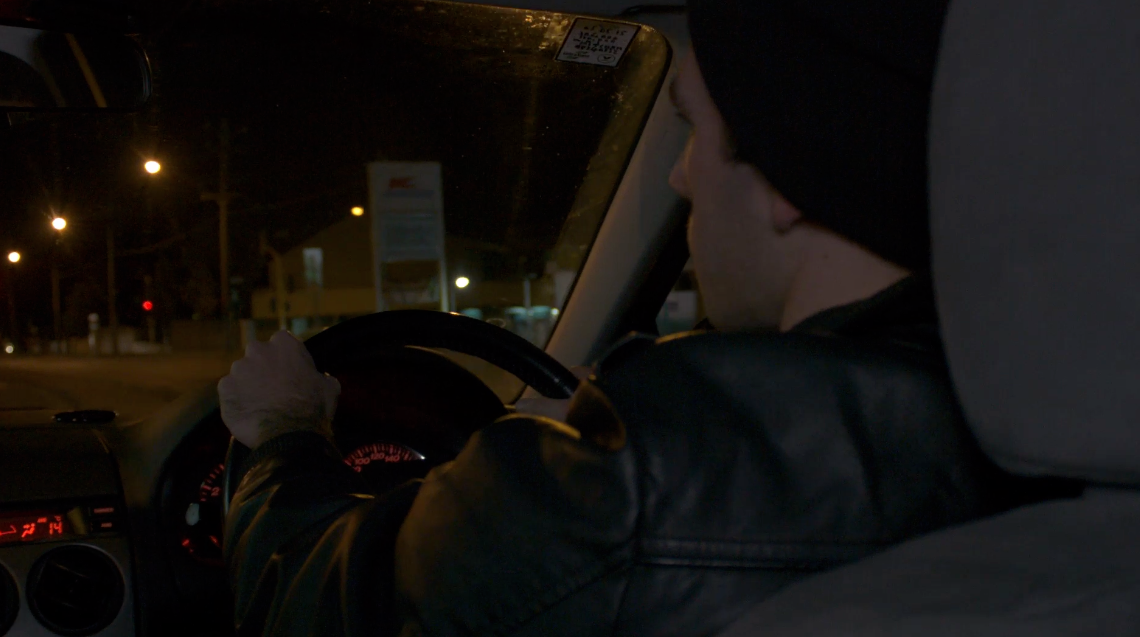
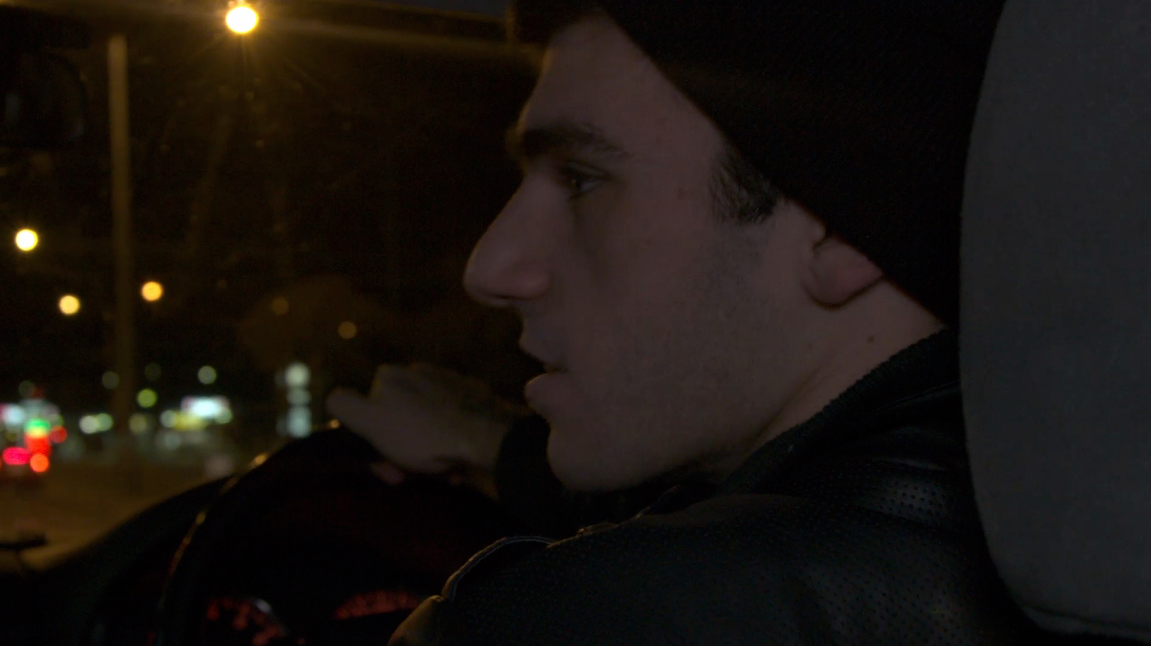
In my final video exercise/ practice shoot before the actual film production, I decided I would dedicate my investigation to find the most efficient methods of shooting close-ups within my chosen environment for the film. Ultimately, I knew before this exercise that close-ups would be more easier to capture on camera than wide shots, not only due to the fact that most of the lenses I have available to me are canon zoom lenses, but additionally due to my camera’s crop factor (Which I have briefly discussed a couple blog posts ago). Despite this, the only issue when it comes to shooting close-ups, which is something I have detected from my years of filmmaking, is that close-up shots have the tendency of depicting shakier camera movement more explicitly when shooting handheld than the shakiness which can be seen in a medium or wide shot.

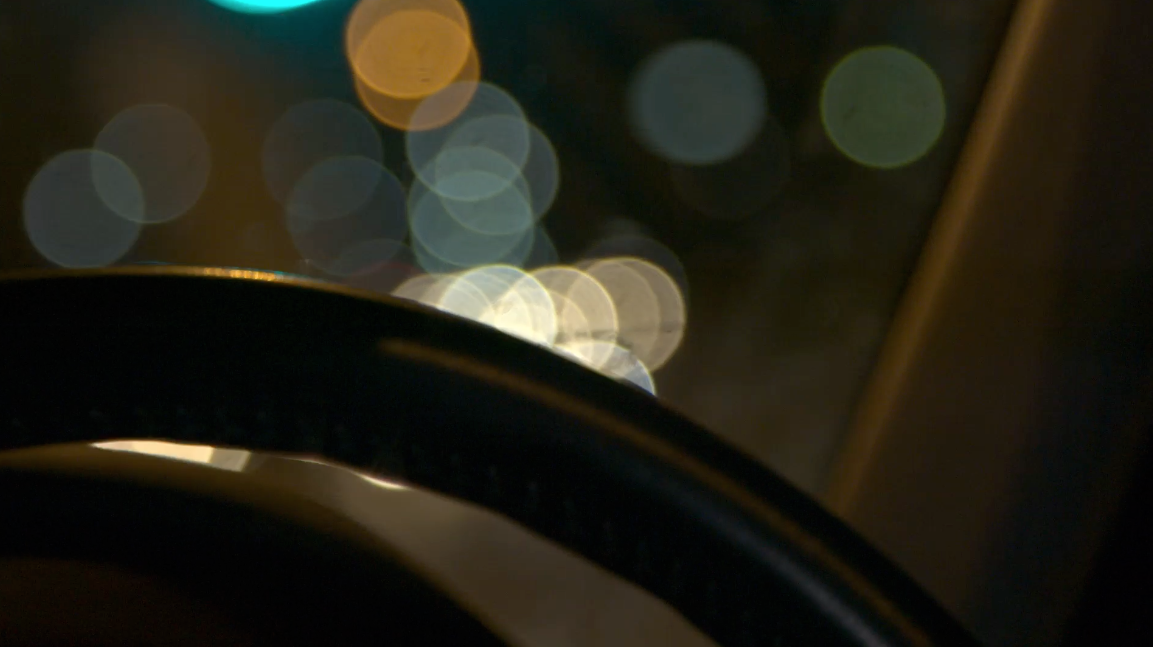
With this in mind, in addition to all my equipment which I have used throughout all my video exercises, I took a pillow to place between the lens and the chair which my camera rests on in the car, to see whether or not I can reduce the shaky motion of the cinematography caused by the unbalance between the camera and the attached lens which is longer and heavier than the camera itself. This worked rather effectively as I was able to achieve smoother cinematography simply by using the pillow as extra support to eliminate any shakiness caused by the weight differences.

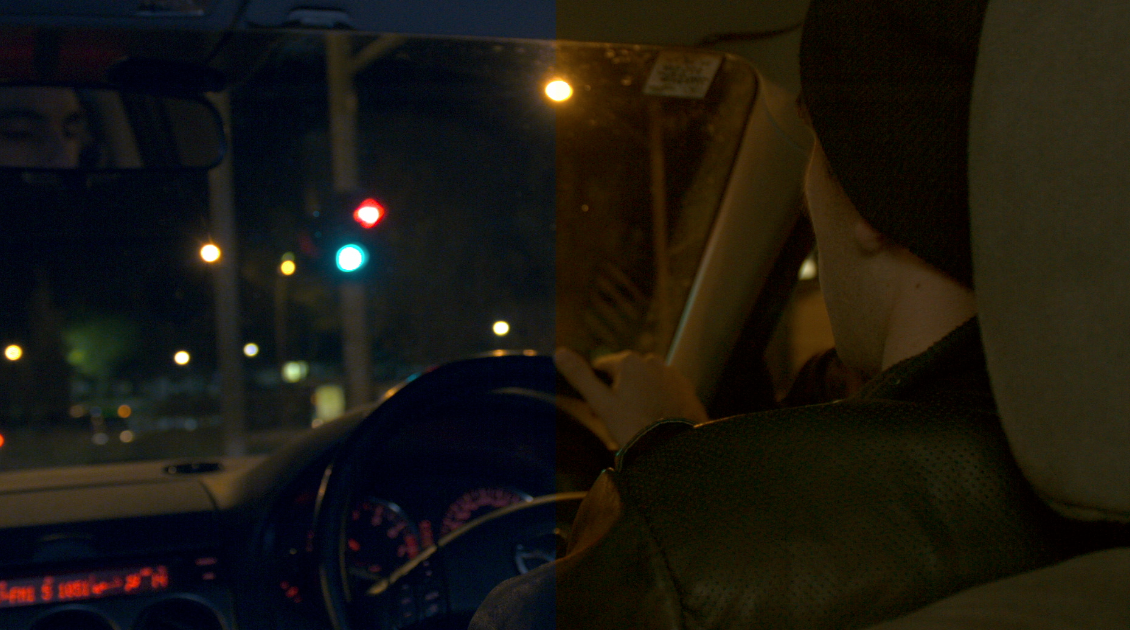
In regards to the camera coverage itself, I realized that the only lens I actually need to efficiently shoot close ups on set, within the limited time I have on production, was with the canon 24-70mm F2.8. Out of the two other lenses I had experimented shooting with on the exercise, this particular zoom lens was far more lightweight than the canon 24-105mm f4 lens and had the ability of capturing higher levels of natural light and depth of field while reaching as high as an F2.8 an aperture setting, which beats the highest aperture obtainable on both the canon 24-105mm f4 and the 18-55mm F3.5-5.5 lenses.

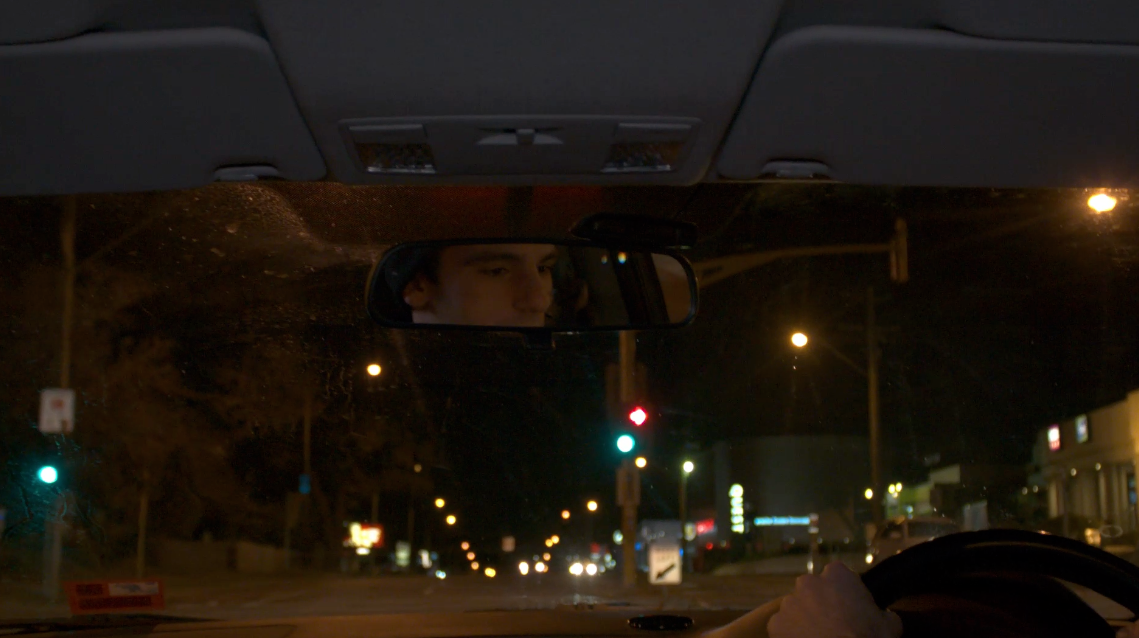
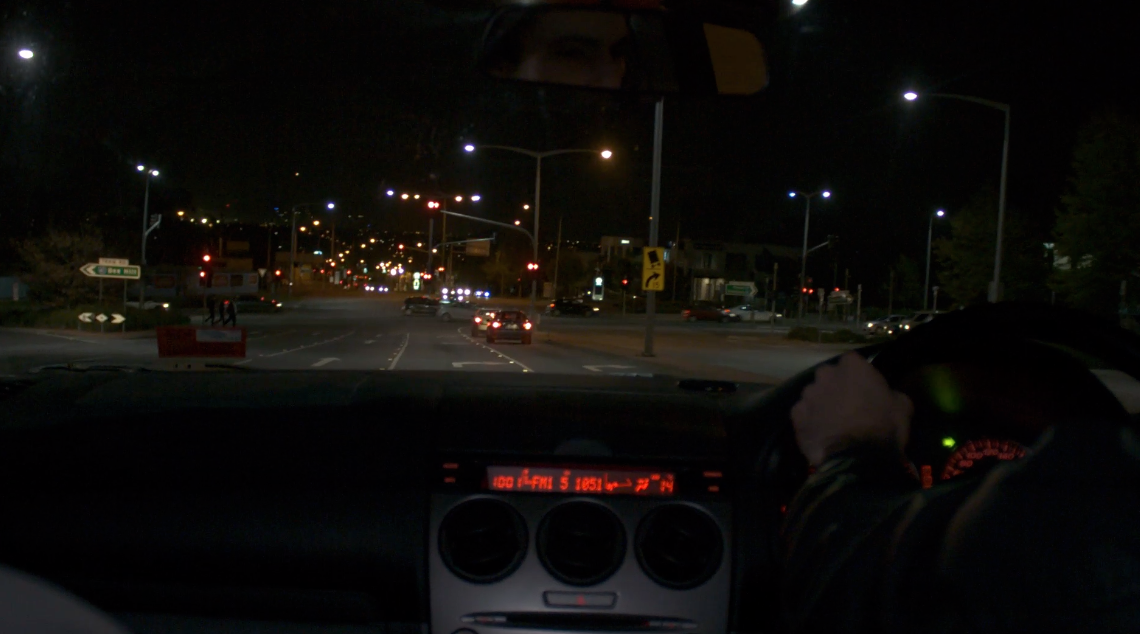
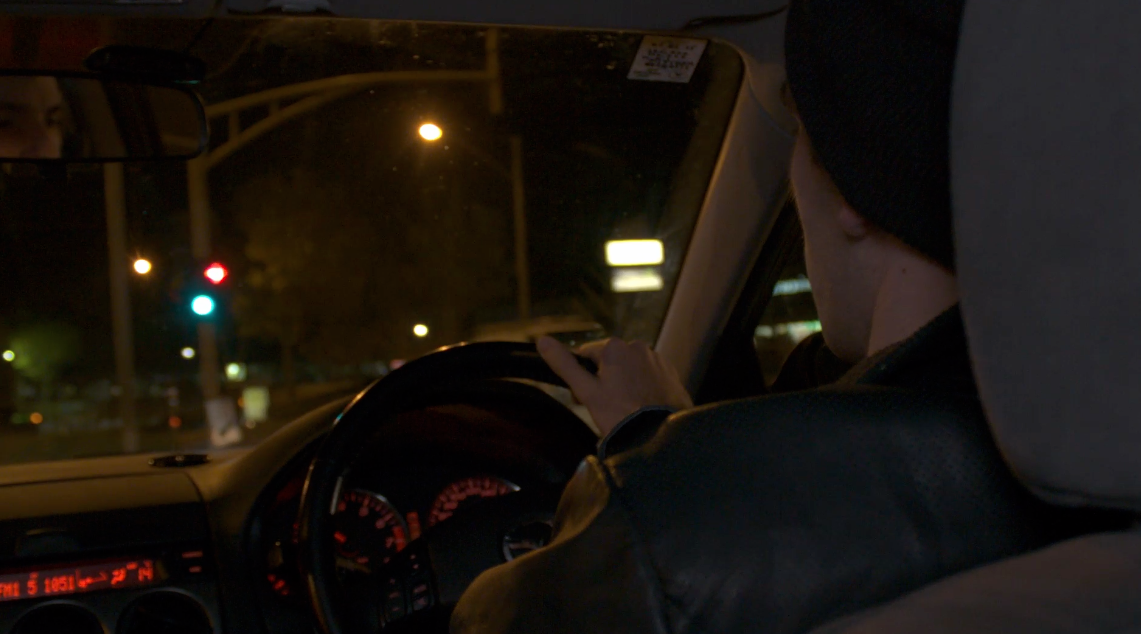
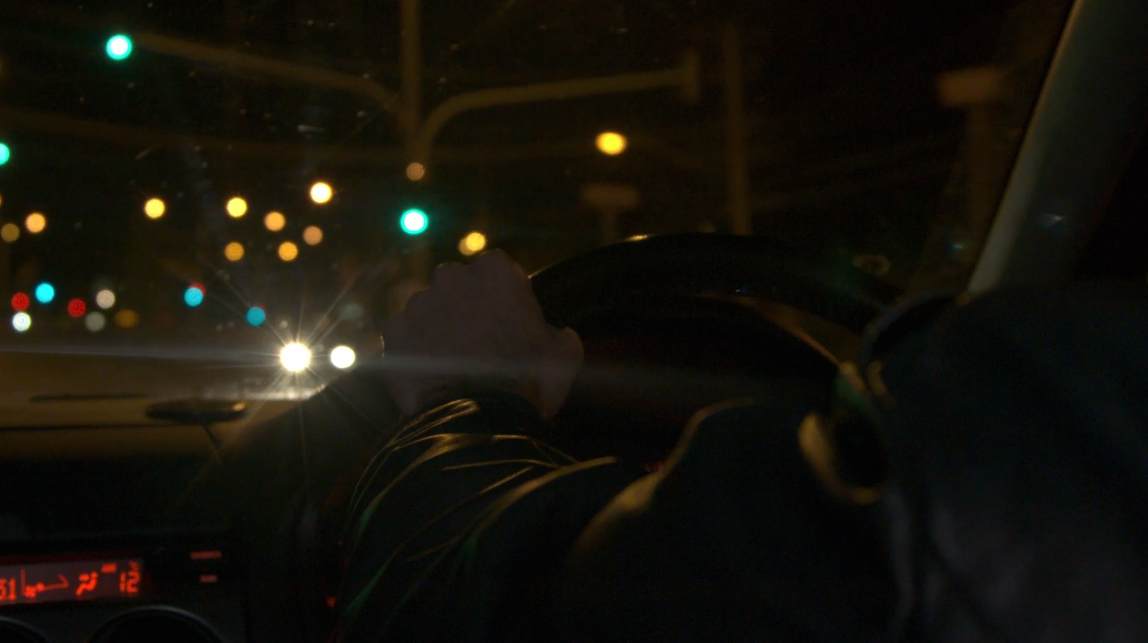
From this exercise I also decided to see whether or not it would beneficial for me (aesthetically speaking) to shoot the driver from different angles. Although switching positions from the back seat to the side passenger seat was quite a lengthy process of the driver pulling over to the side of the road and waiting for me to adjust the camera to be utilized suitably in my restricted space, I liked the idea of having an addition angle to shoot in the car, as I was happy with the alternative shots I was able to obtain from the front of the car which would be harder to capture from behind the driver.

Overall, I believe all the camera tests I conducted leading up to my final film shoot, were essential towards the planning of my film. Each time I had the opportunity to practice shooting these scenes, I was able to progressively develop my technical knowledge, which will definitely enhance not only my ability but also the efficiency of filming my final film for this course.

Screen Shot 2015-05-27 at 2.55.55 PM Screen Shot 2015-05-27 at 12.10.16 PM Screen Shot 2015-05-27 at 12.10.43 PM Screen Shot 2015-05-27 at 12.10.55 PM Screen Shot 2015-05-27 at 12.11.15 PM Screen Shot 2015-05-27 at 12.11.43 PM

VIDEO LINK:

https://drive.google.com/a/rmit.edu.au/file/d/0B_EHaIpWZ2UNLXU1cUhPWDBrOVk/view?usp=sharing

METHOD OF WORKING pt 10

Using the same edit of the footage from my previous production test/ exercise, I wanted to compare the aesthetics of the images with different color correction schemes which my investigation has brought me to believe will look the best for my film to be digitally painted in. Either incorporating the cold hues of blues or a combination of warmer murkier colors such as greens and oranges, which to my surprise actually work well together.

To best view and compare the extent of the contrasting effects of two different color correction settings, I divided my screen between the cold and warm colors by color correcting the original video coldly, then duplicating and adding the exact same clips over the original with warm color correction and cropping the sides so both videos can be seen at the same time.

Although I haven’t decided on which exact settings I’d like to use when editing my final production, I believe this was the best way for me to compare each of the different styles via the side-by-side comparison.

Screen Shot 2015-05-20 at 3.06.03 PM Screen Shot 2015-05-20 at 3.06.34 PM Screen Shot 2015-05-20 at 3.07.02 PM Screen Shot 2015-05-20 at 3.07.15 PM Screen Shot 2015-05-20 at 3.07.43 PM Screen Shot 2015-05-20 at 3.07.56 PM Screen Shot 2015-05-20 at 3.08.26 PM Screen Shot 2015-05-20 at 3.08.40 PM

VIDEO LINK:

https://drive.google.com/a/rmit.edu.au/file/d/0B_EHaIpWZ2UNczFLc0h3cVNhR00/view?usp=sharing

MY METHODS OF WORKING pt 9

I shot this production exercise with the intention to improve the shooting conditions, which I set for my initial nighttime car scene. However in this exercise, I specifically shifted my focus to determine the ergonomics of filming wide shots in a moving car within the certain restrictions I’ve identified, such as the limited space I had for camera movement and my camera’s crop factor which ultimately affects the framing as the image always looks more zoomed in than a full frame camera, due to my camera’s smaller sensor size (which I believe is somewhere between super 35- 16mm).
Utilizing all the lenses I had available to me, I was able to determine which lens would be suitable for the specific shots I had prepared according to my shortlist. I believe my cannon 18-55mm F 3.5-5.5 zoom lens, was the best at capturing the widest shot of the entire front dashboard area of the car. However I’ve realized that I really shouldn’t use this particular lenses for the close ups, due to the fact that upon zooming in from 18mm, the aperture decreases to as low as 5.5 which isn’t ideal for my shooting environment due to the lack of light.

Screen Shot 2015-05-20 at 3.01.49 PM  Screen Shot 2015-05-20 at 3.03.29 PM

Screen Shot 2015-05-20 at 3.02.26 PM Screen Shot 2015-05-20 at 3.04.13 PM

The cannon 24-70mm F4 lens was decent in capturing the behind medium shots of the driver, however I wasn’t particularly happy with the brightness of the shots due to the lens’ F4 aperture. Fortunately, I will have an updated version of the same lens available to me on the day of production, which has the ability to go as high as a F2.8 aperture, which will enable me to obtain a brighter shot with an increased cinematic appearance through more depth of field.

Screen Shot 2015-05-20 at 3.02.52 PM Screen Shot 2015-05-20 at 3.03.57 PM

I’ve also realized through this shoot that the use of a cannon 50mm prime lens would be pointless due to my camera’s crop factor, which forces a zoomed up looking image. Although I was able to obtain a nice crisp looking shot while using the 50mm, It would be much more efficient to use the zoom function on either the 18-55mm or 24-70mm for close ups, as this would save me the time for lens changes (which can be quite difficult in a moving car).

Screen Shot 2015-05-20 at 3.04.50 PM

Additionally I was able to improve the stability of my shots. Upon reviewing my last nighttime car exercise I wasn’t happy with the amount of shakiness the handheld footage produced. Due to the fact that I was unable to fit a tripod in the car, I was able to improve the stability of my cinematography by placing my camera on top of a small stool (which I sit on when playing the drums). This provided more fluid camera work yet still maintaining small amounts of jerkiness, which is an aesthetic I like and consider appropriate for the film, in small amounts.

VIDEO LINK:
https://drive.google.com/a/rmit.edu.au/file/d/0B_EHaIpWZ2UNcDktRmZQekRNa2s/view?usp=sharing

MY METHODS OF WORKING pt 8

I have finally finalized the casting for my film, consisting of two individuals to inherit the roles of two characters intended to be depicted on screen.

The first cast member is an experienced performer, who is a trained and developing young actor with experience working in short films and television productions. He is someone I have worked with on one of my prior films, and consider his acting skills appropriate for the role I have cast him in. The other individual cast in the film is a mate of mine who has no proper training or essential experience as an actor in front of the camera.

I have deliberately decided to cast these opposing types of performers as I thought it would be interesting to experiment working with an experienced actor and non-performer, as a way to investigate the differences between working with different types of performers for a film. It is my aim to observe the differences/ similarities of how these two individuals will work independently, the effectiveness of their interaction during their performances and the differences between directing these kinds of performers, to see whether or not its always best to hire experienced actors, over first time actors, for a film production.

MY METHODS OF WORKING pt 7

Colour in film is vital. Lighting, colour correction and the organised physical colour schemes within the miss-en scene change the way we view, interpret and feel certain emotions through scenes in cinema. Here are some of my notes on colour based on the colour schemes I’m interested in exploring with before shooting my film;

Source: Krzysztof Kieślowski’s A short film about killing (1988)

A+Short+Film+about+Killing+5 AboutKilling2 AboutKilling3 kfoz-1

Colours:A Combination of highly saturated warm and cold hues, mainly consisting of blues, greens and yellows, merged together with the addition of high contrast to strengthen the blacks and shadows throughout the overall image. Although the colours present in this film are supposed to reflect a calmness and tranquility, the high contrast counterbalances this to contribute to the images dark and gloomy nature.

————————————————————-

Source: Andrei Tarkovsky’s Nostalghia (1983)

nostalghia Nostalghia_Andrey_Tarkovsky_Electronic_Beats_Magazine_13_01 nostalghia-1

Colours: The utilisation of high Brightness, soft blacks and Desaturation of the overall image contribute to a very murky aesthetic. Additionally theres a certain hazy quality that contributes to a surrealistic feeling or something that suggests impending doom for the characters within their location.

——————————————————————

Source: Gaspar Noe’s Irreversible (2002)

53734461 irreversible-1 irreversible-mise-en-scene-2

Colours: High contrasted images help create an emphasis on silhouettes. Rich blacks and colours ,particularly warm hues of reds, obtained from the intense lighting design on production. I consider the best way to describe the aesthetic of this film to be sinister sleaze, which can also reflect the essence of the narrative and entire nature of Irreversible.

——————————————————————

Source: The night time scenes from Albert Dupontel’s Enferme Dehors (2006)

Colours: The visual aesthetics throughout the film’s night time scenes, which remain different from the rest of the film, contains a lot of highly saturated greenish/ yellowish hues that supports the overall high contrast image. I feel as tho these colours have been specifically used to create a contrast between the day and night scenes, as it may reflect the directors own notions of the city streets, at night in France, as a profoundly dark and ominous place.

MY METHOD OF WORKING pt 6:THE AIM

Late last year, In the midst of the strenuous and lengthy pre-production stages for my first budgeted independent short film, I had a dream one night where the images were so clear and strikingly vivid, that although I was never able to completely understand what this dream was actually about, I was still eager to bring these series of surreal and somewhat disjointed moving pictures from my subconscious mind to life for a short film.

However I didn’t want to develop this film utilizing the traditional processes of filmmaking that is so restrictive due to the controlled nature of a film production where the majority of everything is strictly scripted and organized before the camera is rolling, which can potentially eliminate spontaneity and a natural progression.

Through this assessment task, I aim to experiment with the processes of filmmaking and to challenge the traditional notions of filmmaking by not necessarily eliminating most of the production processes that contribute towards a film’s construction, rather directing my focus to build a film based on visual imagery as the foundation, rather than the images and content being controlled or influenced by a structured storyline. Through this experimentation I hope to be able to develop a new style of producing my films.

In order for me to successfully accomplish this goal, I will work extensively around the constraints I have set to steer me in the right direction. As my main priority is the image and how images can naturally develop cohesion and somewhat of a structured narrative, pre-production will consist of me completely disregarding the screenwriting process, as I want the narrative of my film to be conceived naturally on production when I’m on location ready to shoot. Therefore instead of writing a structured screenplay, the actors who’ll appear in my film, will be given a set of actions to guide their improvised performances, which will motivate their potential to produce natural performances.

Much like art in the form of a painting, my film will have a strong emphasis on the visuals to stimulate certain feelings from viewers. Which is why majority of my time working on pre-production will be spent towards the deliberation of not only what I want to show on screen but how I’m going to depict it. Factors such as the type of camera coverage and stylized mood lighting to illuminate and enhance the surrealism of the images will be heavily considered.

In order for me to gain the best possible visual aesthetic, my camera will be used as a research tool, as I aim to shoot a series of camera and lighting tests over each weekend leading up to the actual film shoot. During these camera tests I’ll be armed with the visual storyboards I’ve collated over the past couple weeks, that consist of a series of still frame visual references from various films that have inspired the aesthetics I wish to take and regurgitate with my own interpretation of them on screen. Frames from films such as Gaspar Noe’s, Irreversible, Enter the void and Krzysztof Kieslowski’s, A short film about killing, have been used as references, as the amazing cinematography throughout these films are supported by expressionist lighting and colour schemes to digitally paint the scene, reflecting characters moods in addition to establishing the tone for the visual atmosphere in the world for their films.

In conclusion, to summarize my proposal, I’d like to read a quote from Independent American filmmaker Harmony korine, who’s words best encapsulate the essence of the filmmaking style I want to investigate and follow to create my film for this course. In regards to the production of his film, Gummo, Korine says “I wanted to make a movie with images coming from all directions, I wanted to make a different kind of film… I wasn’t concerned about how it was photographed or where it came from… I saw it almost like a book of photos… but there’s a narrative that develops through this, there’s a cohesion. That was the idea of the movie, I just wanted to set things up and I wanted to just document it and make sense of it later”.