
Blogging makes it easy to have your own website and share your thoughts, business and ideas with the world. It even makes it easy to add images. Whether you’re posting photos of your travels, weddings or just photos that you find interesting, you’re allowed to share, and the process remains the same. So, in this post I will demonstrate on how to add, crop and delete images.
How to upload images to your blog
1. On the top left of the page, click “Media”
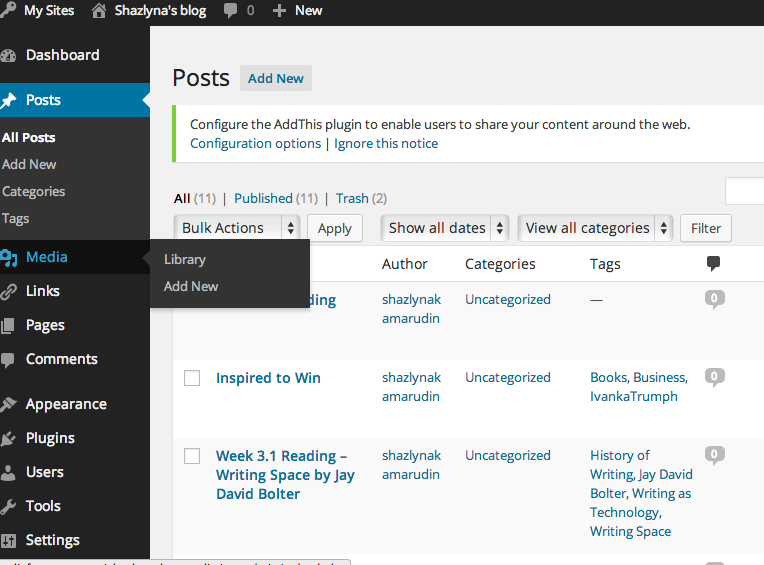
2. Click the “Add New” button. You’ll then get a window that allows you to select an image or multiple images from your computer.
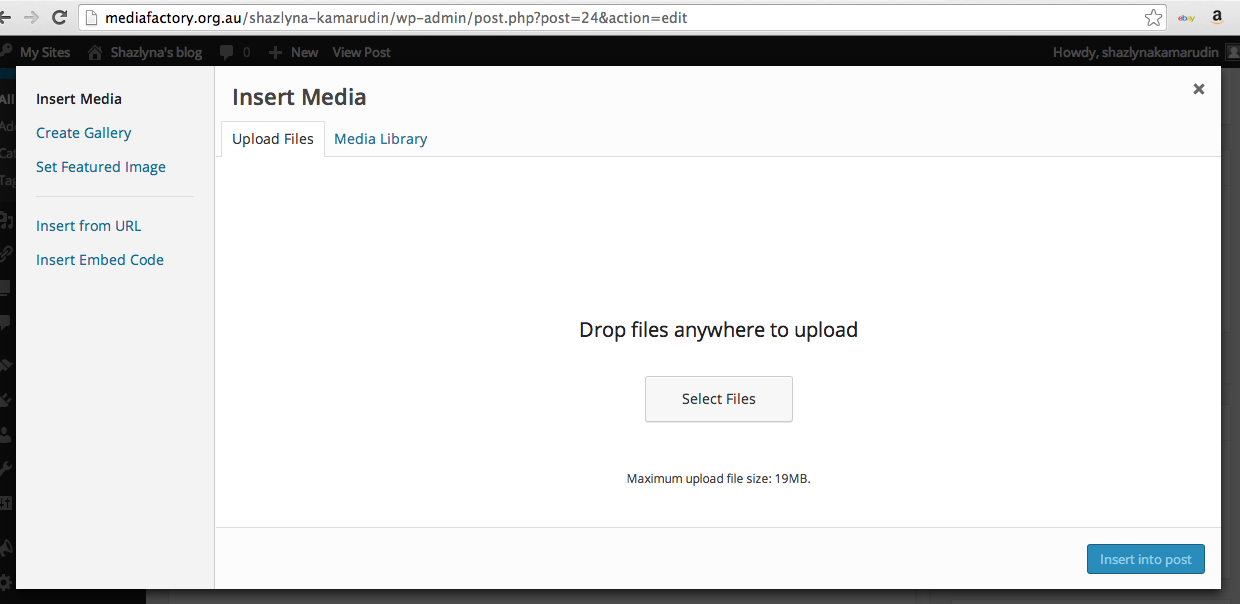
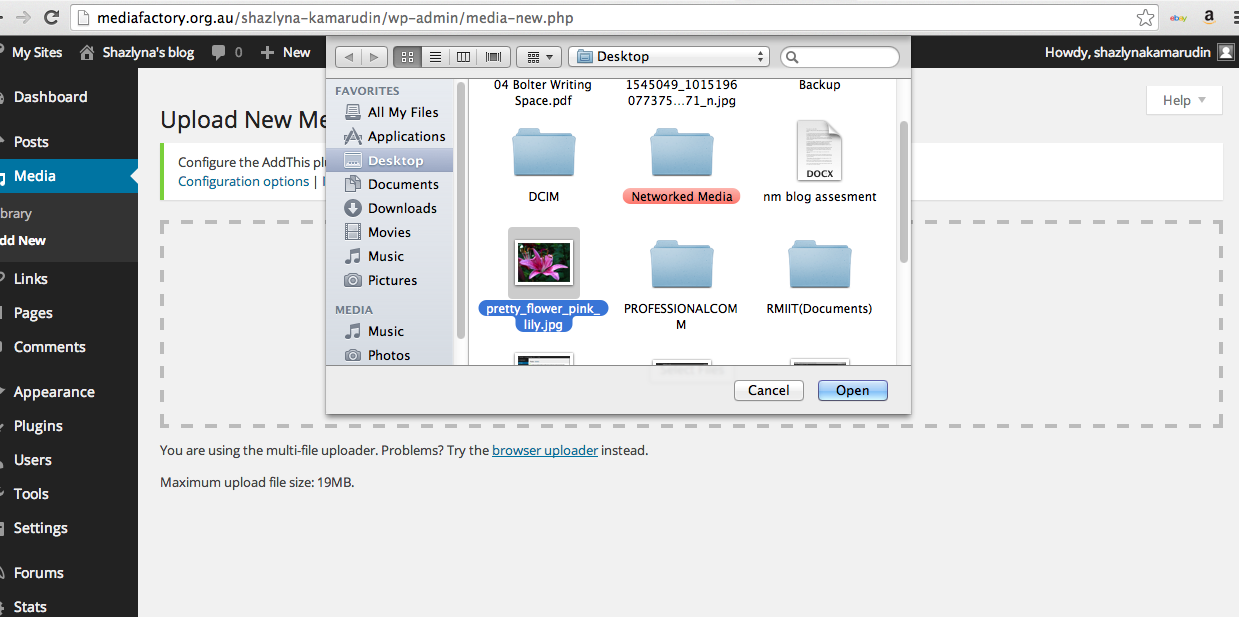
3. Click the “Select files” button and select the images you want to upload.
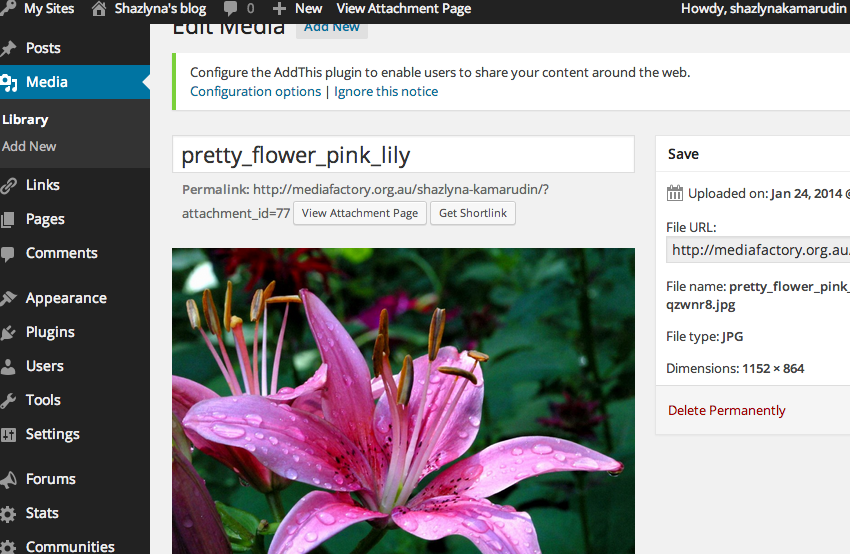
4. Tada! An image is uploaded. You can also add caption and description to the uploaded image.
How to crop an image
1. Click Media > Library
2. Select the images you intend to crop and click “Edit Image”.

3. Select the part you want to crop and click the “Crop” icon on the top left of the image.


4. Click “Save” and that’s it, image cropped!
How to delete images from blog
1. Click Media > Library
2. Select the image that you want to delete and click “Delete Permanently”

3. If there is more than one image you would like to delete, select those images and click “Bulk Actions” then click “Delete permanently”.

There you go! Easy steps on how to upload, crop and delete images.