The Script (by Ineke Adamson): 
This week I decided to test run the method I had put together for my final shoot. This collated all of the techniques that I had found worked best for me in my previous shoots during the semester.
Fortunately, this amalgamation of shooting processes worked really well. Particularly my idea of:
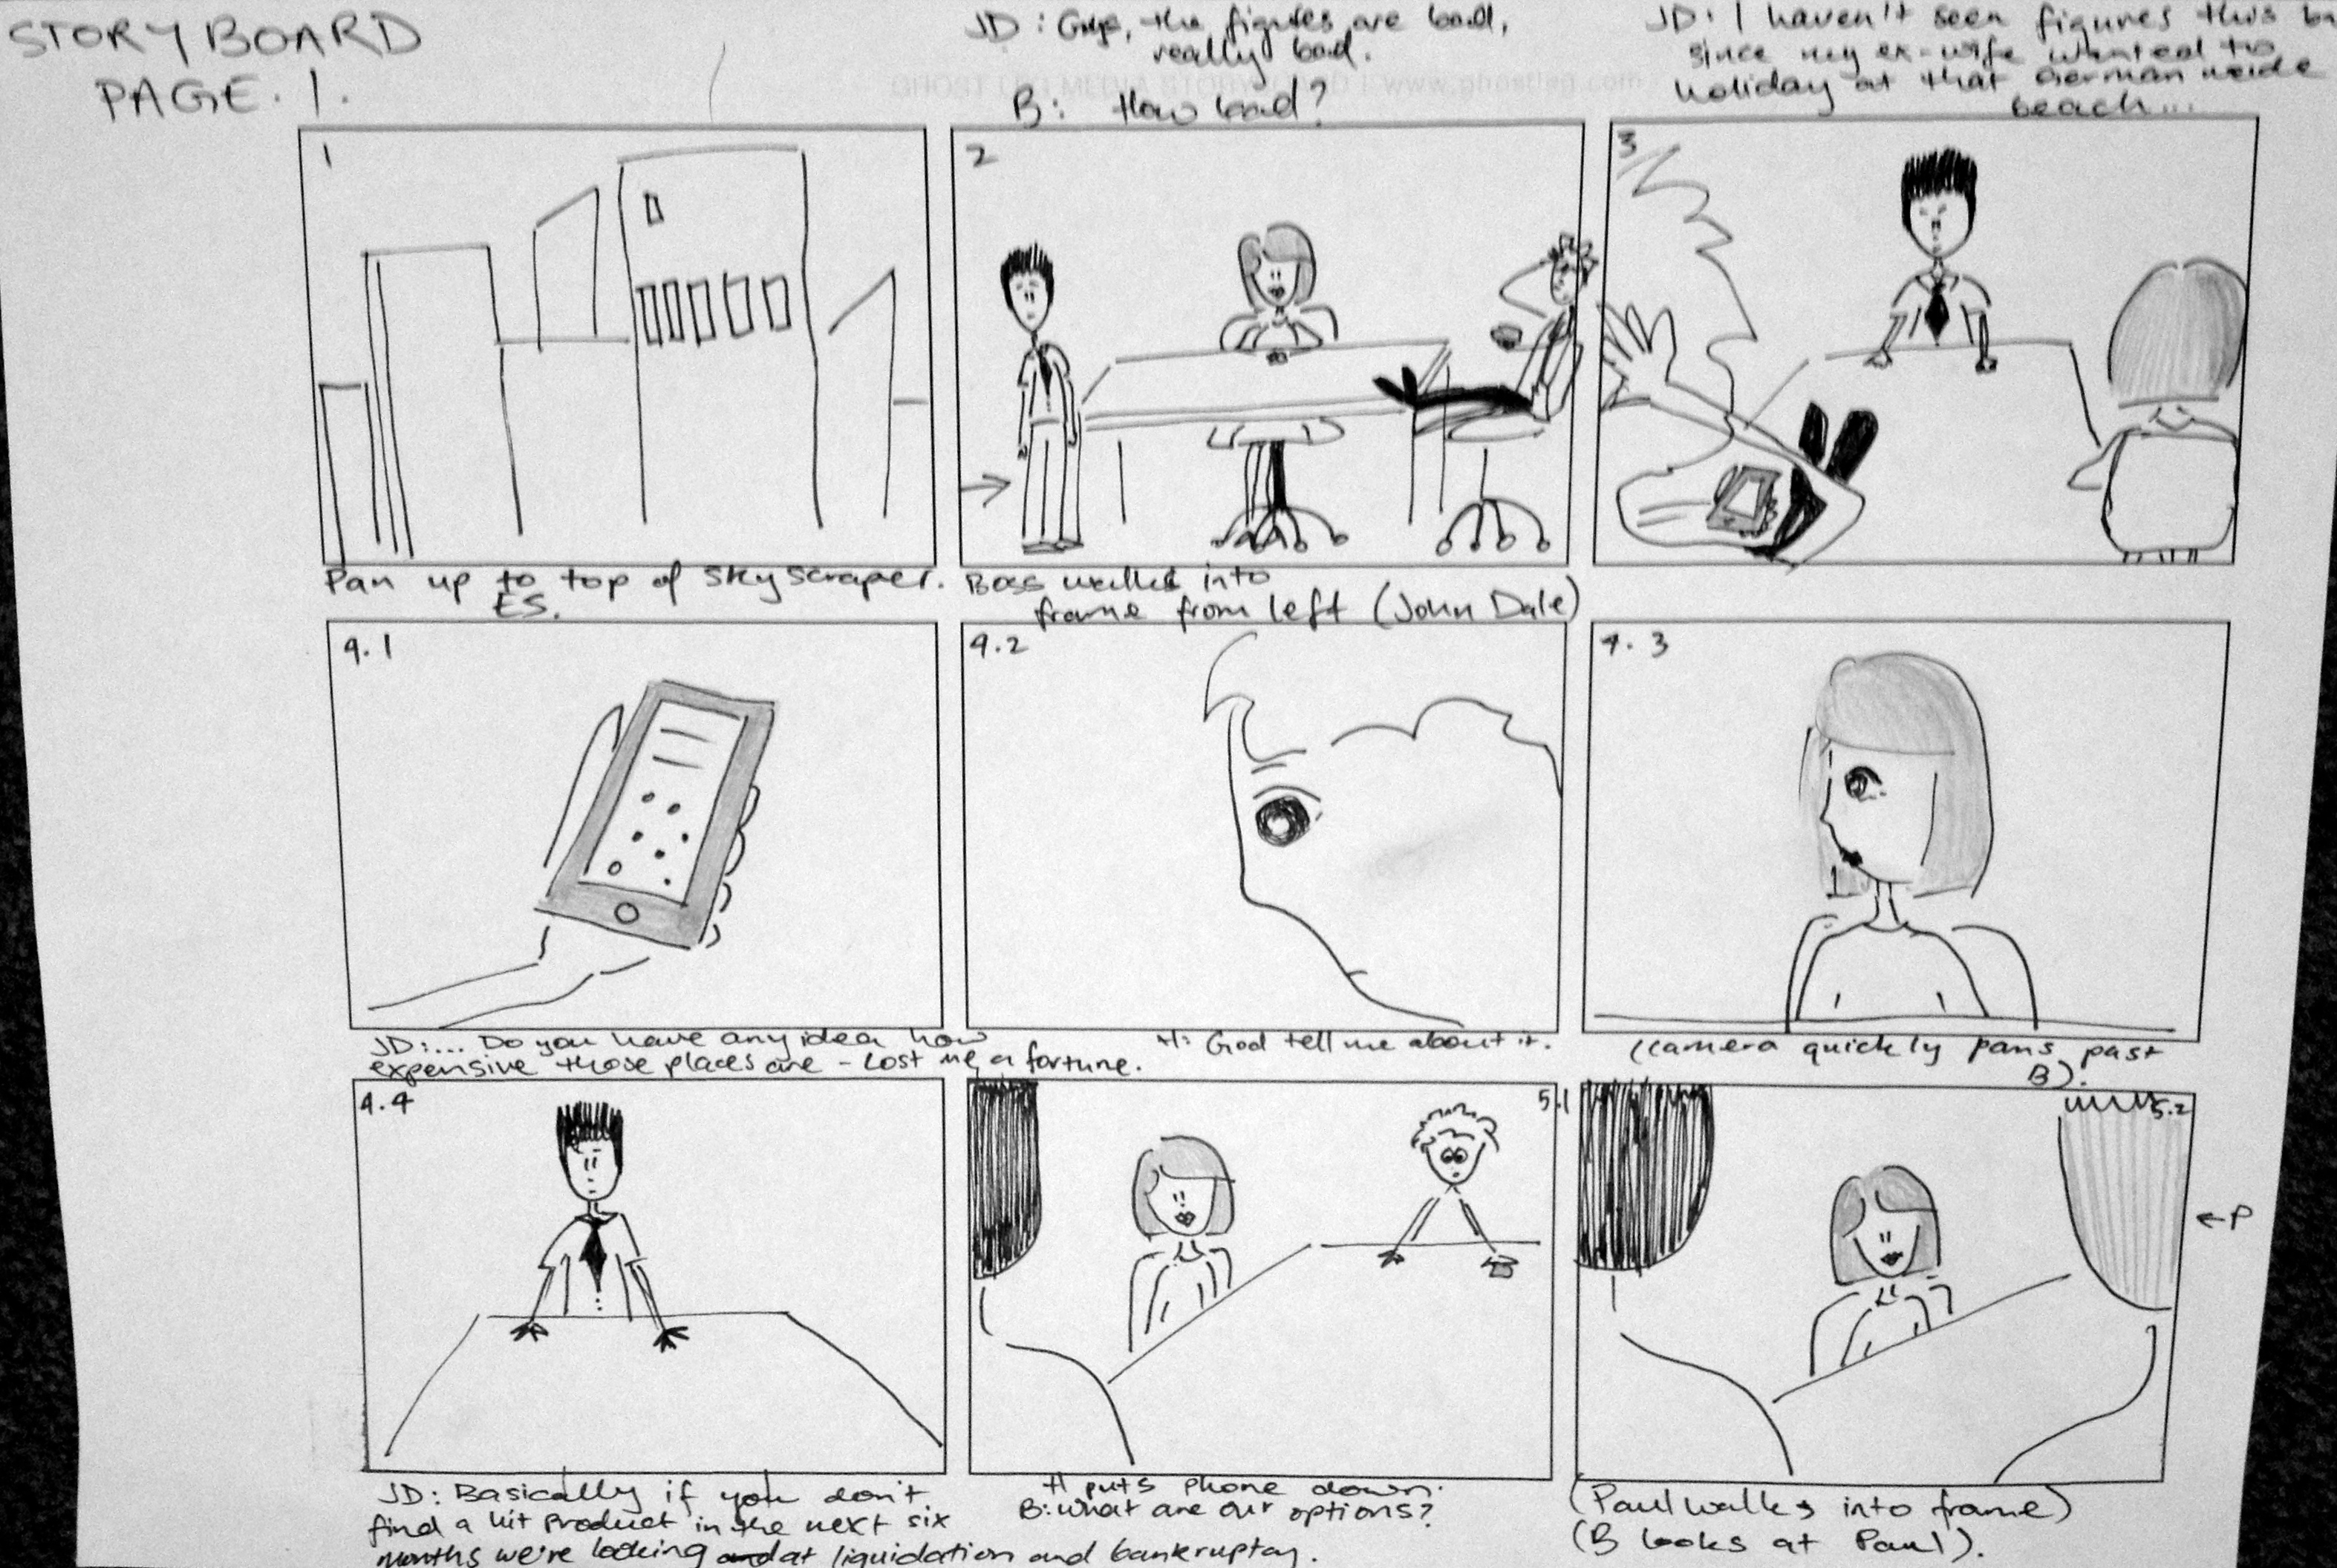
This was a technique I hadn’t yet experimented with in my other shoots. I had done exercises where I shot the ‘hell’ out of a scene by shooting the whole thing from different perspectives, but I had never covered a scene by simply recording single alternative perspectives for each shot. I think this worked well because it forced me to come up with new and interesting compositions on the fly, making the scene appear more dynamic. It was also greatly beneficial to have even just one extra perspective per shot to fall back on when I was editing; especially when I decided to slightly alter my original idea for the scene (i.e. cutting out the dialogue). In the end my edit didn’t look anything like what I had put together in the storyboards; nevertheless, I still think it would be worth drawing storyboards for my final scene because they help to guide me through a shoot (particularly because I am shooting in chronological order).
ROUGH STORYBOARD
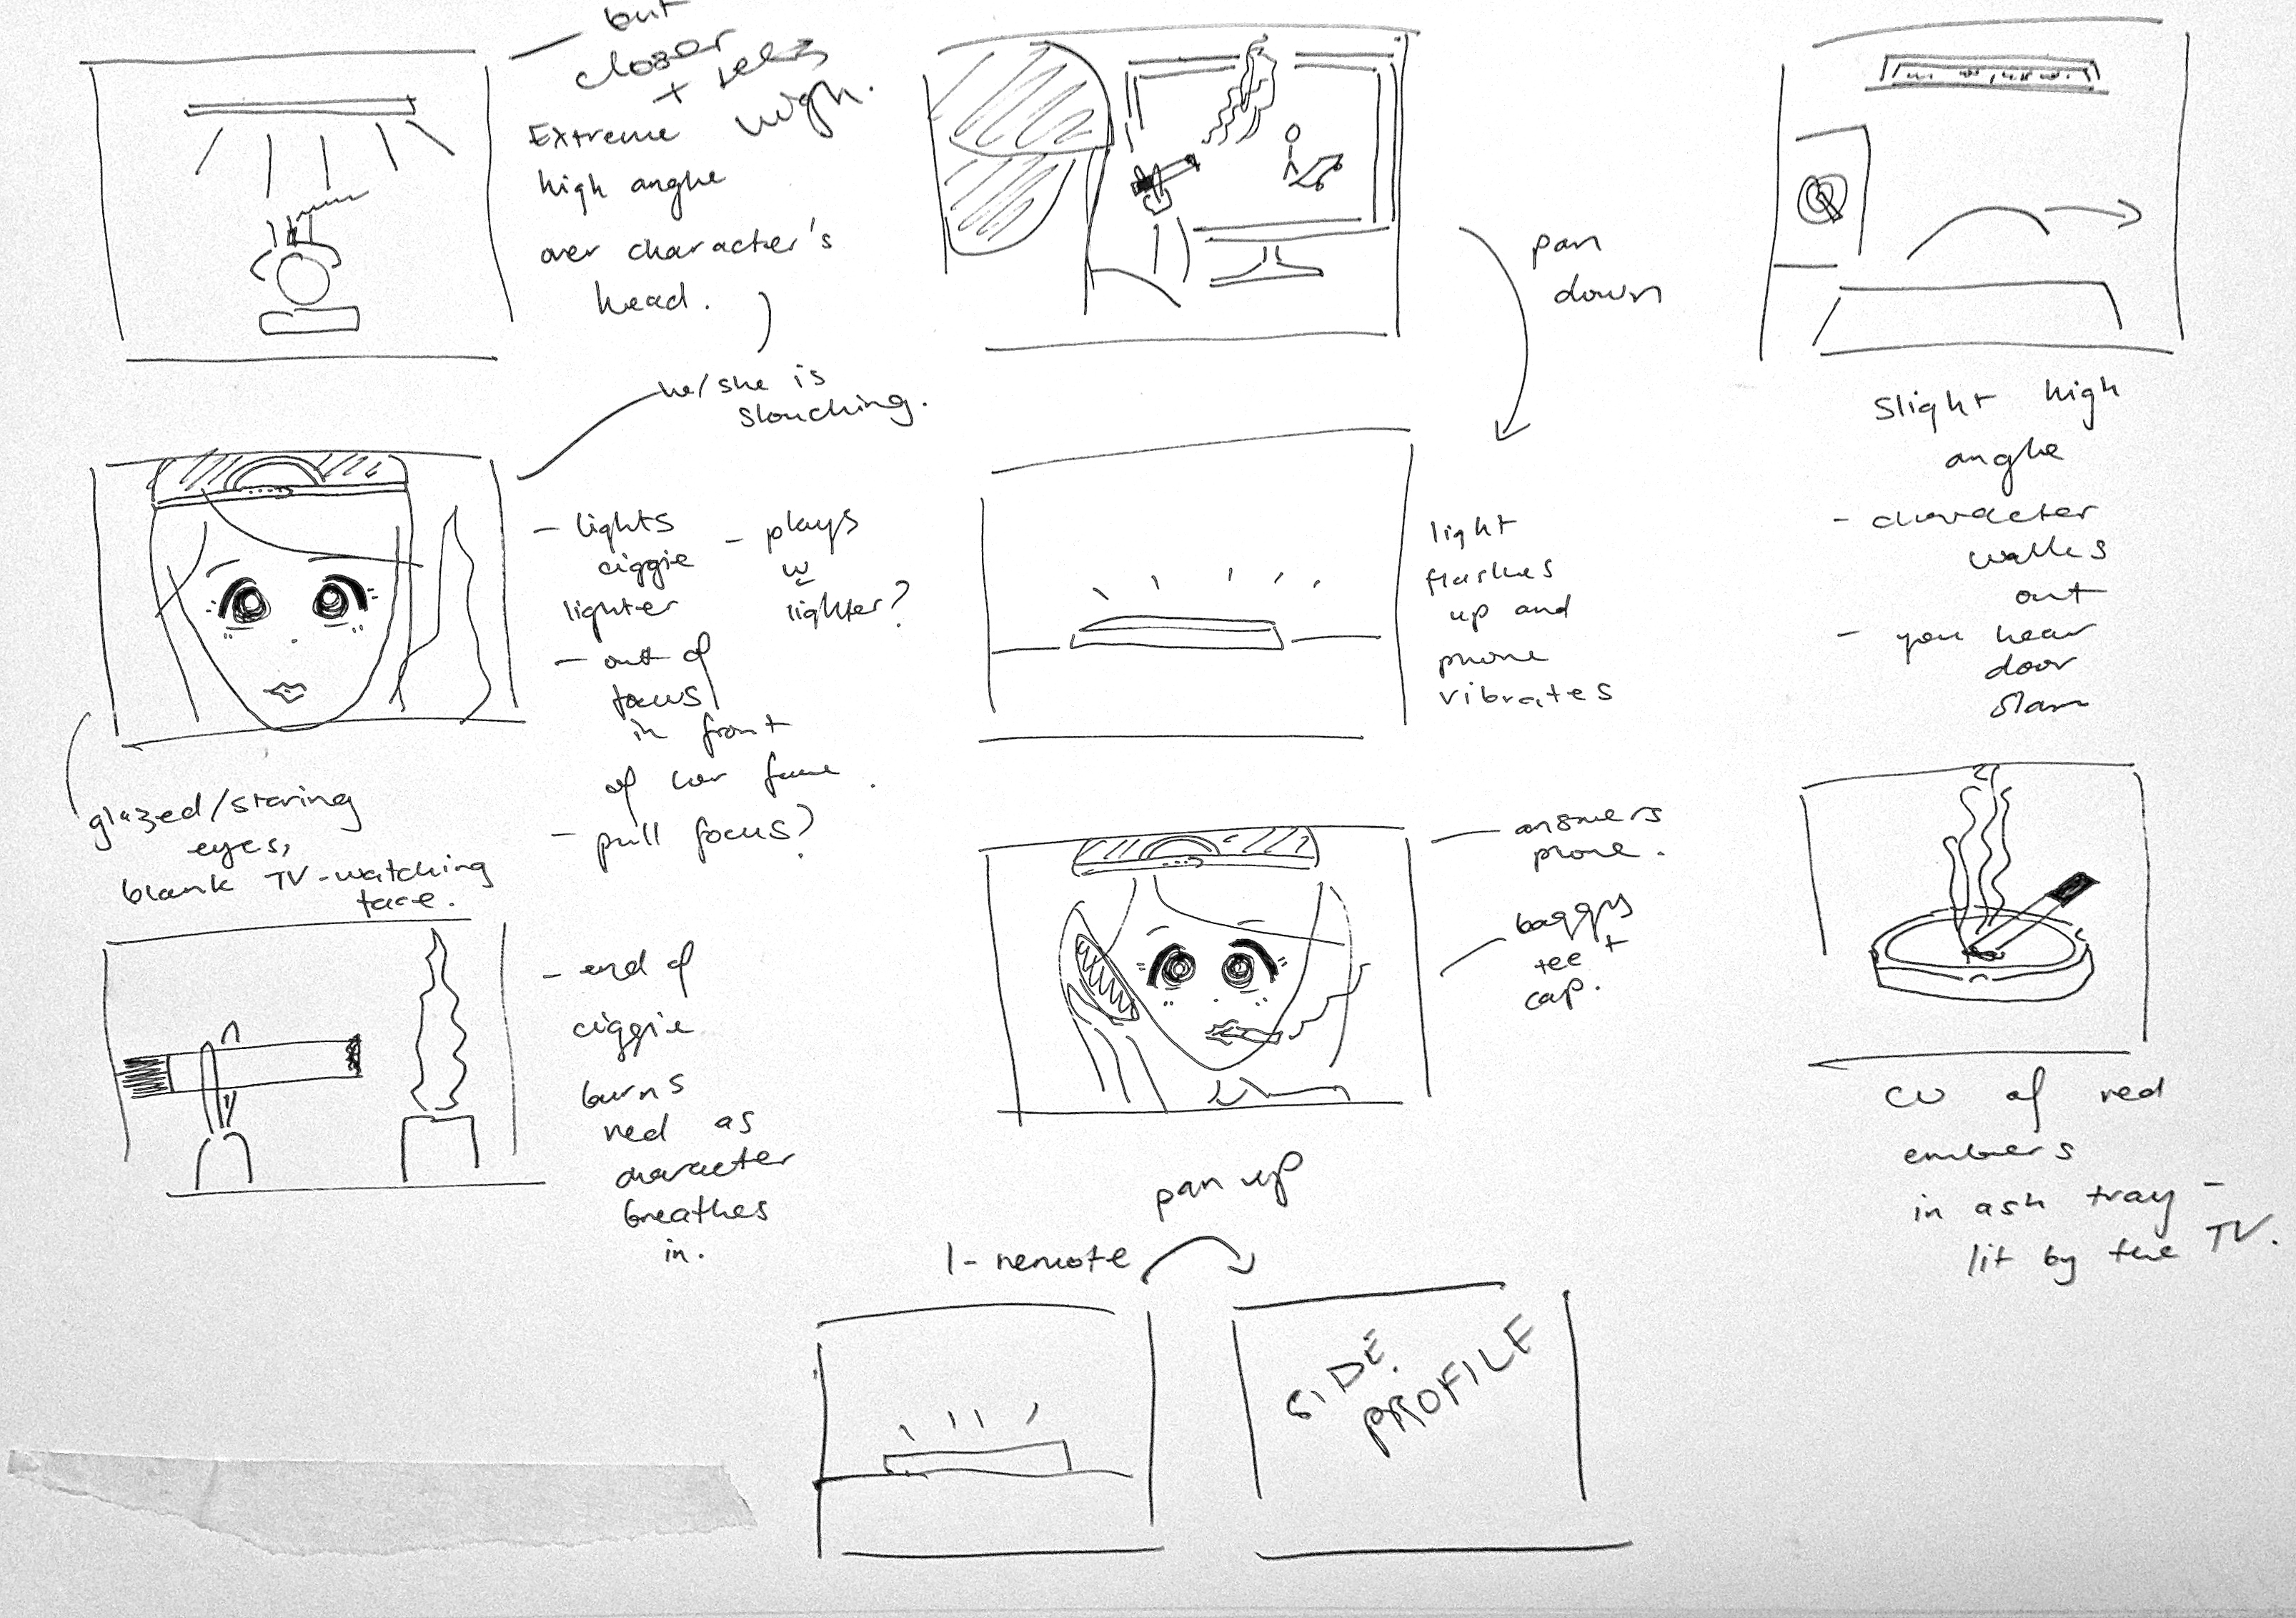
FINAL STORYBOARD

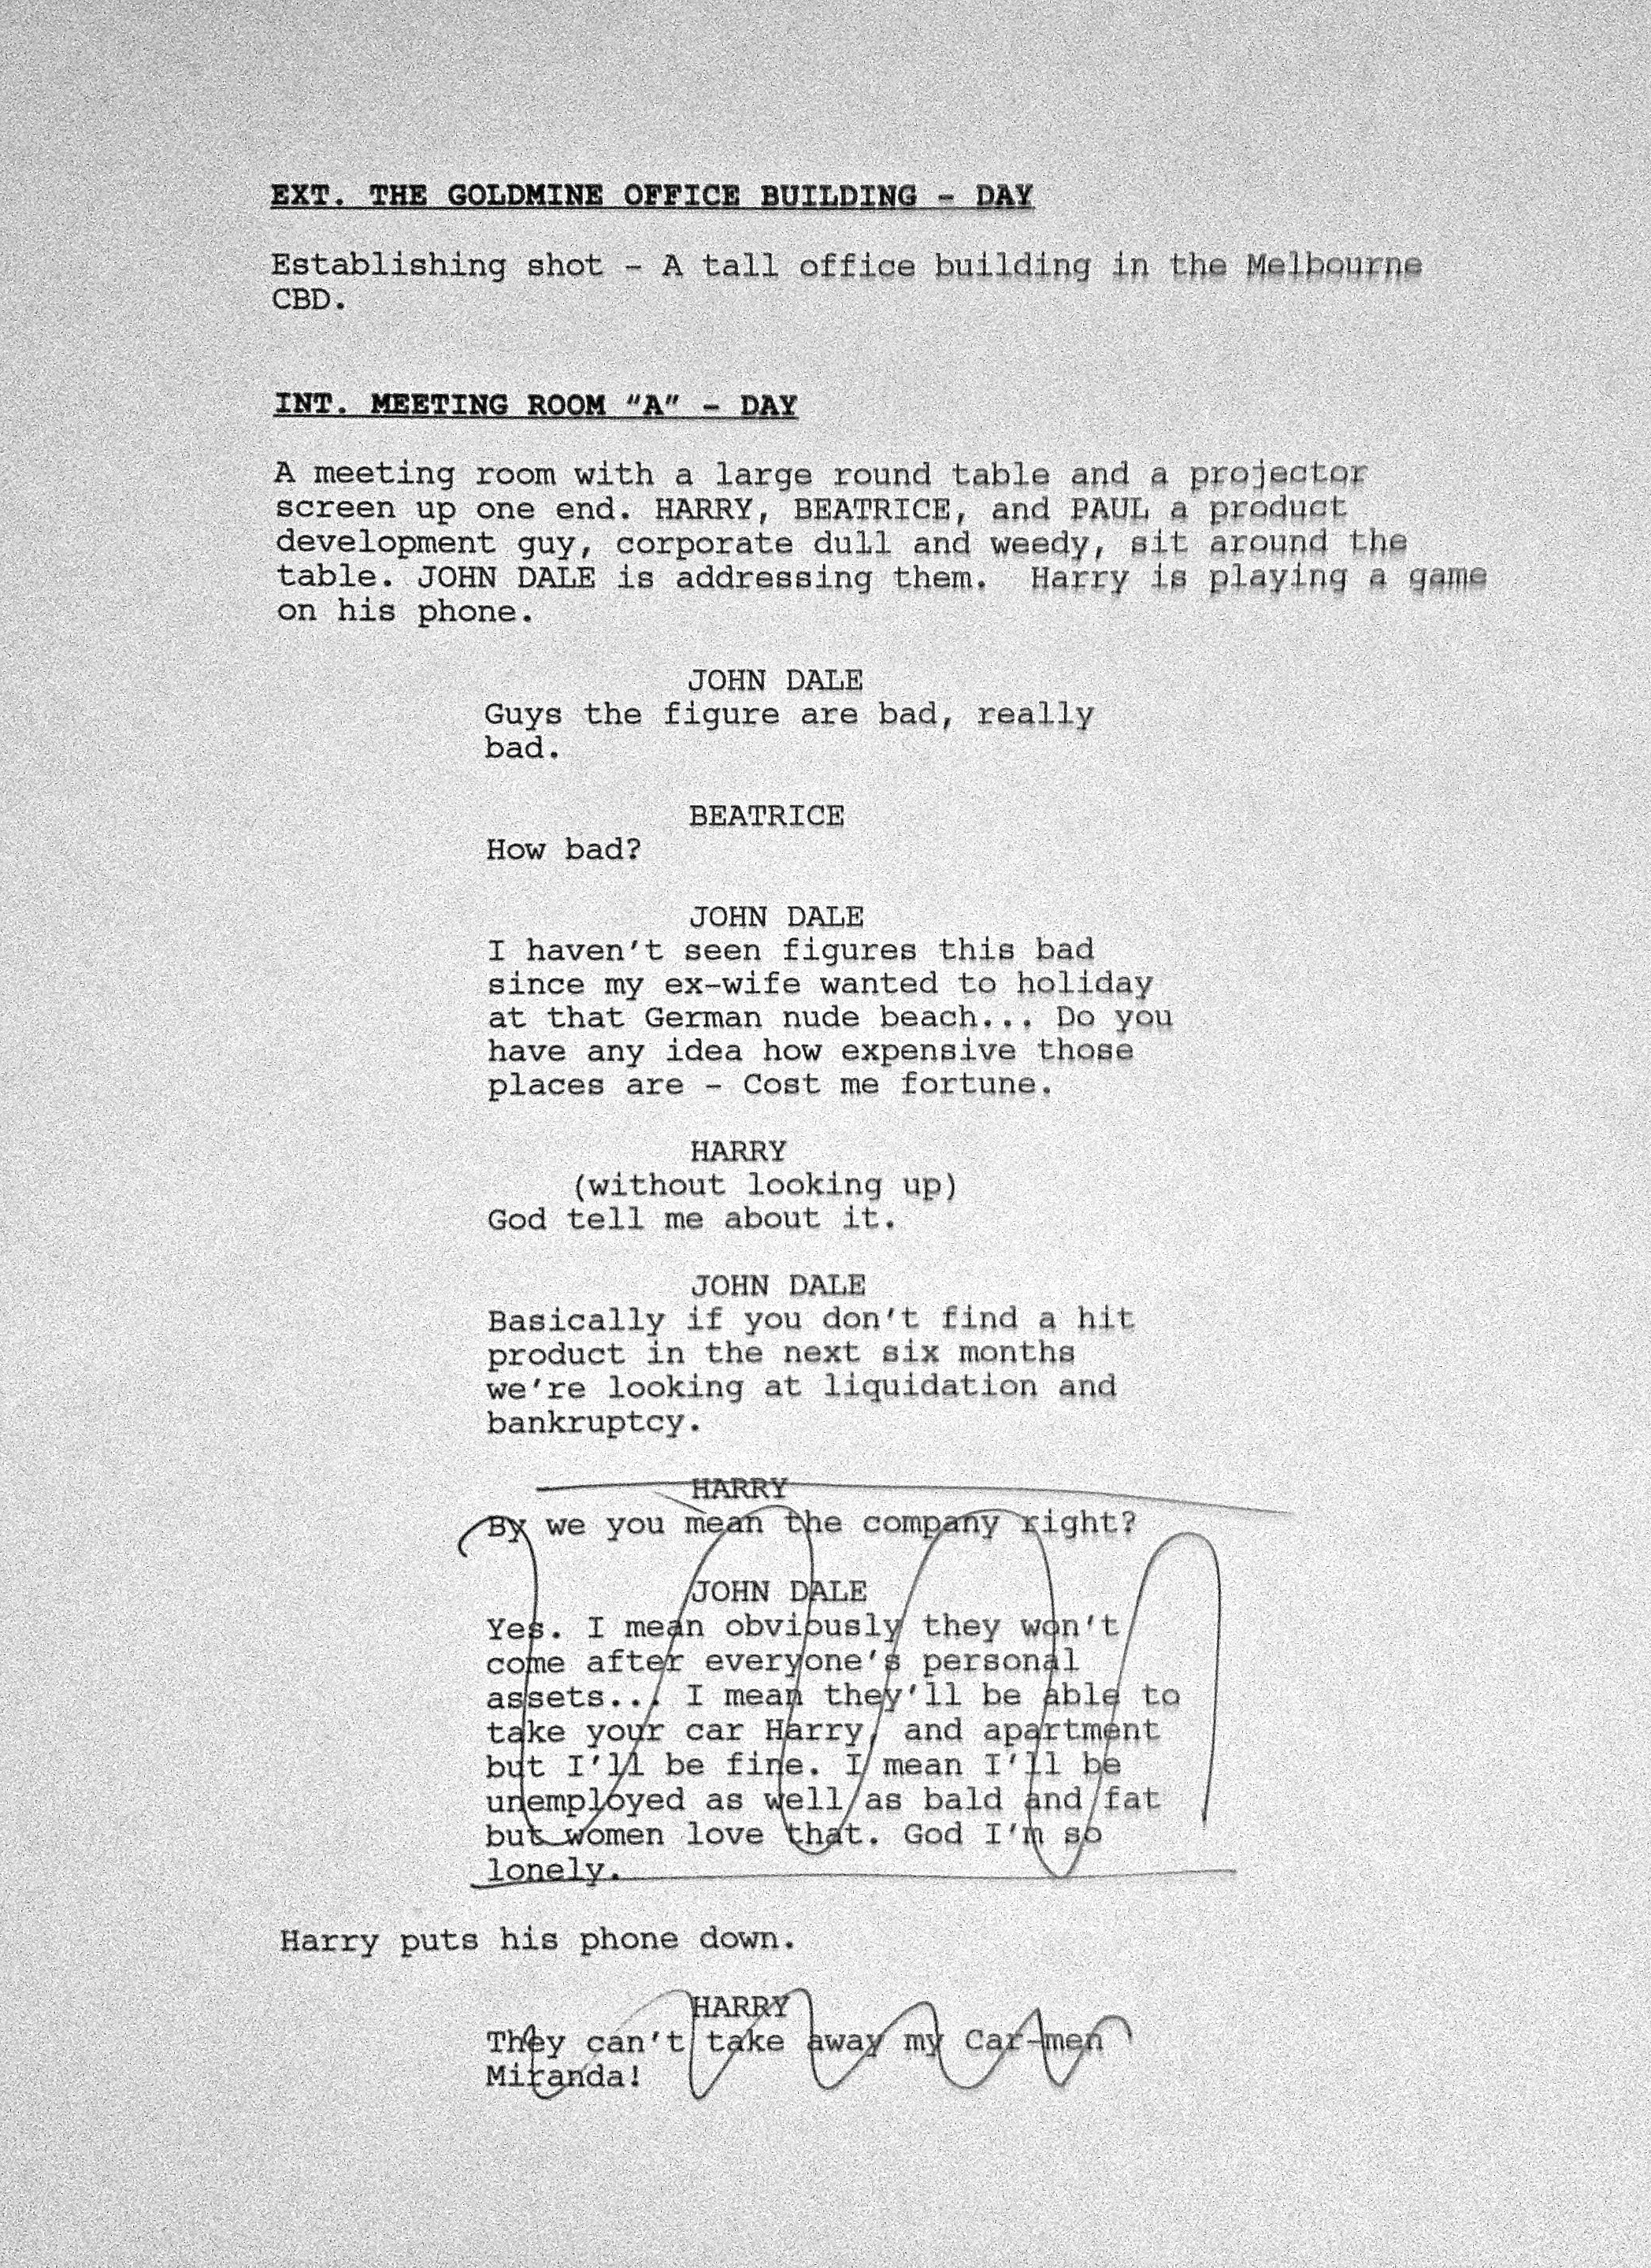
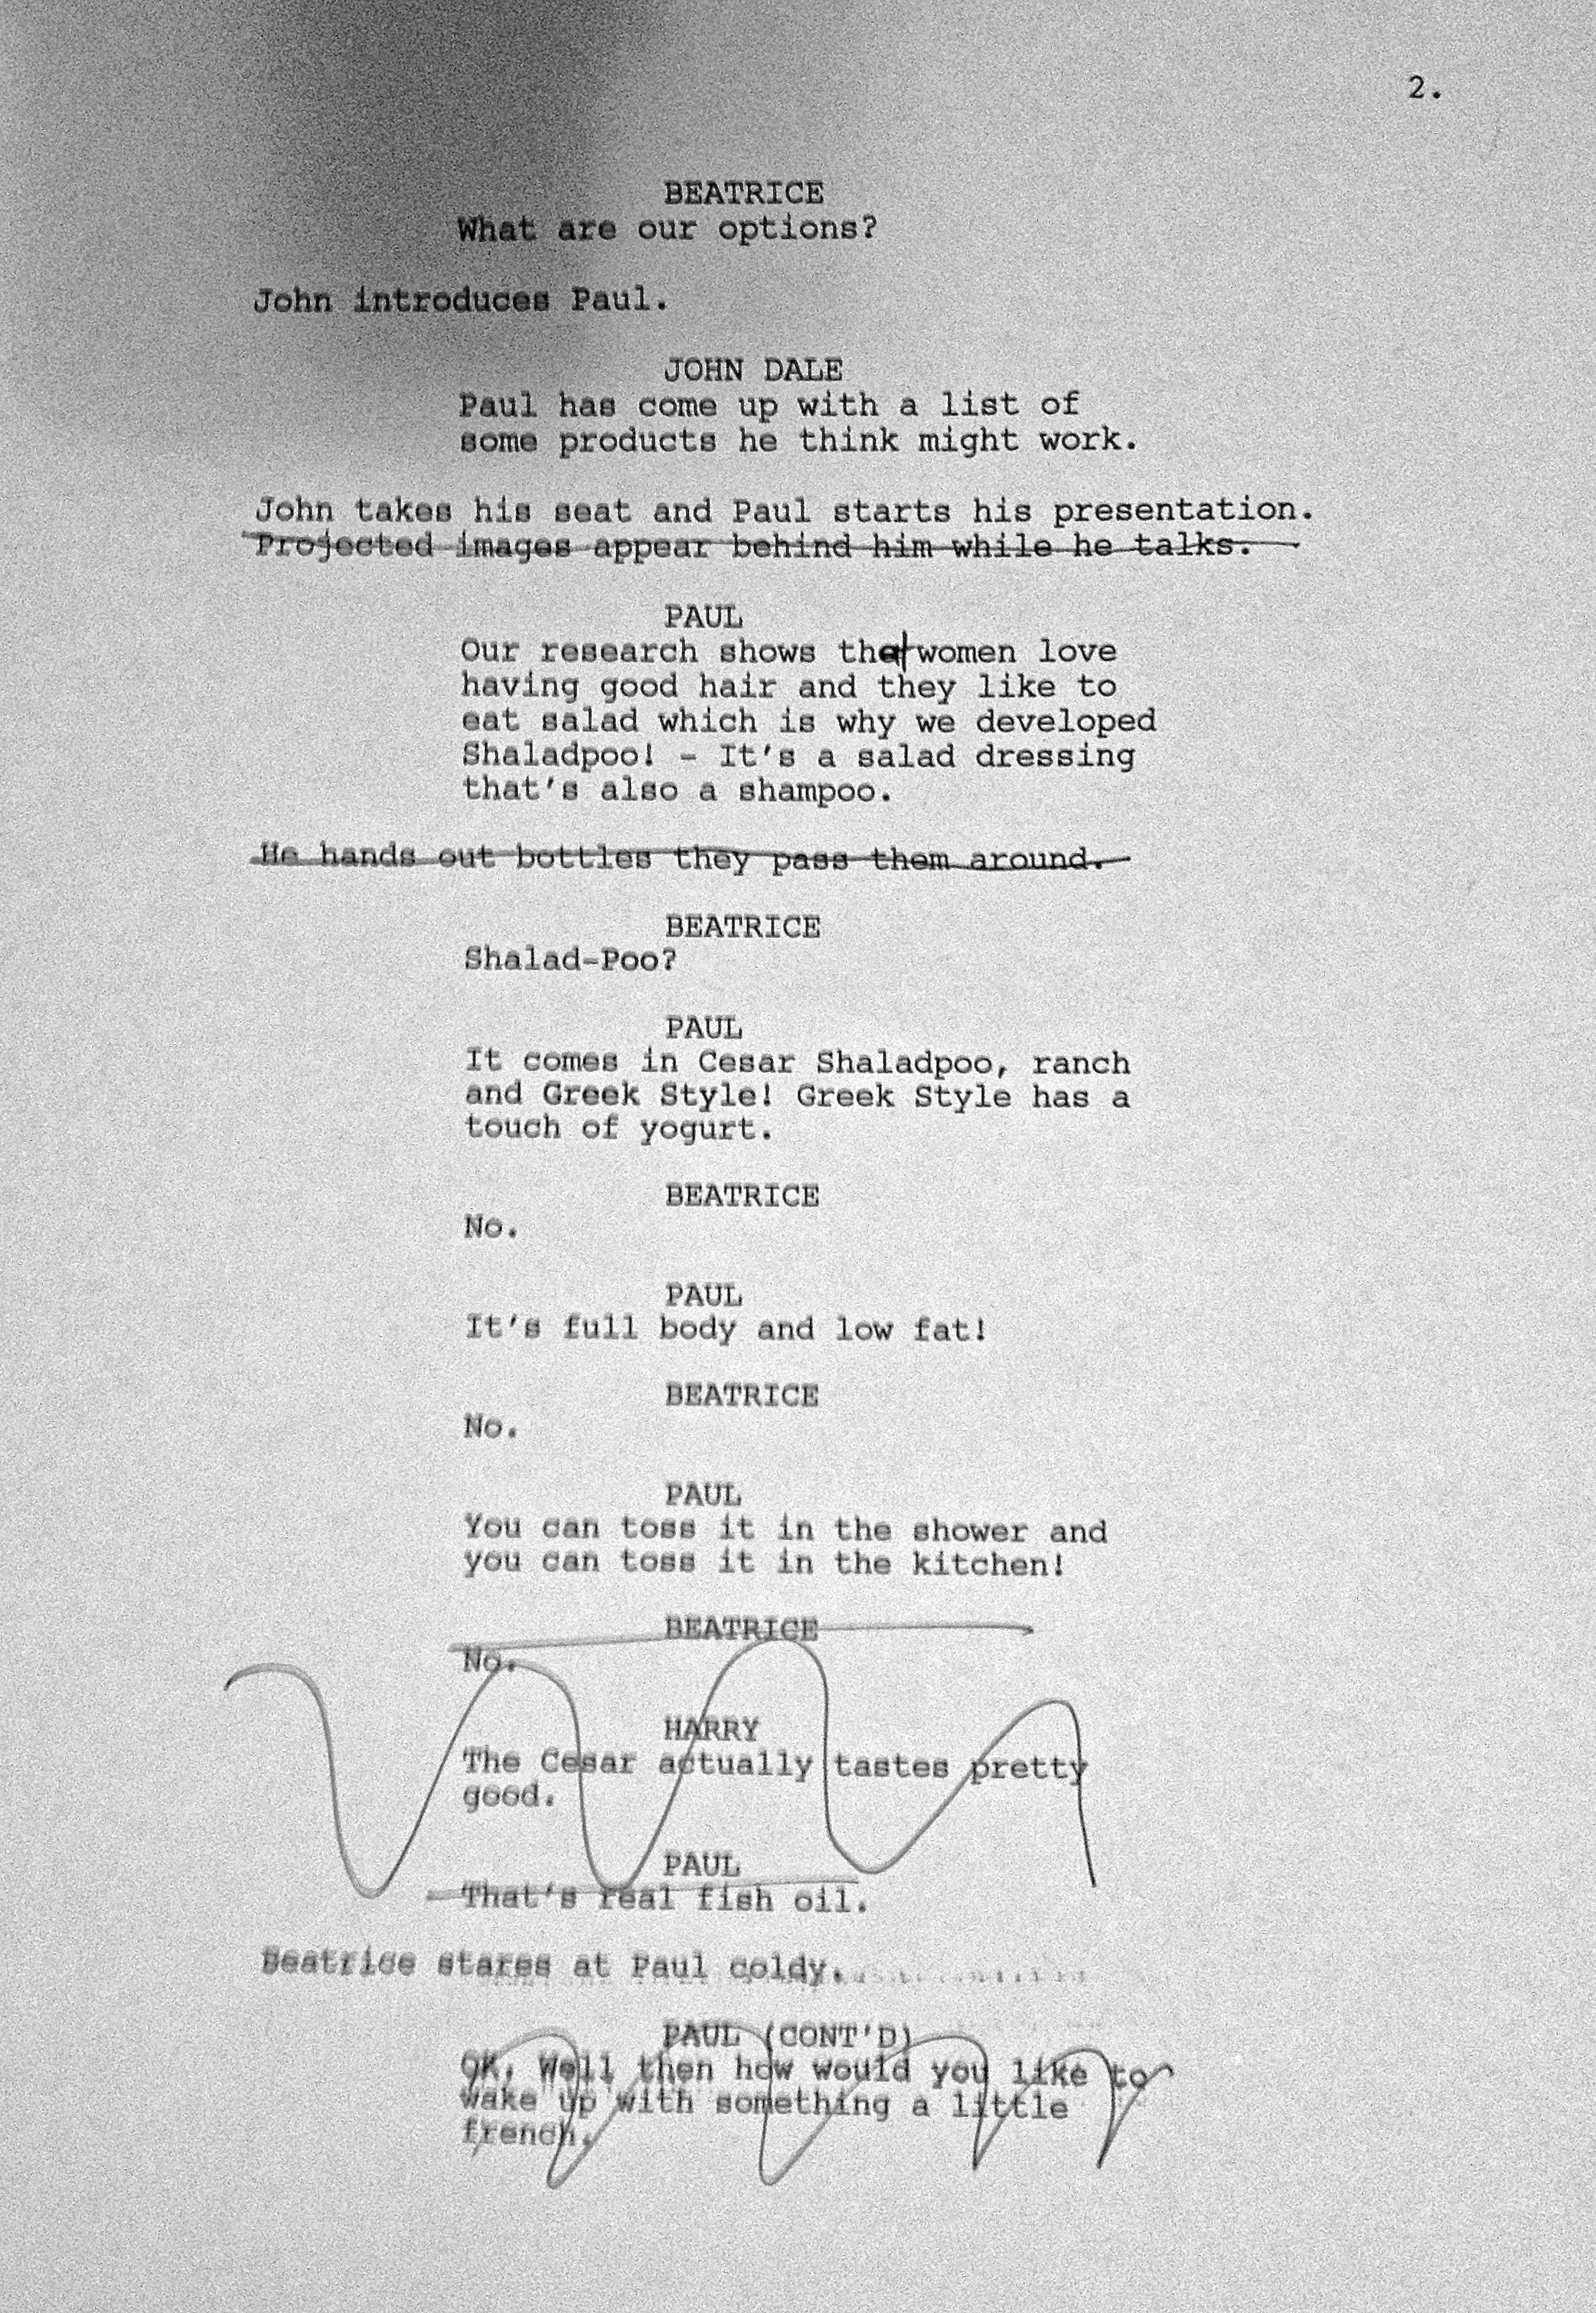
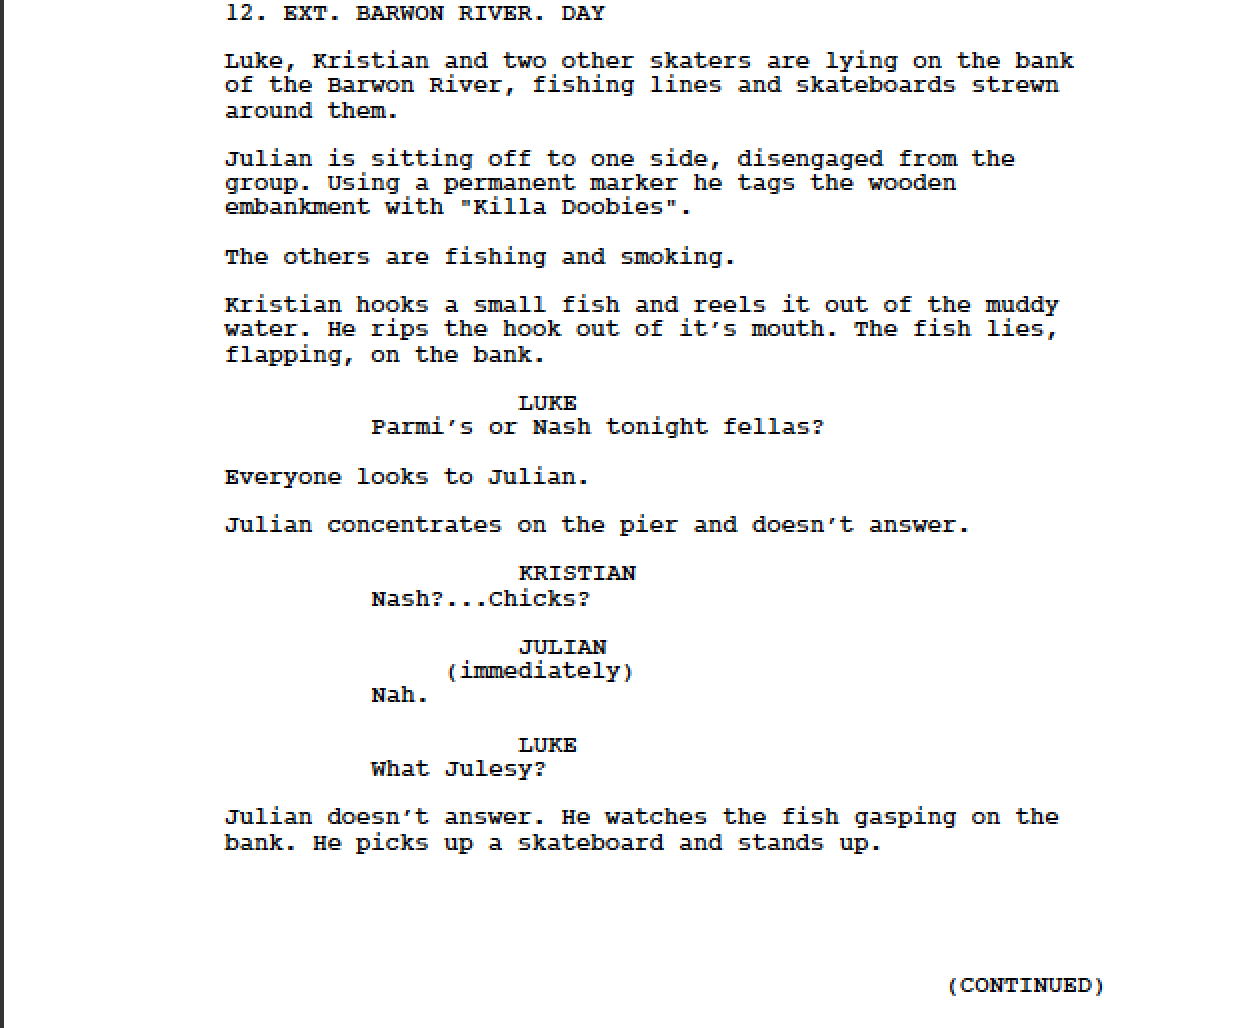
Although I did use a script, rather than a prose, which I was meant to do, I hardly followed it at all (particularly because there was only one line of dialogue). Instead of telling my actor exactly what to say, I just gave her a general gist of what the conversation was about and she improvised the rest. I also let her act the character in the way that she wanted to, which at the time I was a bit worried about because she hardly knew how to smoke a cigarette and couldn’t even light a cigarette lighter, and the character in the script was meant to be a full-time smoker. However, when I began to look over the footage, I realised that it didn’t really matter; in fact, it kind of added to the realness of the scene. Overall, I think that using a general prose for my final scene will work out well (hopefully anyway).
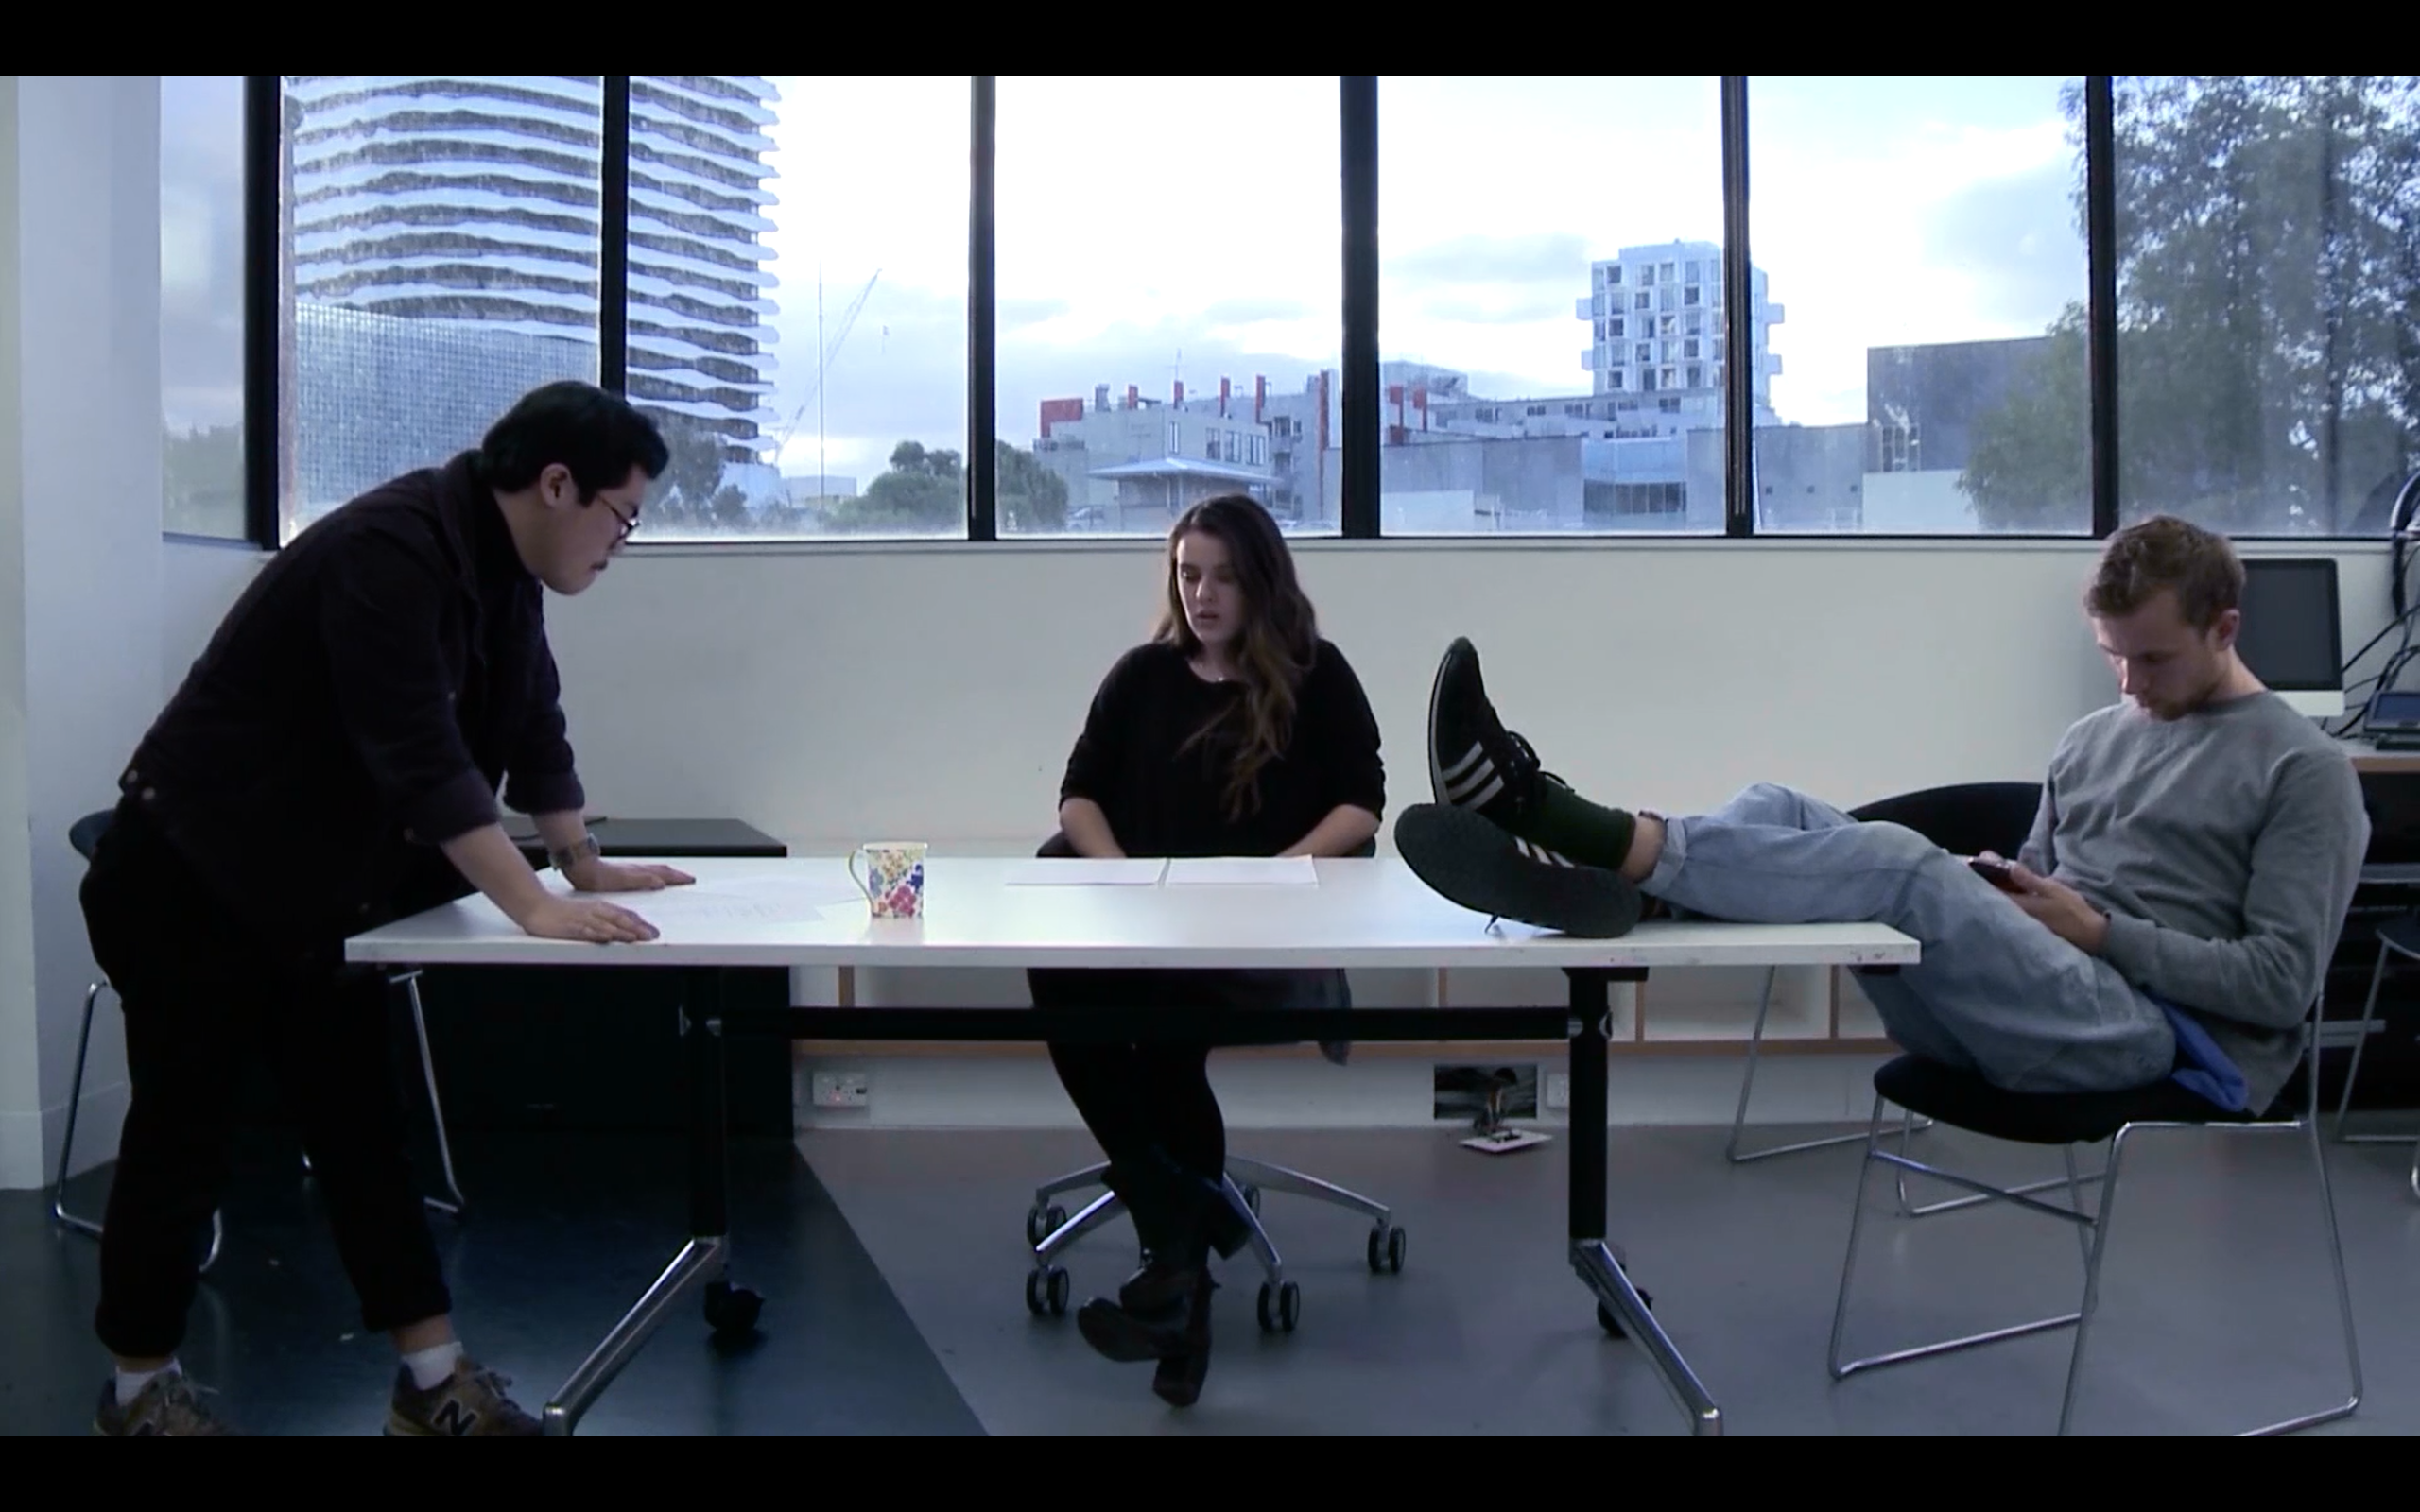
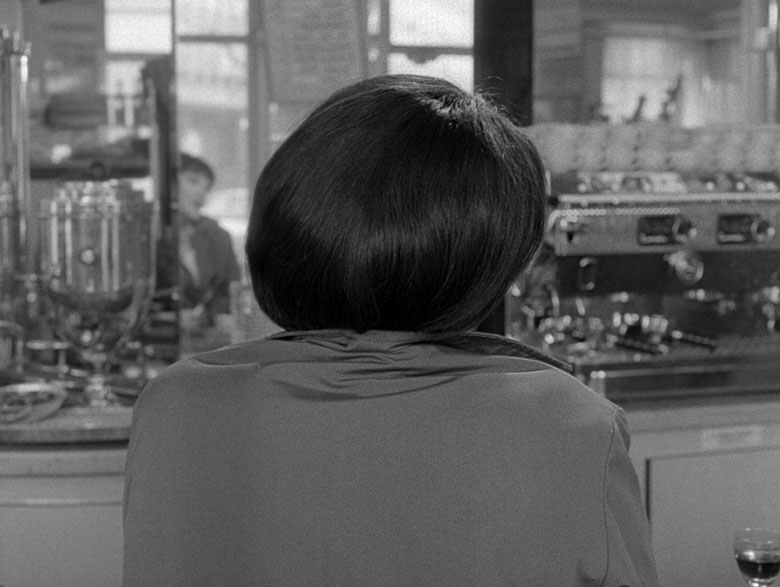
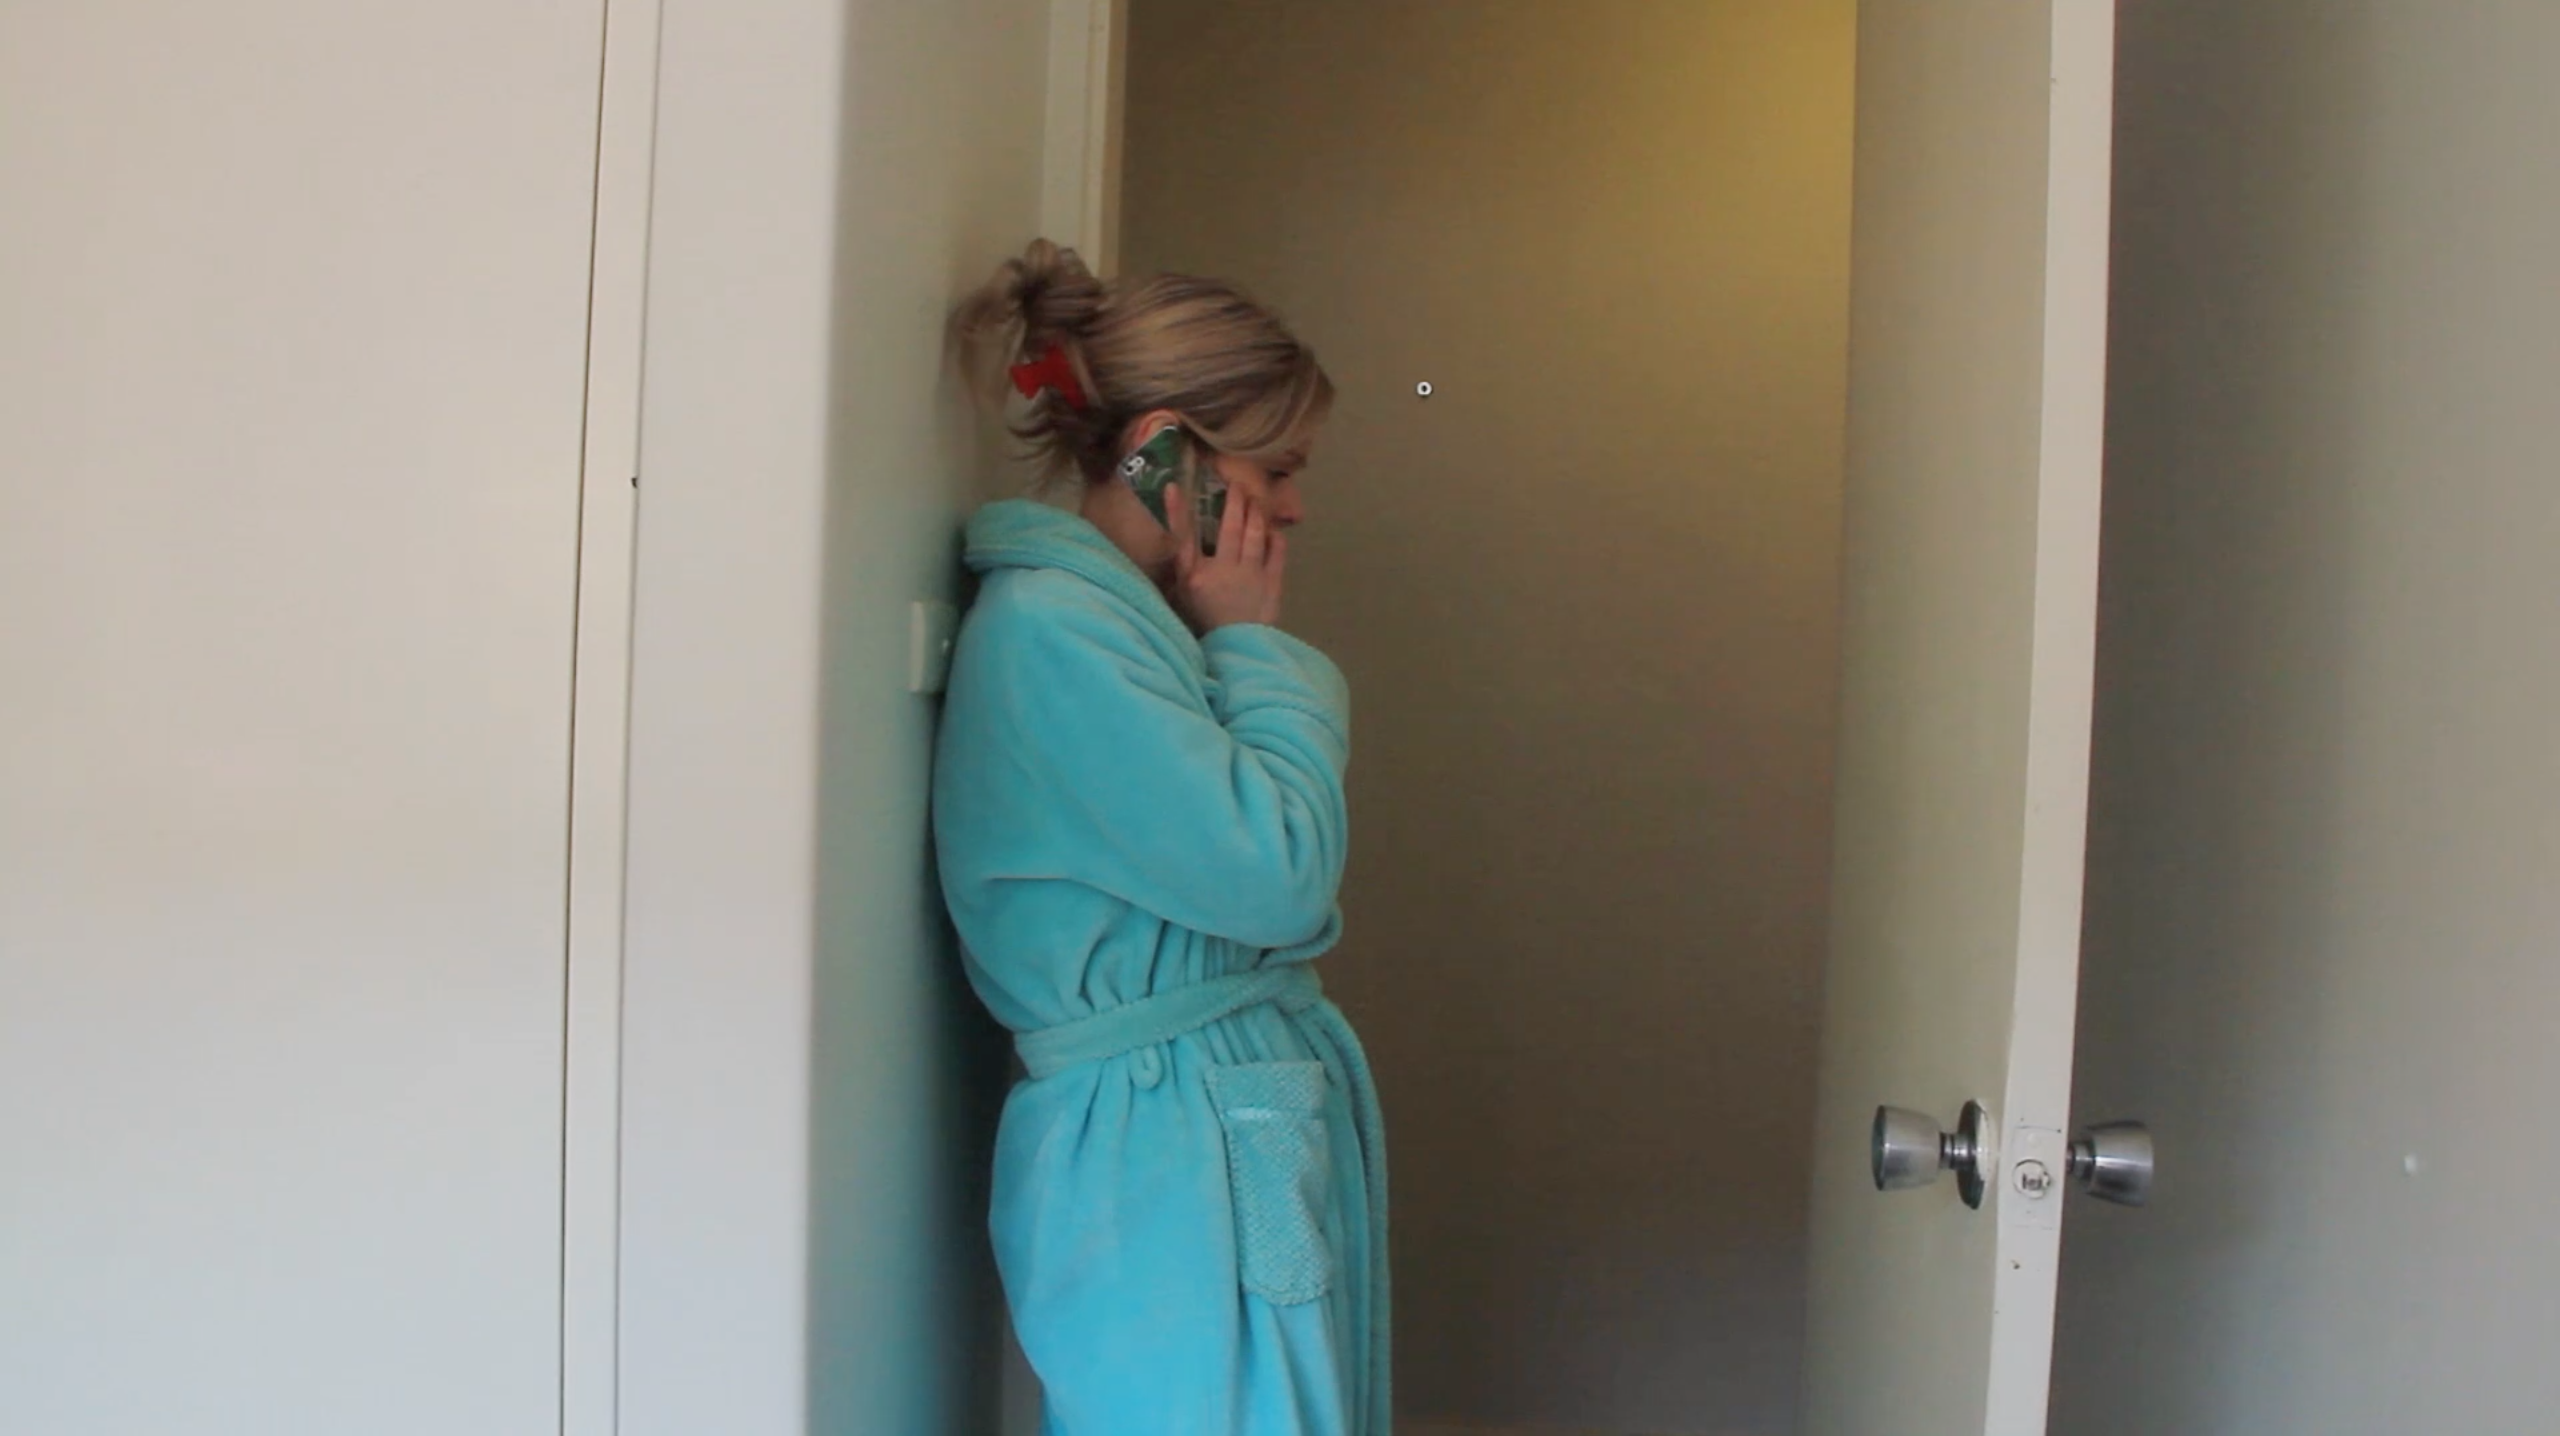
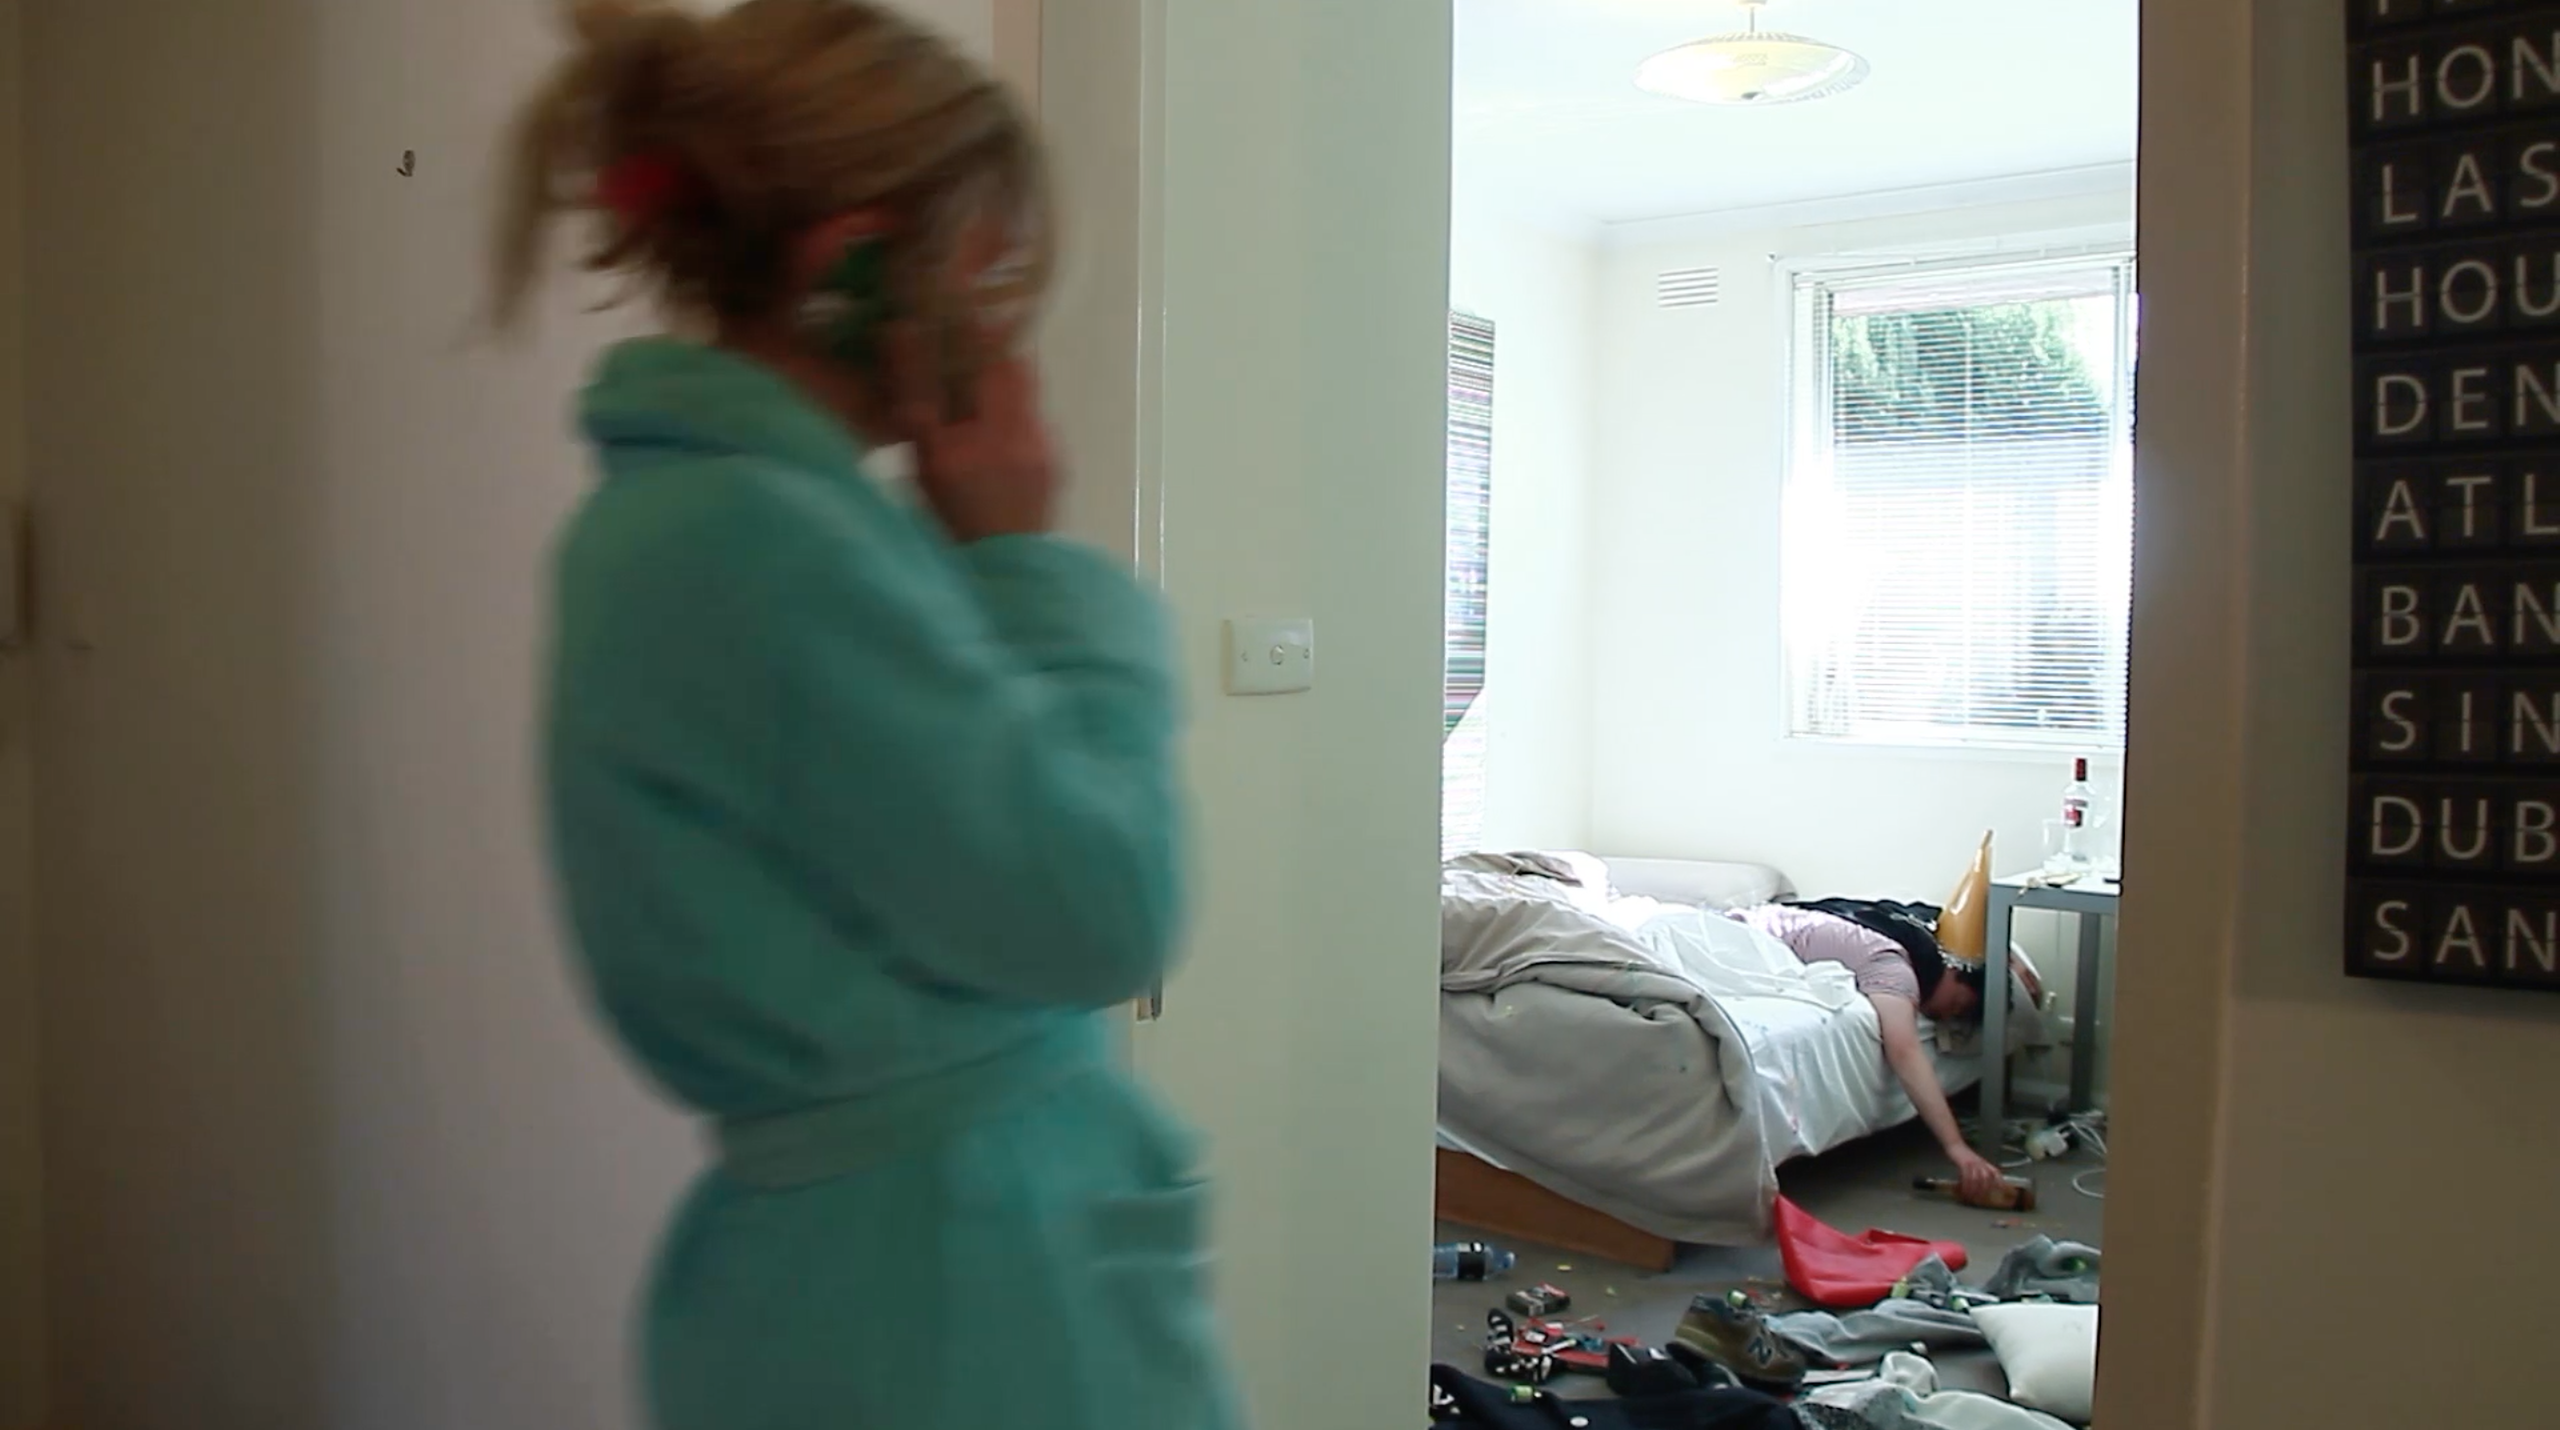
One of the best things about this shoot and the look of the final edit is the lighting. Finally, I realised that I am not good at dealing with natural daylight and instead, I should just shoot with artificial lights. The advantage of shooting with a ‘controlled’ lighting setup is that you don’t have to worry about continuity issues during editing, plus you can create a sense of depth and thus avoid boring, flat backgrounds (i.e. white walls). The changing lights from the TV also added a sense of movement to the scene, however, Paul suggested that I could have cheated the TV behind Sarah’s head in order to light the off-side of her face a bit more. I have become fond of this lighting setup and so I think I will try to employ a similar effect in my final scene.
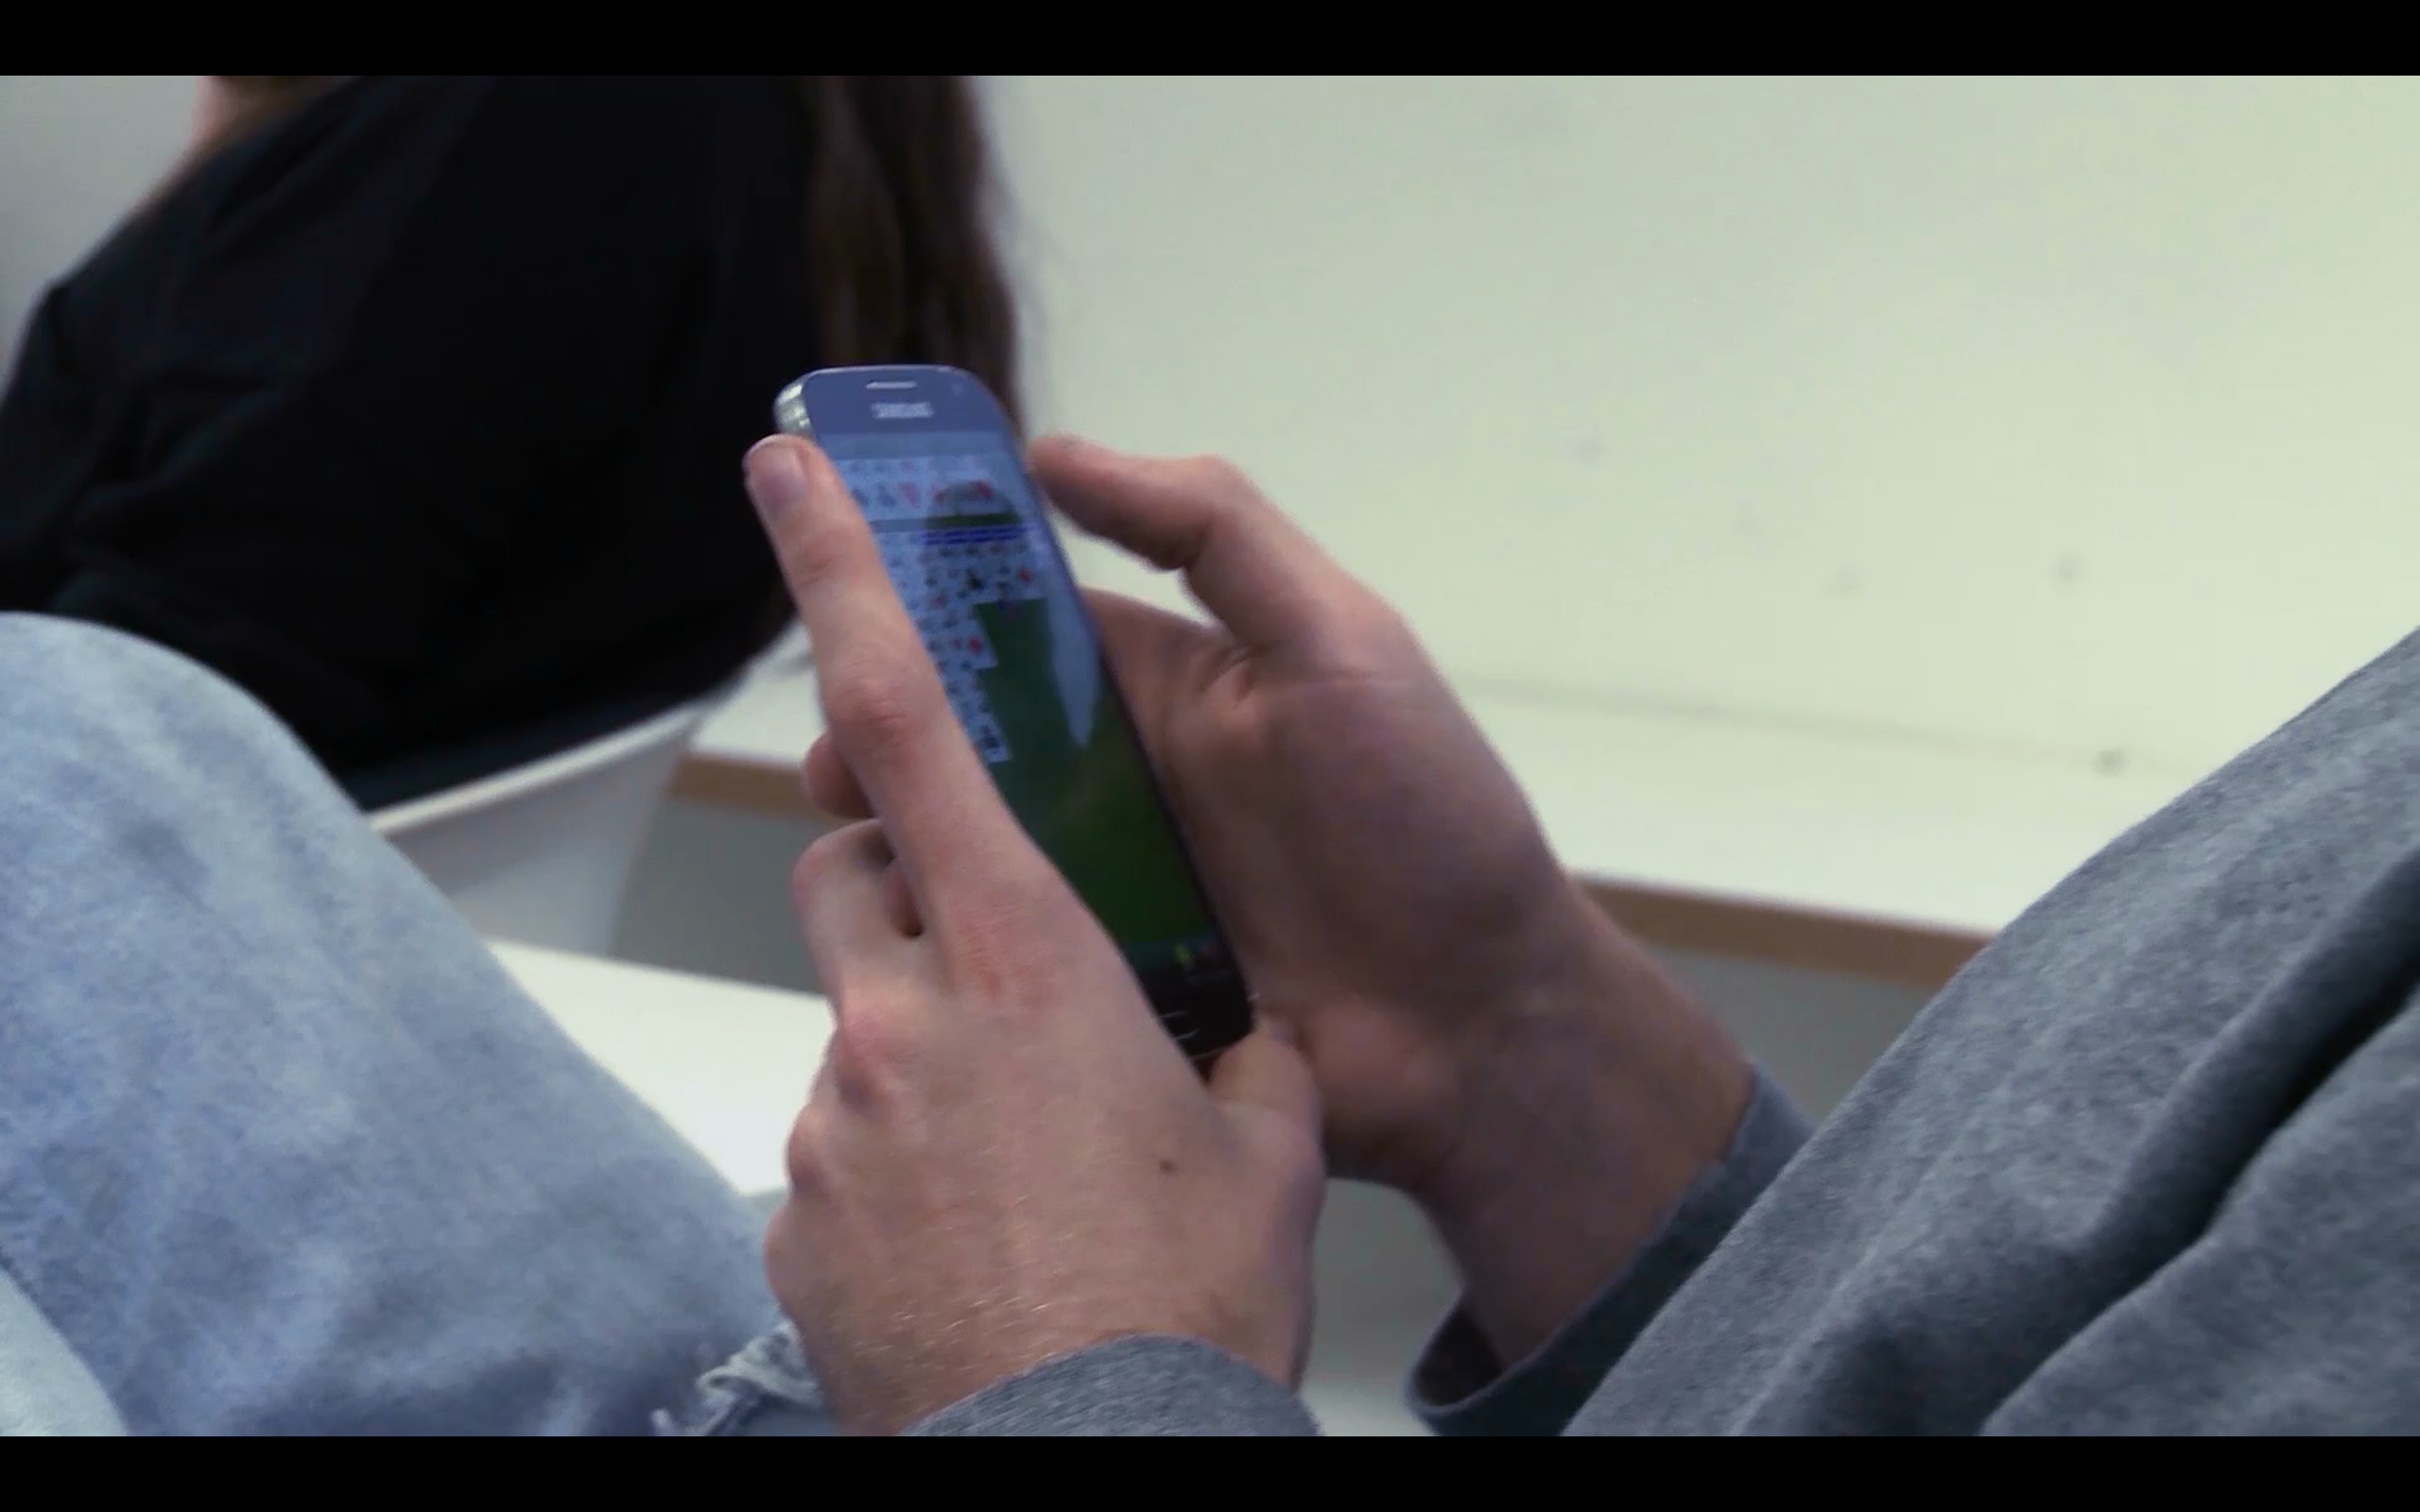
The only thing I didn’t really do, that I had put on my list of techniques, was to have a first assistant director help me out during the shoot. I thought I wouldn’t bother to get someone to AD this shoot because it was a really simple scene with only one character and one line of dialogue. However, I now realise it would have been beneficial to have a helper because there were a few things I either forgot to do or couldn’t really pull off by myself. For instance, it was difficult to pull focus and tilt the camera up by myself. Although the shot (pictured below) is relatively smooth, there are a few little bumps that could have been avoided if I had have had my AD focus pull for me. I also didn’t realise that I needed to have my TV muted throughout the shoot (I only recognised that this would be a problem when I was recording the last couple of shots). This is an example of one of the times where it would have been handy if I had’ve had an AD to remind me of this issue earlier in the shooting process. It might also be beneficial to write a list of things ‘to remember’ before going into the shoot. For instance, for the shoot where I was using Woody Allen’s method of filmmaking, I wrote some notes on my storyboards so I wouldn’t forget things the little things I needed to do.


Another process I want to add to my method, is showing someone else a rough edit of the scene before finalising the cut and beginning to colour grade etc. After I shot this scene I quickly put together a rough edit that was not colour corrected. I got Paul, Maddie and Tom to look over the scene and give me their thoughts about how I should go about finishing the edit. I think it is incredibly beneficial to get someone to look over a piece of work with fresh eyes. Because I am so involved with my own work, sometimes it is hard to separate myself from the piece at hand and so when I got the others to look at my work they were able to give me some really interesting advice. For instance, Paul told me to get rid of the dialogue, which I would never thought of doing because at that time I had thought that the conversation was the only segment of that scene that offered the audience any kind of meaning. However, this audience read the scene very differently to what I had initially thought, which meant that the dialogue became superfluous.
All in all, I was happy with the end product and I found the actual process of making this scene really fun. Without the stress of having to cope with changing lighting conditions, I was able to relax and enjoy the shoot. I felt excited while I was filming like when I shot my week 7 scene using Nicholas Winding Refn’s improvisational method. I think the method I have created works well in terms of mixing together a spontaneous approach to filmmaking and a more organised approach. Now that I have tested this process, I can’t wait to put it into practice again for my final shoot.